REVIEW · FRANZ JOSEF AND FOX GLACIER
Franz Josef to Christchurch Small-Group Tour via Hokitika (1-way)
Book on Viator →Operated by Cheeky Kiwi Travel · Bookable on Viator
One road trip, big scenery changes. This small-group drive from Franz Josef to Christchurch threads together West Coast rainforest, Hokitika coastal charm, and high-alpine passes, all with an English-speaking guide. I also like that Cheeky Kiwi keeps it moving with a max of 15 people, so you can actually hear the commentary instead of fighting for space in the back row. One thing to consider: it’s a long 12-hour day, so you’ll be riding most of the time, with just a handful of stops where walking is optional or short.
I particularly enjoy how the day builds in real breaks, not just drive-by photo stops. Lunch is included, and you also get water and snacks to keep energy up between scenic viewpoints.
One highlight I’m glad you can count on: the guide style. In past departures, guides like Nick have been friendly and focused on making sure everyone’s okay, which matters when weather or road conditions shift.
In This Review
- Key Points You’ll Care About
- West Coast-to-Christchurch: Why This Route Works
- Pickup, Timing, and the 12-Hour Reality Check
- Lake Ianthe: A 5-Minute Pause That Sets the Mood
- Hokitika: Black-Sand Country and a Lay-Back Coastal Town
- Hokitika Gorge Walk: Turquoise Water and a Short, Easy Stretch
- Greymouth Lunch Stop: Fuel Up in the Gateway Town
- Cobden Beach and the Otira Viaduct: Photogenic Quick Stops
- Arthur’s Pass Village: Snow Peaks, Coffee, and an Optional Waterfall Walk
- Castle Hill: Limestone Rock Formations That Movie Fans Recognize
- Lake Lyndon: High-Country Calm in a Brief Stop
- What’s Included (and What to Bring) for a Smooth Day
- Arriving in Christchurch: Drop-Off and a Full-Scenery Day
- Should You Book This Tour?
- FAQ
- What time does the tour start, and how long is it?
- Is lunch included, and are dietary needs handled?
- Is there a restroom on board the vehicle?
- How big is the group, and is the guide English-speaking?
- Is pickup offered, and what luggage can I bring?
- Is this tour suitable for kids or limited mobility?
Key Points You’ll Care About
- Small group (up to 15): easier listening, less chaotic photo stops.
- Real walking time, not forced hikes: short, easy stretches like Hokitika Gorge; one optional moderate walk at Arthur’s Pass.
- Major viewpoints plus quick stops: Otira Viaduct lookout, Castle Hill formations, and photo-friendly lake moments.
- Included food and hydration: lunch plus water and snacks reduces what you need to pack.
- Guided storytelling along the way: the route’s what you came for, but the commentary makes it stick.
- Weather-sensitive route: plan for flexibility if conditions are poor.
West Coast-to-Christchurch: Why This Route Works

This is the kind of day trip that feels like two different countries in one. You start on the wild West Coast, where the scenery can go from misty forest to dramatic river valleys fast. By the time you’re moving through the alpine pass area, the air and light change, and the views start feeling bigger and more open.
What makes the experience satisfying is the pacing. You’re not just chasing one famous place. You get a chain of “small wins”: a lake moment, a coastal town wander, a short gorge walk, then alpine lookouts and movie-rock scenery. Each stop is short enough that you stay in motion, but long enough that you actually get something out of it.
You’re also traveling in a way that makes the route less stressful. Driving this yourself means handling timing, deciding which viewpoints matter, and dealing with the reality that passes and roads can be affected by conditions. On a guided small-group tour, you can focus on seeing and learning.
You can also read our reviews of more tours and experiences in Franz Josef and Fox Glacier.
Pickup, Timing, and the 12-Hour Reality Check
The departure is 7:30am, and the tour runs about 12 hours including travel time. That’s not a “sleep in and stroll” schedule. But it is a smart way to get across the South Island without committing to a full multi-day move.
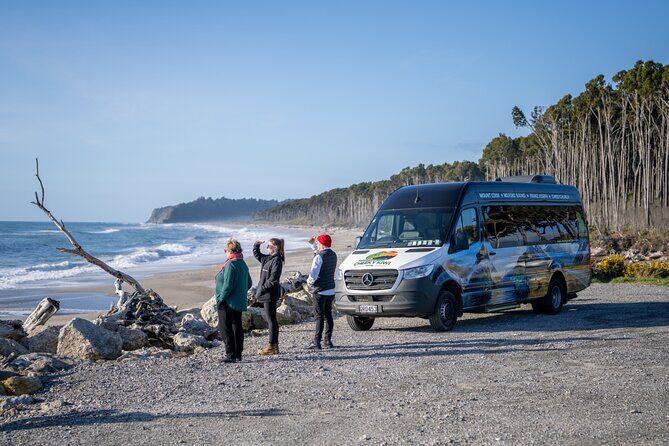
Pickup is offered, which helps a lot in Franz Josef. Once you’re on the road, you’ll be switching between brief stops and longer stretches where you’re watching the scenery roll by. This format is great if you like road-trip energy and want your day to stay structured.
The one tradeoff is simple: you’ll spend most of the day in the vehicle. You can’t count on frequent long breaks, so if you want lots of independent wandering time, this might feel a bit compressed. A moderate fitness level is recommended, largely because one of the stops includes an optional walk.
Lake Ianthe: A 5-Minute Pause That Sets the Mood
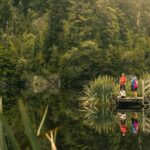
Right after departing Franz Josef, you stop at Lake Ianthe. It’s a quick photo stop, around 5 minutes, but it’s placed where it works. The stillness of the lake—surrounded by forest and wetlands—helps you transition from town life into the West Coast feeling.
What I like about this kind of stop is that it doesn’t ask you to “earn” the view with a long hike. You get a moment to reset your eyes before the day becomes more active.
Bring what you need for weather. Even if it looks okay at breakfast, the West Coast can change quickly. A compact layer can be the difference between enjoying the stop and just shivering through it.
Hokitika: Black-Sand Country and a Lay-Back Coastal Town
Next up is Hokitika, with about 30 minutes to explore. Hokitika is known for its black sand beaches, local art, and an easygoing vibe. That time window is enough to do two good things: get a feel for the town and still make it to your next stop on schedule.
This is also a nice place to stretch your legs without feeling rushed. You’re not on a timeline sprint. You can wander, take photos, and decide what you want to circle back to if you ever return for a longer stay.
If your priority is scenic stops and not shopping, don’t worry. Hokitika’s value here is the pause in the day and the sense of place on New Zealand’s West Coast.
Hokitika Gorge Walk: Turquoise Water and a Short, Easy Stretch
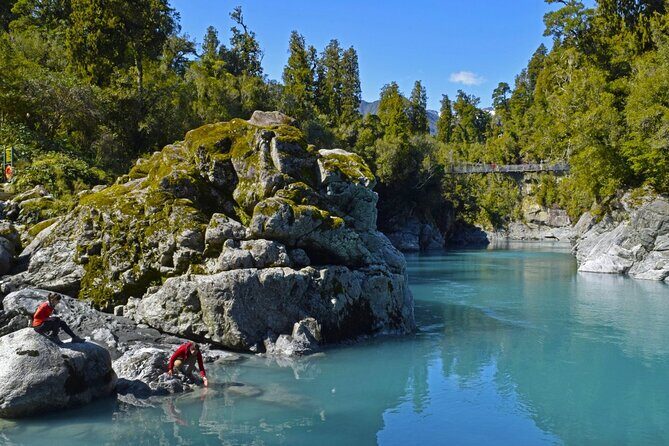
Then you get the kind of stop that turns into a postcard: Hokitika Gorge. You’ll do an easy walk through native bush for about 1 hour total, and the centerpiece is the vivid turquoise water.
What makes this stop especially worthwhile is the contrast. You’ve seen the coast town. Now you’re in a green, quiet area where the water is the star. The walk is short and manageable for most people, and it gives you legs time without turning the day into a full hike.
If it’s raining, this walk can be slippery underfoot, so watch your footing. The payback is the view and photos that look like they took longer to reach.

Greymouth Lunch Stop: Fuel Up in the Gateway Town
For about 1 hour, you’ll stop in Greymouth, the largest town on the West Coast and a gateway for the TranzAlpine route.
This is a practical moment. After a few active stretches, lunch gives you real energy for the long alpine crossing ahead. Since lunch is included, you don’t have to spend your day making “what do we eat” decisions.
Greymouth also helps break the drive emotionally. The West Coast can feel like a continuous green blur when you’re staring out the window for too long. Having a town stop gives your brain a place to reset.
Cobden Beach and the Otira Viaduct: Photogenic Quick Stops
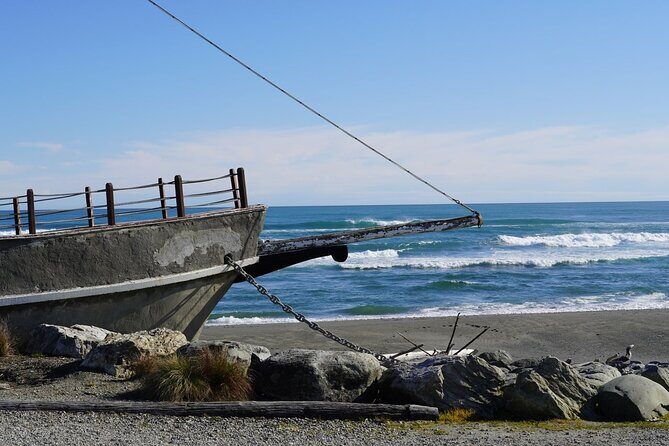
After lunch, you’ll pass by Cobden Beach for a quick photo-style stop (around 5 minutes). Cobden has a rock breakwater at the southern end, and the waves can look dramatic, breaking right against the structure. It’s a photographer’s kind of pause, more about seeing the ocean’s mood than doing an extended activity.
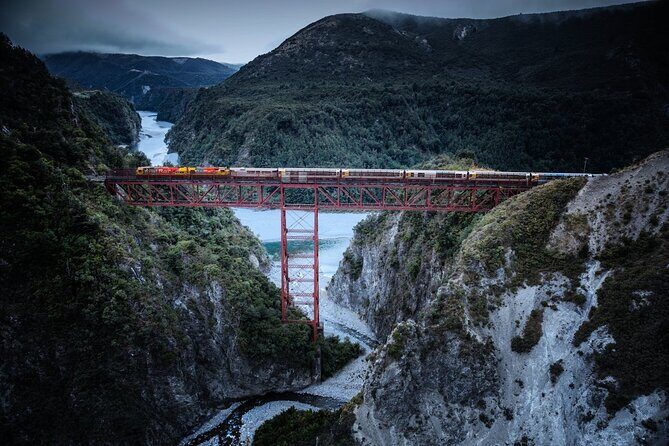
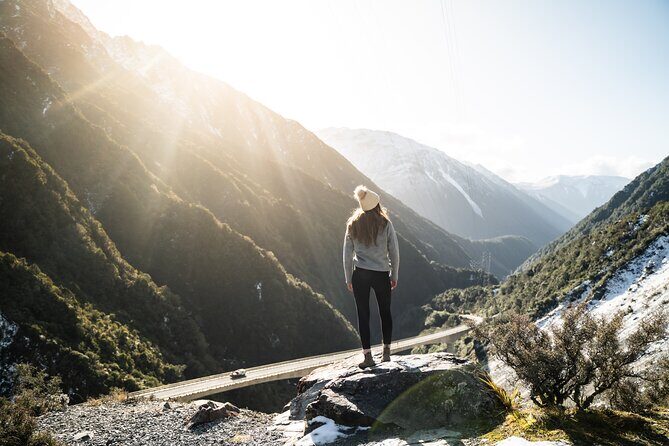
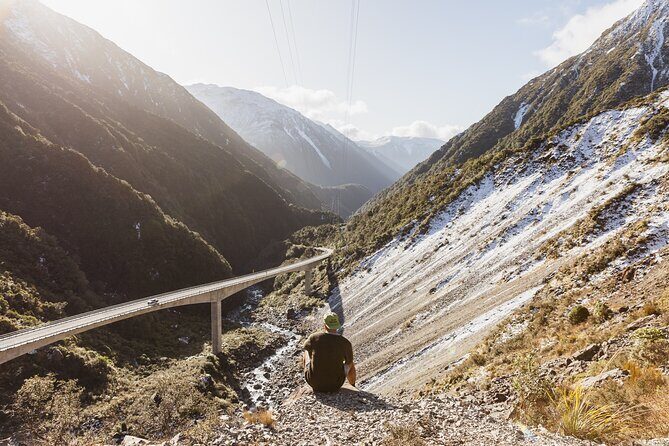
From there, you’ll reach Otira Viaduct Lookout, also known as Death’s Corner. This is one of those places where you notice the infrastructure because it frames the mountains. You’ll see the 440-metre-long Otira Viaduct, plus the surrounding national park.
This is also a good spot to watch for kea, the alpine parrots. If they’re around, it’s a fun wildlife moment that feels like more than a quick viewpoint. Even if you don’t spot them, the lookout is still a strong stop because it gives context for how the road crosses this part of the South Island.
Arthur’s Pass Village: Snow Peaks, Coffee, and an Optional Waterfall Walk
Next is Arthur’s Pass Village for about 1 hour. This is where the scenery flips from forest valleys to a more alpine feel. The village sits with snowcapped peaks in the background, and that’s the payoff for getting here.
You’ll have a choice:
- Option A: take a moderate walk to Devil’s Punchbowl waterfall, a 131-metre cascade reached by about a 1-hour walk.
- Option B: stay easier—grab coffee and explore the local shop.
I like that the tour doesn’t force you into the walk. If you want photos and a moving-water payoff, the waterfall option is a classic choice. If you’re traveling with limited energy (or just don’t want to risk bad traction if it’s wet), the village time still gives you scenery and a comfortable break.
This is also one of the stops where the guide’s judgment really matters, especially if weather affects visibility. In past experiences, guides like Nick have been attentive about keeping things running smoothly even when conditions aren’t perfect.
Castle Hill: Limestone Rock Formations That Movie Fans Recognize
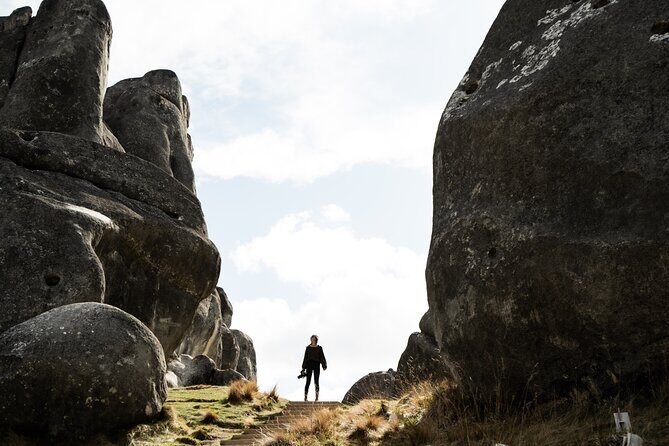
After Arthur’s Pass, you’ll have time at Castle Hill for about 1 hour. This area is famous for dramatic limestone rock formations that have shown up in films like Narnia and The Lord of the Rings.
It’s hard to explain until you’re there, but the rocks have a surreal, sculpted feel. You’ll see why this location stands out in pop culture even if you’re not thinking about movies while you’re walking around.
This stop is worth your attention because it feels different from the water-and-mountain theme. It’s more about textures, shapes, and how the terrain looks when it’s been shaped over time.
Lake Lyndon: High-Country Calm in a Brief Stop
Toward the end of the route, you’ll stop at Lake Lyndon for about 5 minutes. This is a high-country lake surrounded by tussock hills, popular with anglers and photographers.
This is quick on purpose. It works as a final scenery hit before you head into Christchurch. If you’re the type who wants to pause and linger at the end of a long day, this is the one stop you might wish had more time. But as a closing moment, it helps you feel like you didn’t rush the best parts too much.
What’s Included (and What to Bring) for a Smooth Day
This tour keeps things simple, with several key items already handled.
Included:
- Lunch
- English-speaking guide
- Water available and snacks provided
- Luggage allowance: 1 large & 1 small per person
- Mobile ticket
Not included:
- Restroom on board
- Coffee and/or tea
Because there’s no restroom included on the vehicle, I’d plan around the stops. It’s basic, but on a long day it’s the sort of detail that keeps stress low.
Packing advice (so you don’t regret it later):
- A water-resistant layer (even if the morning looks fine)
- Comfortable walking shoes for bush paths and rocky viewpoints
- A small camera bag or zip pouch to keep gear dry
- If you have dietary needs, tell the operator ahead of time so they can match food options like Vegan, Gluten Free, and Dairy Free
Also note: the tour is not recommended for limited mobility, and it’s designed for people with moderate fitness. If you’re unsure, it’s worth asking questions before you book.
Arriving in Christchurch: Drop-Off and a Full-Scenery Day
You’ll arrive in Christchurch in the evening, with your guide dropping you off at your accommodation. That final service matters because you don’t want to end the day trying to figure out transport when you’re already tired from a long drive.
When you look back on the day, the route makes sense: West Coast coastal stops early, gorge and town breaks in the middle, alpine passes and village time later, then limestone rock scenery and a final lake pause before heading into the Garden City.
Should You Book This Tour?
Book it if you want a guided, high-value day that strings together the South Island’s western-to-alpine highlights without rental-car stress. The best fit is:
- You like scenery changes and photos, but still want structure
- You’re okay with short walking segments and one optional moderate walk
- You want lunch plus water and snacks handled for you
- You prefer a small group where the guide can actually talk to you
Skip it or choose another option if:
- You don’t want a long day in a van
- You have mobility limitations that make walking or uneven surfaces hard
- You want lots of independent free time at each stop
One final practical note: the day depends on weather. Since it requires good conditions, the operator may offer a different date or a refund if it can’t run as planned. That flexibility is a comfort when you’re traveling on the West Coast.
FAQ
What time does the tour start, and how long is it?
The tour starts at 7:30am and runs for about 12 hours (including travel time).
Is lunch included, and are dietary needs handled?
Yes, lunch is included. You can advise dietary requirements in advance, with options including Vegan, Gluten Free, and Dairy Free.
Is there a restroom on board the vehicle?
A restroom on board is not included, so you’ll rely on the scheduled stops during the day.
How big is the group, and is the guide English-speaking?
The group size is capped at a maximum of 15 travelers, and the guide is English-speaking.
Is pickup offered, and what luggage can I bring?
Pickup is offered. You’re allowed 1 large and 1 small luggage item per person.
Is this tour suitable for kids or limited mobility?
Children aged 7 and below must travel in a child safety car seat (you can hire seats for $20NZD per seat or bring your own). The tour is not recommended for travelers with limited mobility.