REVIEW · QUEENSTOWN
Private Full Day Photo Tour of Queenstown | Skippers | Glenorchy | Wanaka |Otago
Book on Viator →Operated by Aiste Photo Tours & Shoots · Bookable on Viator
Queenstown looks great in photos. The fun here is learning how to make it look that way, with a local photographer coaching you through the day. I like that the tour is built for all skill levels, with manual camera tutoring you can actually use on the spot. I also like the practical side: you get a 4WD ride with WiFi, plus a picnic-style lunch, and even receive 5–10 complimentary professional photos. One thing to consider is that you’re working around daylight and weather, so you may need to stay flexible with your timing and expectations.
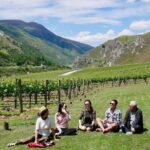
This is a true private photo day (just your group), and the itinerary is flexible: you choose the mix of Queenstown sights plus one or two longer-distance areas. You’ll drive out toward places like Skippers Canyon, Arrowtown, Glenorchy, Wanaka, and Kinloch, with stops shaped around what you want to photograph. Your guide is Aiste Photo Tours & Shoots, and her teaching style comes through in the reviews—people describe her as calm, professional, and going the extra mile to help you get the shots you came for.
If you’re hoping for a sit-and-snap tour, this isn’t that. It’s more like: ride, teach, shoot, adjust, repeat—so bring your camera (and a willingness to try a few settings), and you’ll have a great day.
In This Review
- Key things I think you’ll care about
- Why this Queenstown photo tour works better than DIY
- Your 8 hours: how the timing and route flexibility actually play out
- Stop 1: Queenstown start for real photo momentum
- Stop 2: Skippers Canyon for motion, angles, and a drive that feels like part of the shoot
- Stop 3: Arrowtown Village shots without the tourist-rush feeling
- Stop 4: Glenorchy and Kinloch for patient shooting and big “try again” moments
- Stop 5: Wanaka (and the Cardrona-area option) for variety that still stays organized
- Learning manual settings on the move (not as homework)
- The included pro photos, snacks, and 4WD comfort that lower the stress
- Price in context: $322.70 per person and what you’re really paying for
- Practical tips to get the best results from this kind of photo tour
- Should you book the Queenstown, Skippers, Glenorchy, Wanaka photo tour?
- FAQ
- How long is the private photo tour?
- What locations can be included on the tour?
- Is the tour suitable for beginners?
- Will I learn manual camera settings?
- Are meals and drinks included?
- Are photos included even if I don’t get the shots?
- What happens if weather is poor?
Key things I think you’ll care about
- A local photographer who teaches manual settings mid-drive and mid-shoot
- A flexible route across Southern Lakes areas like Skippers Canyon, Glenorchy, Wanaka, and Arrowtown
- 5–10 complimentary professional photos to fill in any gaps from your own shooting
- A 4WD with WiFi and pick-up options, so logistics are easier on a long day
- Small private group (2–4 people) for a more relaxed pace and real help when you ask
Why this Queenstown photo tour works better than DIY
If you’ve ever tried to photograph Queenstown on your own, you know the usual problem: you’ll get a few nice frames… and then you hit a wall. Maybe your camera is on Auto and you can’t control motion. Maybe your settings are fighting the light. Maybe you’re rushing between pull-offs that don’t quite match what you want.
This tour is built to remove that frustration. You’ll get hands-on guidance on manual settings, and the coaching happens between shots, not just at the start of the day. That matters because conditions change fast in the Southern Lakes—light shifts, scenery opens up, and the best camera choice might be different two minutes later.
I also like that the day isn’t locked into one script. You can spend more time where you want it, and you can choose only one or two longer-distance stops if you prefer a slower pace.
A small but meaningful plus: you’ll be traveling in an air-conditioned 4WD with WiFi on board. It doesn’t sound glamorous, but it helps a lot on a full day when you’re constantly checking light, swapping lenses, and planning your next angle.
You can also read our reviews of more private tours in Queenstown
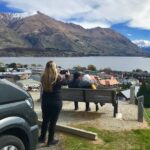
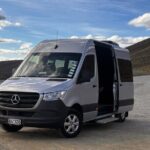
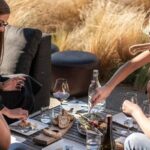
Your 8 hours: how the timing and route flexibility actually play out
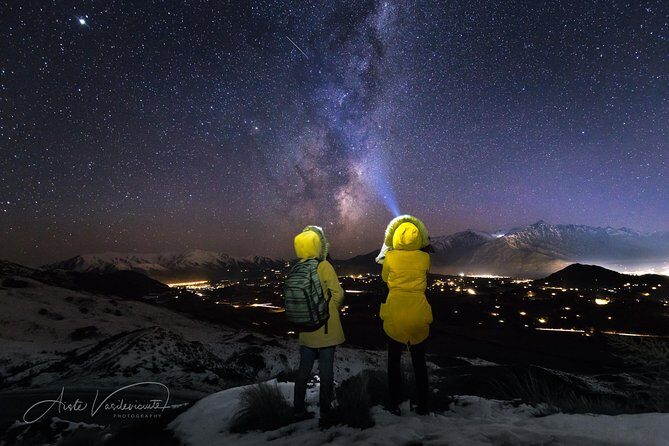
The tour runs about 8 hours, and it’s flexible in both where you go and when you start. That flexibility is the secret sauce. Queenstown photography depends on light and on how much driving time you want to trade for time at viewpoints.
You can expect a schedule that looks like this in practice:
- You start in Queenstown for your first round of practice and composition.
- You then head out toward scenic areas, with the option to include Skippers Canyon, Arrowtown, Glenorchy, Wanaka, and Kinloch.
- You can choose a couple longer-distance locations (places like Wanaka/Cardrona area, Glenorchy/Paradise area, or Skippers Canyon take about an hour from Queenstown).
That “one or two longer distances” note is important. If you try to fit everything in, you’ll spend half the day in the car and half the day wishing you were still set up at the last good spot. This tour gives you a better balance by letting you prioritize.
The tour is also designed as a private experience for solo visitors or small groups (2–4 people). That means the guide can slow down for you, or speed up if you’re already confident with manual settings.
Stop 1: Queenstown start for real photo momentum
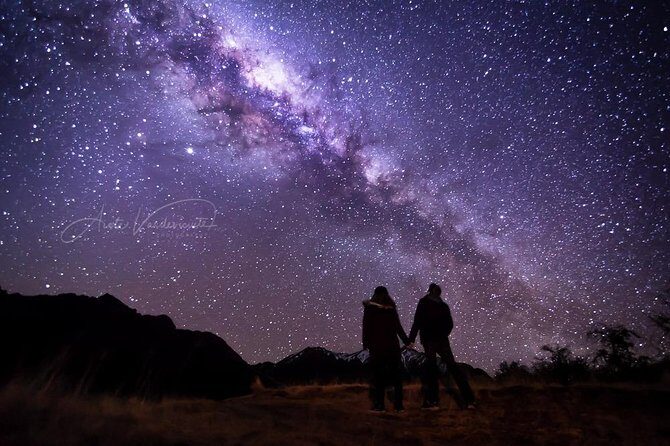
You’ll begin in Queenstown. This first stop is usually about getting you moving quickly—finding compositions, understanding how the light is behaving, and getting your camera set so you’re not constantly fixing things later.
Queenstown is a strong starting point because it gives you variety early. You’ll likely have easy opportunities to practice key fundamentals: exposure, focus choices, and how shutter speed affects motion. And since you’ll be getting tutoring as you go, you can correct mistakes immediately instead of carrying them through the whole day.
Also, starting in Queenstown helps if you’re still figuring out how your camera reacts. You don’t want your first “real” shot of the day to be the one where you accidentally choose the wrong setting and miss the timing.
Stop 2: Skippers Canyon for motion, angles, and a drive that feels like part of the shoot
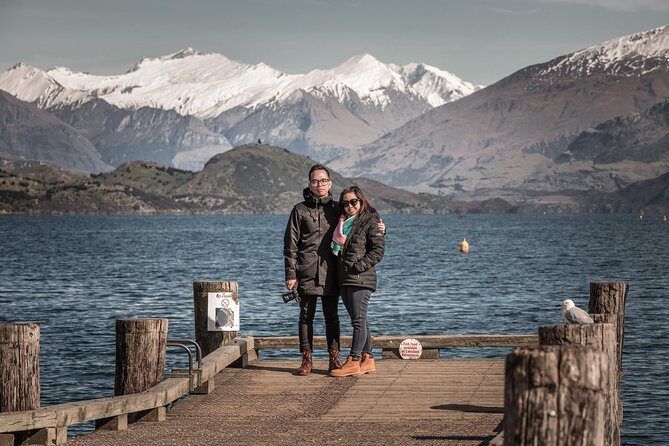
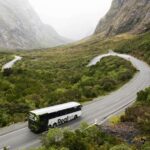
Skippers Canyon is a highlight on this tour. It’s also one of the best places for learning because you’ll run into real-world challenges: changing viewpoints, depth, and motion from being on the road.
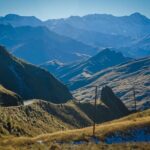
In the reviews, people specifically call out the drive through Skippers Canyon as exciting, and that’s a big deal for photography days. A scenic drive gives you repeated chances to frame the same area differently as you move—farther back, closer in, wider, tighter.
Here’s what to expect as you photograph there:
- You’ll need to think about shutter speed if you’re shooting something moving or you’re trying to keep images sharp while stopping and starting.
- You’ll likely want to adjust your exposure quickly as the light changes and trees or terrain block the sun.
- Your guide can help you decide what to prioritize: keeping the whole scene sharp, or focusing on a subject with more background separation.
One drawback to consider: canyon days can tempt you to rush. The best results usually come when you’re willing to pause, set up cleanly, and shoot a few angles rather than grabbing one quick frame and moving on.
Stop 3: Arrowtown Village shots without the tourist-rush feeling
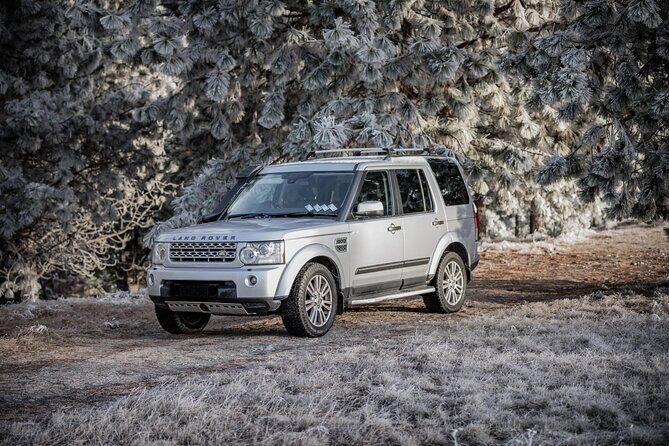
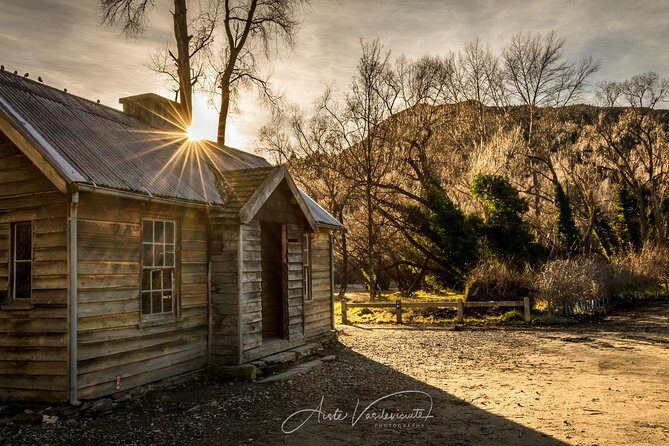
Arrowtown Village is another stop option. Even if you don’t know it well, a village area is useful because it offers different textures and photo subjects than open viewpoints.
This kind of location tends to work well for learning because you can practice:
- framing details and edges
- shooting with more controlled exposure than you might get with big bright skies
- composing with lines and streets rather than only trying to capture distant scenery
Since your itinerary is flexible, you can spend more or less time in Arrowtown depending on your style. If you like slower, story-like photos, this is the kind of stop that can deliver. If you’re chasing dramatic vistas only, you might prefer to spend less time here and more time on the longer drives.
You can also read our reviews of more photography tours in Queenstown
Stop 4: Glenorchy and Kinloch for patient shooting and big “try again” moments
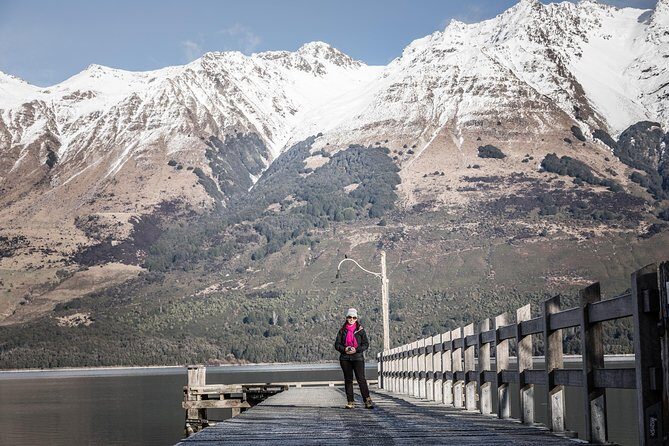
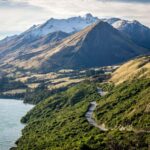
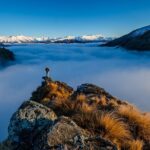
Glenorchy and Kinloch are mentioned as possible stops, and that matters because they support a different kind of photography pace. These areas are great when you want time to work a scene and re-frame it after the light shifts.
A useful way to think about these stops: they’re where manual settings coaching starts paying off. Once you have a baseline exposure in your head, you can start experimenting:
- changing shutter speed for brightness and motion feel
- adjusting ISO to handle darker areas or sudden changes in sky brightness
- deciding how much depth you want (more front-to-back sharpness vs. isolating a subject)
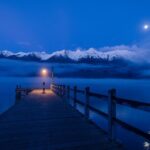
Reviews also mention sunrise light over the lake as a memorable moment. You don’t need to be a dawn photographer to benefit from that idea. Even if you’re not shooting sunrise, the lesson is the same: early and changing light gives you more to work with. And this tour’s flexible timing window makes it easier to plan around light.
If you’re the kind of photographer who hates waiting, these stops might feel slow. But if you like the “take a breath, shoot, adjust, repeat” rhythm, you’ll probably enjoy yourself.
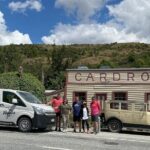
Stop 5: Wanaka (and the Cardrona-area option) for variety that still stays organized
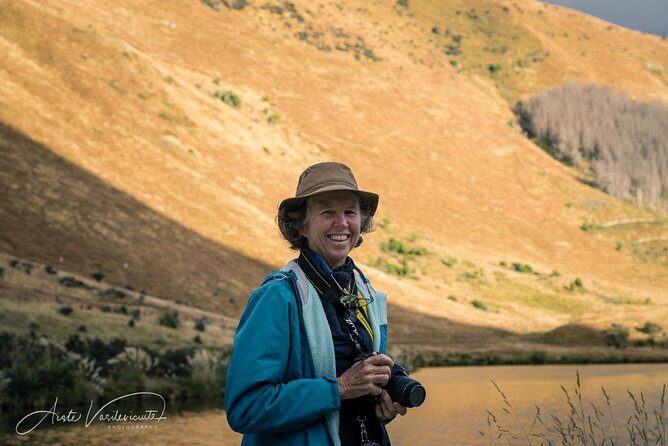
Wanaka is one of the most requested areas for a reason: it gives you variety in a day, without needing complicated logistics. And because your guide can tailor the itinerary, you can decide how much time you want there.
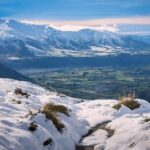
Wanaka and the Cardrona area are specifically called out as about an hour’s drive from Queenstown. That distance is long enough to make it a meaningful choice, but not so long that it eats the day.
In your Wanaka time, you’ll probably get opportunities that are good for:
- wide scenic frames and layered compositions
- adjusting settings quickly as you move between brighter and darker foregrounds
- practicing how to keep colors and exposure consistent while you shift angles
If you’re thinking, This is too much for one day, you’re right to question it. That’s exactly why this tour’s “choose one or two longer distance locations” approach matters. You can enjoy Wanaka without collapsing into a schedule panic.
Learning manual settings on the move (not as homework)
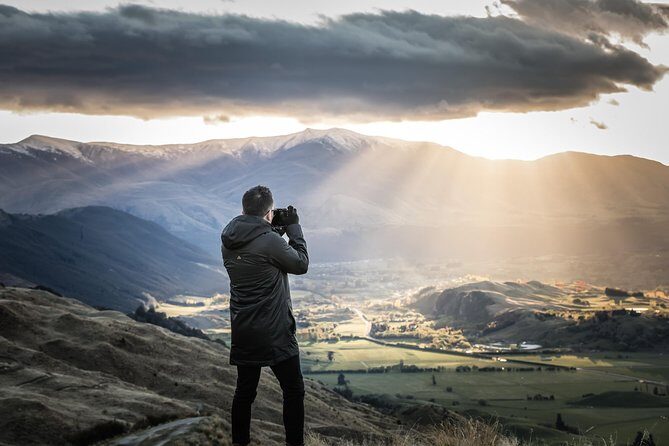
The standout feature here is photographic guidance with manual camera settings tutoring. This is not just theory. You’ll get tutoring between traveling and while you’re photographing, and it’s tailored to your level.
That adaptive approach is valuable because it prevents two common problems:
1) Beginners get talked over with jargon.
2) Advanced shooters feel stuck repeating basics.
The tour description is clear that the tutoring is suitable for absolute beginners through advanced photographers. In other words, you’re not required to know anything specific before you go, but you’ll still have room to go deeper if you already shoot manual.
Here’s what that kind of coaching should help you do fast:
- choose shutter speed based on whether you want crisp detail or a motion feel
- set aperture for the depth you want in a scene
- use ISO in a way that matches changing light
- focus decisions that keep your subject sharp when the background is busy
Also, since you’re in a moving 4WD schedule, the guide can help you decide when it’s worth stopping and when it’s better to keep driving to the next angle.
The included pro photos, snacks, and 4WD comfort that lower the stress
You get 5–10 complimentary professional photographs included. This is one of those small line items that can make a big difference. It means you’re not starting the day with the whole burden on your own camera skills. If you miss a shot, or the light changes faster than you expected, you still leave with polished images.
That’s especially helpful on a photography day because not every frame works. Sometimes it’s your settings. Sometimes it’s wind. Sometimes it’s just the moment passing. Having those pro photos gives you peace of mind.
On the comfort side:
- Coffee, tea, and bottled water are included.
- You’ll have picnic lunch and snacks (plus a light lunch is listed in the inclusions).
- You travel in an air-conditioned 4WD with WiFi on board.
- Your guide holds a first aid certificate.
None of this replaces good planning, but it does reduce the “what now” stress. And on an 8-hour tour, stress is the enemy of good photos.
Price in context: $322.70 per person and what you’re really paying for
At $322.70 per person, this tour isn’t cheap. But it also isn’t only paying for driving to scenic spots. You’re paying for:
- a private guide who teaches you in real time
- manual camera coaching matched to your skill level
- a flexible route across multiple Southern Lakes areas
- included pro photos (5–10 images)
- the small-group advantage (2–4 people) for less waiting around
If you’re coming with a camera and you want to grow your skills, the value is easier to justify. One good hour of coaching at the right location can save you weeks of trial-and-error later.
If you’re mostly there for sightseeing photos with minimal setup, you might feel the cost more than the learning benefits. In that case, ask yourself: do you want to leave with more than pretty pictures? Do you want to understand your settings enough to repeat the results on your own later? If yes, this price can start looking fair.
Weather also matters. The tour notes it requires good weather, and if it’s canceled due to poor weather, you’ll be offered a different date or a full refund. That’s not a guarantee of perfect conditions, but it reduces the risk.
Practical tips to get the best results from this kind of photo tour
You’ll have a better day if you treat this like a workshop with wheels.
Pack for manual shooting. Even if you’re a beginner, bring what you normally use. If you have lenses that cover wide and mid-range, that flexibility helps across city/road/vista stops.
Be ready to stop and restart. The route is flexible, and you’ll likely move between viewpoint types. That means quick setup matters—tripods are optional based on your style, but you should be able to shoot efficiently.
Wear comfortable layers. A long day plus changing light means temperatures can shift while you’re photographing outside.
Give the guide context early. If you tell Aiste what you want—sharp landscapes (in the general sense), portraits, motion effects, or lake-and-mountain frames—she can steer your practice shots toward your goal.
Finally, don’t chase only one “perfect” frame. Manual settings learning works best when you shoot a short series, tweak one thing, and compare results. That’s where the tutoring becomes addictive—in a good way.
Should you book the Queenstown, Skippers, Glenorchy, Wanaka photo tour?
I’d book this if you want a guided photo day that actually teaches. It’s a strong fit if you:
- want coaching on manual camera settings rather than just scenic stops
- like the idea of a flexible full-day route across Queenstown and surrounding areas
- appreciate getting extra help through included professional photos
- prefer a small, private group so you’re not competing for attention
I’d skip or rethink it if you only want a casual drive with minimal camera effort. The tour works best when you’re ready to shoot, adjust, and learn between stops.
If you’re on the fence, the best sign is the guide’s reputation for creating a photo experience people describe as magical and specifically rooted in getting those sunrise/light moments and canyon-drive excitement right. Aiste’s approach comes across as professional and hands-on, which is exactly what you want when you’re trying to improve fast in a short amount of time.
FAQ
How long is the private photo tour?
It runs for about 8 hours.
What locations can be included on the tour?
You can photograph in Queenstown and choose among areas such as Skippers Canyon, Arrowtown Village, Glenorchy, Wanaka, and Kinloch. You can also select options like Wanaka & Cardrona or Glenorchy & Paradise, depending on your timing.
Is the tour suitable for beginners?
Yes. The tutoring is tailored to your level, from absolute beginner to advanced.
Will I learn manual camera settings?
Yes. You’ll be taught manual camera settings as part of the photographic guidance during the day.
Are meals and drinks included?
Yes. You’ll have coffee, tea, bottled water, plus a picnic lunch and snacks/light lunch.
Are photos included even if I don’t get the shots?
Yes. You’ll receive 5–10 complimentary professional photographs included with the tour.
What happens if weather is poor?
The experience requires good weather. If it’s canceled due to poor weather, you’ll be offered a different date or a full refund.