REVIEW · AUCKLAND
Auckland Coastal Experience – Small Group City & Beach Tour Incl. Wine Tasting
Book on Viator →Operated by ExperienceKart · Bookable on Viator
Auckland is a city made for sea views. This full-day small-group route strings together harbour viewpoints and two included wine tastings, taking you from the Waitematā and Hauraki Gulf coast to the Tasman Sea black sand at Muriwai. One heads-up: the Muriwai Gannet Colony stop may be suspended due to recent coastal damage.
I like how the day feels efficient without feeling rushed. You get complimentary hotel pickup and drop-off in Auckland CBD, plus a temperature-controlled minibus, water, refreshments, and even high-speed internet for the ride.
Finally, you’re not stuck with a faceless coach vibe. The tour runs with a local escort, and past guests have mentioned guides such as Karthik and Kat as friendly and well-practiced at showing the sights—just remember that alcohol is tasting-included only if you’re 18+ with valid ID.
In This Review
- Key Things I’d Prioritize on This Tour
- Why This Auckland Coast-to-Coast Route Makes Sense
- Price and What $232.71 Really Buys You
- Meet-Up, Pickup, and the Smooth Ride Setup
- Auckland Central to the Harbour Bridge Waterfront: Getting Oriented Fast
- Bastion Point and Achilles Point: Skyline Photos With Sea-Wind Attitude
- Auckland Domain, Then Devonport: A Breather Before the North Shore Views
- The Coastal Drive Through Kohimarama, Mission Bay, and Tamaki Drive
- Westbrook Winery: First Tasting, First Decision Point
- Muriwai Black Sand Beach: The Wild West Coast Payoff
- About the Muriwai Gannet Colony stop (important right now)
- Soljans Estate Winery: Second Tasting and a Last Set of Choices
- Pacing, Walking Style, and What to Wear
- Who This Tour Fits Best
- Should You Book This Auckland Coastal Experience Tour?
- FAQ
- What time does the Auckland Coastal Experience tour start?
- How long is the tour?
- Is pickup and drop-off included, and where does it start?
- Are the wine tastings included in the price?
- Can I drink alcohol on the tour if I’m under 18?
- Is lunch included?
- Is the Muriwai Gannet Colony visit guaranteed?
- How many people are in the group?
Key Things I’d Prioritize on This Tour
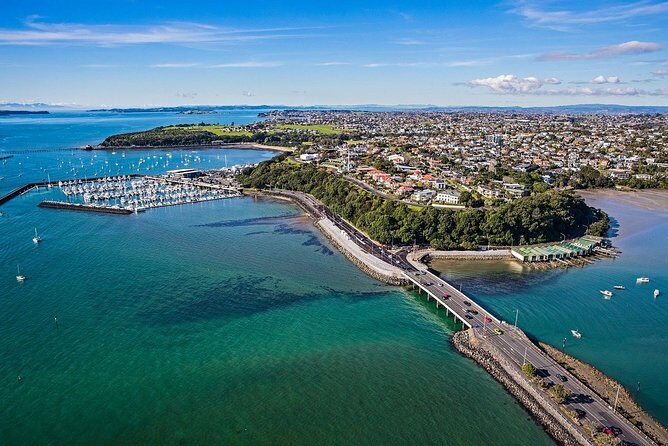
- Five-plus viewpoints with real photo angles across Waitematā Harbour, the Hauraki Gulf, and the coast
- Two winery tastings included at Westbrook Winery and Soljans Estate Winery
- Iconic stops that help you orient fast (Harbour Bridge waterfront, Bastion Point, Devonport)
- Flexible time for coffee and lunch options around Mission Bay and at the wineries (not included)
- Black sand at Muriwai is the big nature payoff, while gannet viewing depends on current conditions
Why This Auckland Coast-to-Coast Route Makes Sense
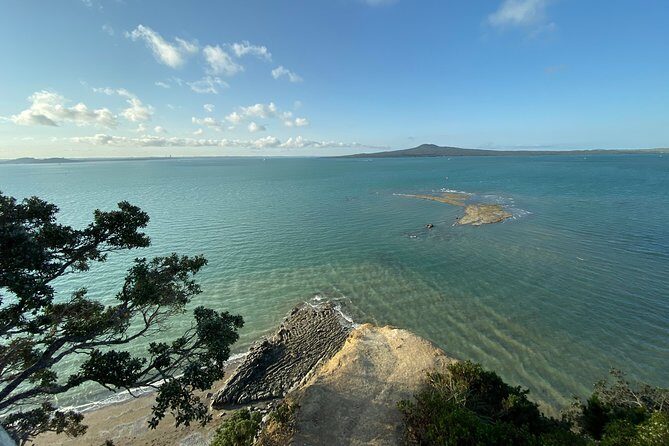
Auckland can feel spread out. This tour fixes that with one smart path: start on the harbour side, sweep across the city’s viewpoints, then head west to the wild Tasman Sea and finish with wine before returning to town.
What makes it good value is the mix of view + taste + orientation. You’ll see a “big Auckland” picture in a single day: the engineering icon of the Auckland Harbour Bridge, skyline lookouts over the Hauraki Gulf, and the dramatic contrast of black sand beaches. And because it’s a small group—listed as up to 11 people for the tour format and capped at a maximum of 16 for the activity—you get time to ask questions and stop for photos without feeling like cattle.
The day’s also built around short, manageable stops. That matters in Auckland, because the weather can shift. Even when clouds roll in, the viewpoints still help you understand where everything sits on the map.
You can also read our reviews of more food & drink experiences in Auckland



Price and What $232.71 Really Buys You
At $232.71 per person for about 8 hours, the headline cost looks steep until you price out what’s included.
Here’s what you’re paying for that you’d otherwise piece together yourself:
- Return transfers plus hotel pickup/drop-off in Auckland CBD
- Temperature-controlled transport (minibus), with water and refreshments on board
- A guided escort for the whole route
- Multiple photo stops and viewpoint time across the city
- Wine tasting at two vineyards, including alcoholic beverages during tastings
Because both winery visits are included, the price lands closer to a “day package” than a basic sightseeing loop. The trade-off: meals aren’t included, so you’ll want a plan for lunch (more on that later). Also, alcohol requires valid photo ID and age 18+.
Meet-Up, Pickup, and the Smooth Ride Setup
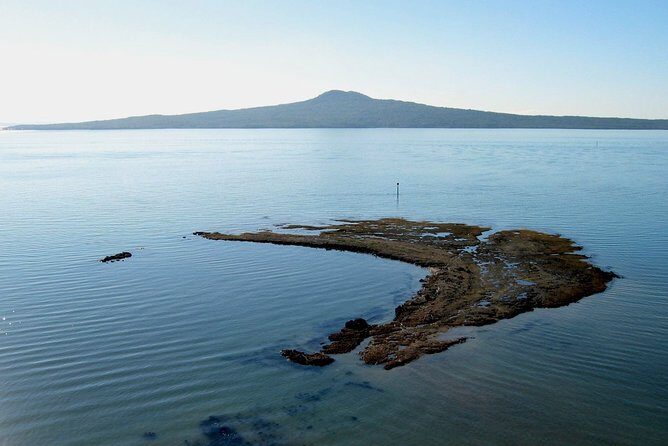
The tour starts at 8:00 am at the Mövenpick Hotel Auckland, 8 Customs Street East. It ends back at the same meeting point.
Pickup is designed to be easy. The operator offers complimentary pickup and drop-off from Auckland CBD, with the note that if your location isn’t on the standard list, you can contact them and they’ll do their best to accommodate.
Once you’re on the minibus, comfort is genuinely part of the product:
- Temperature-controlled vehicle
- High-speed internet on-board
- Water and refreshments included
It’s a useful blend for a city-day that includes walking on sand and cliffs. You won’t feel like you’re stuck waiting outside between stops, and you’re not trying to navigate parking or car-splitting across different Auckland neighborhoods.
Auckland Central to the Harbour Bridge Waterfront: Getting Oriented Fast
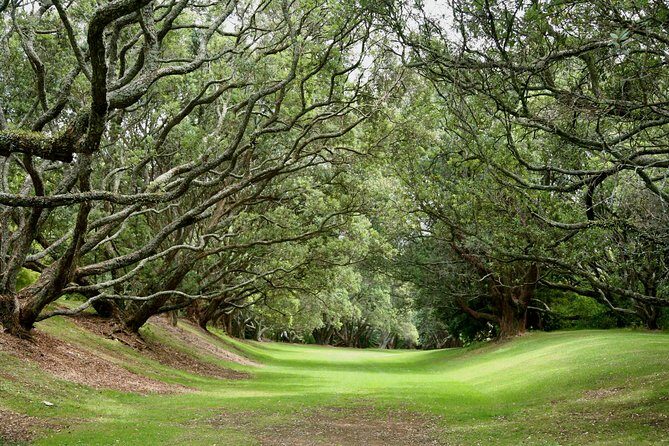
Your day begins with the simple stuff done well: get from your hotel into the loop without hauling luggage or hunting transit.
From Auckland Central, you’ll head to the Auckland Harbour Bridge area along the waterfront, with a stop near Curran Street. The key here isn’t a long stroll—it’s the shot-making moment. You’ll see the bridge plus Watchman Island from a vantage point that’s set up for photos, and you’ll get enough time to turn your phone camera on without rushing.
Then the tour continues to the Westhaven Marina, which is one of the best ways to visualize Auckland’s relationship with the sea. It’s the kind of place where you see how seriously Aucklanders take boating, and it also gives you another waterfront angle to compare with the bridge views.
These early stops are the tour’s orientation foundation. After them, every later viewpoint feels easier to place in your mental map.
Bastion Point and Achilles Point: Skyline Photos With Sea-Wind Attitude
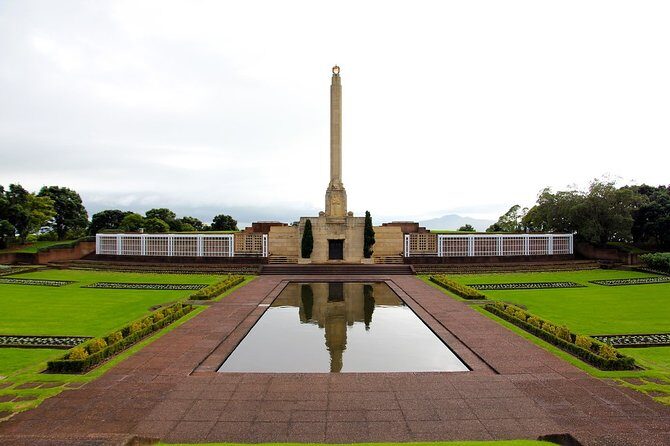
If you like viewpoints, this is where the day starts paying off.
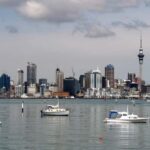
At Bastion Point, you get magnificent views over the Hauraki Gulf and Waitematā Harbour and a skyline angle back toward central Auckland. This is the kind of spot where you can take quick photos, then just stand and watch boats move. It’s peaceful, and it gives you a sense of scale.
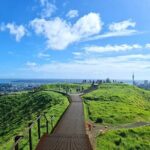
Next comes Achilles Point. The name story is part of what makes the stop interesting: it was originally called Te Pane o Horoiwi, tied to Māori history, and later renamed in 1940 to honor the crewed ship HMS Achilles. In practice, you’re there for the coastline view and the dramatic feel of the headland—less about museum time, more about standing where the city meets the water.
One practical note: these points can be breezy. Bring a layer, even if Auckland feels warm when you leave your hotel.
You can also read our reviews of more city tours in Auckland


Auckland Domain, Then Devonport: A Breather Before the North Shore Views

Between the city’s harbour viewpoints and the wine stops, the route gives you an adjustment period.
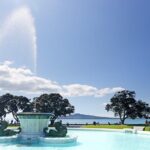
There’s time at Auckland Domain, described as surprisingly large, with spots to sit and relax. One small detail worth noting: there’s a duck pond with a fountain, which makes this stop feel like a pause rather than another checklist.
Then you head to the North Shore for Devonport. Devonport is one of the easiest places in Auckland to understand the city from across the water, because it gives you a strong “looking back” perspective. The tour also includes the bridge crossing to get there, and that’s part of the experience: you feel how close the harbour is to daily life.
Even though Devonport is listed as a shorter stop, the payoff is clear—expect a strong city-and-harbour perspective and plenty of photo chances.
The Coastal Drive Through Kohimarama, Mission Bay, and Tamaki Drive

After Devonport, or rather around the mid-route city coast segment, you’ll do a coastal drive through Kohimarama, Mission Bay, and Tamaki Drive.
This section matters because it shows you Auckland’s rhythm between suburbs and sea. Tamaki Drive is famous for a reason: it’s a straightforward way to see why locals talk about the water so much.
The timing is also useful. The route notes that reaching Mission Bay around lunch time lets you explore cafes and restaurants on your own. Lunch isn’t included on the tour, so this is your cue to grab something you actually want, not something you settle for. If you’re picky about coffee, this is the best window of the day to get it.
Westbrook Winery: First Tasting, First Decision Point
Midday includes wine at Westbrook Winery with about an hour on site. This is one of the day’s structured experiences: you’ll get a guided tasting with a range of wines meant to suit different tastes.
You’ll also have the option to buy lunch at your own expense. That means you can choose to eat now (if you want to pair food with the first tasting) or keep it light and save your calories for later.
A practical tip: pace your tasting. Even if you don’t plan to drink much, wine tastings are meant to be sampled. It’s still a full day with more viewpoints and sand walks after this.
Muriwai Black Sand Beach: The Wild West Coast Payoff
Then comes the change of scenery: Muriwai Beach on the Tasman Sea coast.
This is the part that most people picture when they think Auckland beyond the city center—rugged coastline, raw surf energy, and the unusual black sand that gives the beach its dramatic look.
Time at Muriwai is listed as around 30 minutes for exploring the area. That’s not long enough for a marathon walk, but it’s enough to:
- see the black sand in good light,
- get your photos with cliffs and ocean in the background,
- and feel that stark coastal power without spending hours commuting.
About the Muriwai Gannet Colony stop (important right now)
The tour includes a Muriwai Gannet Colony element, described as a seasonal walk often available from September to April. But there’s a clear update: the gannet colony visit is suspended until further notice because of damages from flooding and large slips.
So if gannets are your must-see, treat this as a potential miss. You can still enjoy the black sand coastline, but don’t plan your whole day around bird spotting. If you’re going during the typical season, you might still see birds in the area, but the structured colony visit is not guaranteed based on current conditions.
Soljans Estate Winery: Second Tasting and a Last Set of Choices
After Muriwai, the tour shifts back to wine at Soljans Estate Winery, again with tasting time included (about 30 minutes).
This stop is shorter than the first winery visit, so it’s more about tasting than lingering. The tasting includes varietals such as Sauvignon Blanc, Merlot Cabernet, and Pinot Gri… (the list is cut off in the details provided, but those examples are named). Expect you’ll get guided pour-and-learn time and a chance to compare what you liked earlier.
Alcohol rules still apply. If you plan to taste, bring your valid photo ID and plan to be 18+.
Pacing, Walking Style, and What to Wear
This is an easygoing day on paper, but it includes a few key physical moments.
The tour notes scenic walks are short and optional, with average fitness required and closed-toe shoes recommended. It also calls out the basics you should take seriously in Auckland:
- comfortable clothing
- walking footwear
- sun protection
- a jacket or warm layer (especially if you’re visiting in cooler months)
- any essentials you always bring
Because you’re walking on sand and near coastal terrain, closed-toe footwear is not just a nicety. It’ll save your day if the ground is uneven or gritty.
Who This Tour Fits Best
This tour is a great match if you want:
- a fast intro to Auckland’s coastline without doing rentals,
- a small group day with time for photos,
- and wine tasting that doesn’t require planning two separate vineyard visits.
It also works for different ages because it’s designed around average fitness, with short optional walks. The main caveat is alcohol: if you’re under 18, you can still enjoy the day, but tastings won’t be part of your plan unless you’re of age with ID.
If you’re the type who hates being in a vehicle most of the day, this may feel like a long tour—because it is. But it’s a long day packed with stops, not a long day of driving with nothing to show for it.
Should You Book This Auckland Coastal Experience Tour?
I’d book it if you want a one-day Auckland sampler that’s more about viewpoints and coastal mood than indoor attractions. The mix of Harbour Bridge + Bastion Point/Achilles Point + Devonport + Muriwai black sand, plus wine tastings at two vineyards, gives you multiple “Auckland moments” in a single outing.
I’d think twice if gannet spotting is a must, because the Muriwai Gannet Colony visit is suspended right now. I’d also come with a lunch plan since no meals are included, even though the day is timed to give you a Mission Bay window to eat out.
Bottom line: if you like scenic drives, photo stops, and a couple of vineyard tastings without heavy logistics, this is a solid buy. Just dress for wind and sand, bring your camera, and plan for food on your own.
FAQ
What time does the Auckland Coastal Experience tour start?
It starts at 8:00 am.
How long is the tour?
The duration is listed as approximately 8 hours.
Is pickup and drop-off included, and where does it start?
Yes. There’s complimentary pickup and drop-off from Auckland CBD. The meeting point is the Mövenpick Hotel Auckland, 8 Customs Street East, and the tour ends back at the meeting point.
Are the wine tastings included in the price?
Yes. Wine tasting at two vineyards is included, and alcoholic beverages are part of the tastings.
Can I drink alcohol on the tour if I’m under 18?
To consume alcohol, you must be at least 18 years old and present a valid photo ID.
Is lunch included?
No. Breakfast, lunch, and dinner are not included. You can purchase lunch at your own expense, including at the wineries, and you may have time around Mission Bay to find food.
Is the Muriwai Gannet Colony visit guaranteed?
No. The visit is described as seasonal, but it is currently suspended until further notice due to damage from flooding and large slips.
How many people are in the group?
This activity lists a maximum of 16 travelers.