REVIEW · AUCKLAND
Auckland Full Day Attractions & Museums Tour
Book on Viator →Operated by Kowi Tour · Bookable on Viator
Seven stops, one easy Auckland day.
This full-day tour strings together major sights with serious variety—harbour skyline angles, volcanic viewpoint time, and indoor culture stops—so you get a fast feel for how Auckland works. I particularly like the quick orientation you get at the Auckland Harbour Bridge and the big-survey views from Mount Eden, both ideal if you want to understand the city in one outing.
You’re also set up for an easy day: an air-conditioned vehicle, a guide and driver, and admission costs covered for key stops like Auckland Museum. The only real drawback is the day runs about 7 hours, so it’s not the kind of tour where you can linger forever in every place—plan to prioritize photos, not long reads.
In This Review
- Key Things to Know Before You Go
- A 7-Hour Auckland Hit List That Feels Like a Personal Day
- Price and What You Actually Get for $217.20
- Getting Around: Pickup, Air-Conditioning, and Small Groups
- Stop 1: Auckland Harbour Bridge for Fast City Orientation
- Stop 2: Mount Eden (Maungawhau) Viewpoint Time at 196 Meters
- Stop 3: Auckland War Memorial Museum for History and Culture Indoors
- Stop 4: Auckland Domain Winter Gardens for Historic Green Quiet
- Stop 5: Holy Trinity Cathedral in Parnell for Architecture and Atmosphere
- Stop 6: Achilles Point for Panoramic Hauraki Gulf Views
- Stop 7: Auckland Art Gallery Toi o Tāmaki for Top Art in the City Core
- Who This Tour Suits Best (And Who Might Prefer Something Else)
- What to Bring So the Day Feels Easy
- Should You Book This Auckland Full Day Attractions & Museums Tour?
- FAQ
- What time does the tour start?
- How long is the Auckland Full Day Attractions & Museums Tour?
- Is pickup included?
- Is this tour for small groups?
- Are tickets for Auckland Museum included?
- Are tickets for Holy Trinity Cathedral included?
- Is food and drink included in the price?
- Is there free cancellation?
Key Things to Know Before You Go
- A tightly packed 7-hour route connects harbour, volcanic views, museums, gardens, a cathedral, a gulf lookout, and a top art gallery.
- Most admissions are free on this route, with ticket costs included for Auckland Museum and Holy Trinity Cathedral.
- Small group size (max 11) keeps the pace comfortable, especially for photo stops and viewpoint timing.
- Air-conditioned transport makes the drive time easier, particularly if it’s warm or muggy.
- Mobile ticket + pickup offered helps the day feel organized from the start.
- You end back at the meeting point, so you’re not left figuring out where you land after the last stop.
A 7-Hour Auckland Hit List That Feels Like a Personal Day
This isn’t a slow, meandering “pick one thing and sit in it” kind of day. It’s more like a well-planned highlights tour: stop, look, learn, move on. That works well in Auckland, because the city rewards you for switching environments—water views, hillside viewpoints, historic buildings, and museum-grade indoor time.
I also like that the route balances open-air sights with destinations that give you something to do when you’d rather not just stand in the wind. With a guide handling the driving and timing, you can focus on what matters: catching the viewpoint angles and getting a bit of context at each stop.
You can also read our reviews of more museum experiences in Auckland



Price and What You Actually Get for $217.20
At $217.20 per person, you’re paying for the full structure of the day: transport, guide and driver, parking fees, and admission coverage where it counts. The value piece is that you don’t pay for every stop again. Auckland Museum general entrance fees and Holy Trinity Cathedral admission are included, while several other major locations are free to enter.
What’s not included is also important. Food and drink aren’t part of the package, and there’s a note that a Maori Performance ticket is not included. If you like having lunch planned, you’ll want to bring snacks or budget time to buy something during the day.
In practice, this pricing makes the most sense if you’d otherwise spend money on taxis plus museum entries plus a guide to connect the dots. If you already have your own transport and don’t care about guided context, you could do it cheaper on your own. But if you want one smooth day that covers a lot of Auckland without stress, the cost starts to feel fair.
Getting Around: Pickup, Air-Conditioning, and Small Groups

This tour runs for about 7 hours and includes pickup offered, with a mobile ticket. The vehicle is air-conditioned and there’s a guide and driver, plus fuel surcharge and GST included—so you aren’t doing last-minute math.
The group limit is up to 11 travelers. That matters more than you might think. In Auckland, viewpoints and popular city stops can get tight. A smaller group helps you move as a unit, get in position quickly, and avoid the stop-and-go frustration that comes with larger tours.
Stop 1: Auckland Harbour Bridge for Fast City Orientation
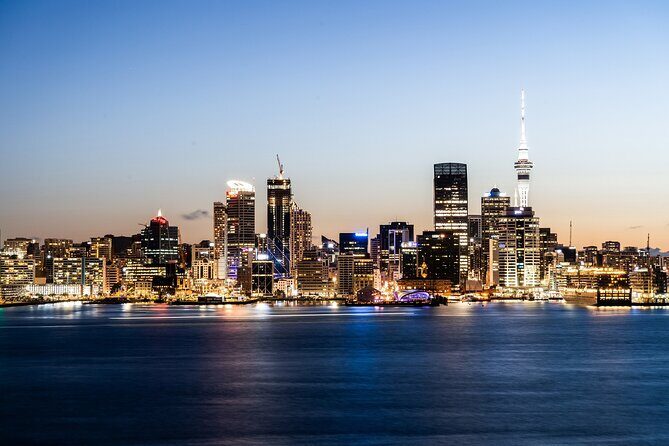
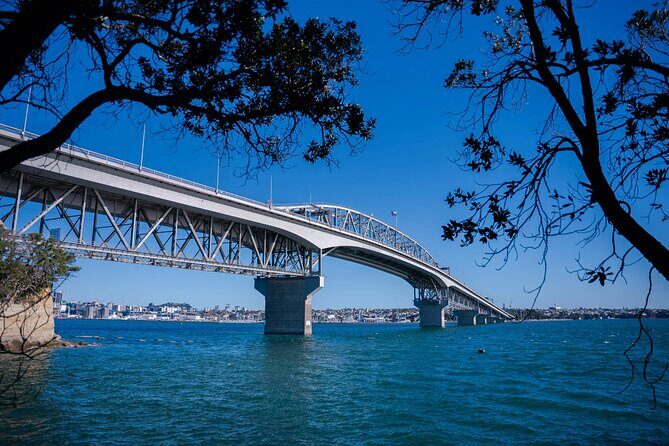
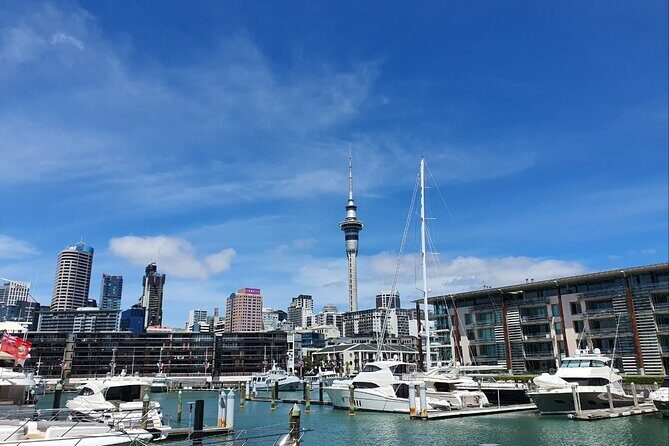
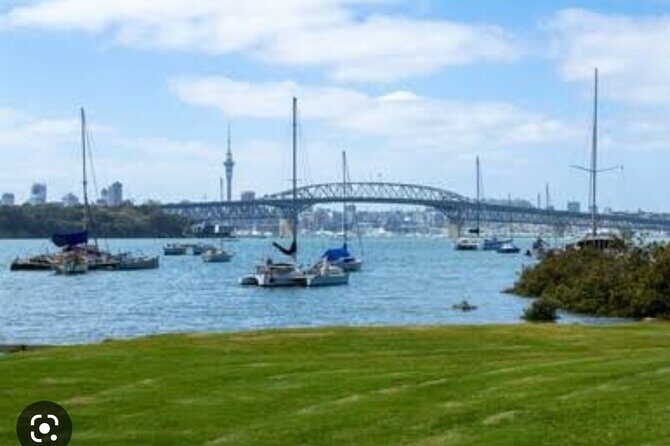
You kick off at the Auckland Harbour Bridge, free and about 20 minutes. This is a smart first stop because it gives you a big geographic anchor right away. The bridge spans the Waitematā Harbour and links the CBD with the North Shore, so you immediately understand why Auckland looks the way it does—city center energy on one side, water and neighborhoods opening up on the other.
This is also a useful photo moment if you’re trying to learn the skyline. Even a short visit can help you recognize landmarks later, especially once you’re seeing viewpoints above the harbour for the rest of the day.
Practical tip: if you care about photos, arrive ready to shoot quickly. Twenty minutes disappears fast once people start trading angles.
Stop 2: Mount Eden (Maungawhau) Viewpoint Time at 196 Meters

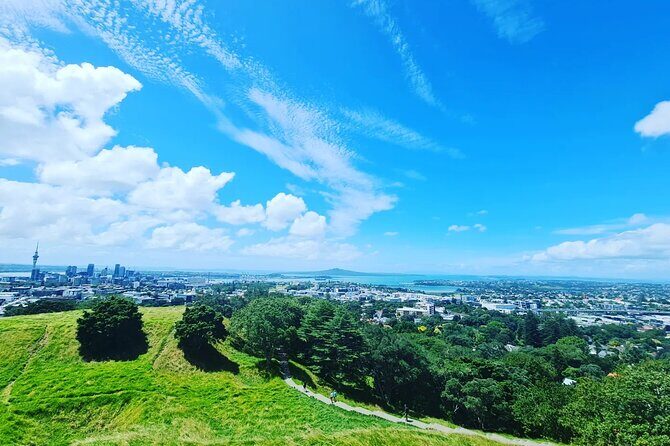
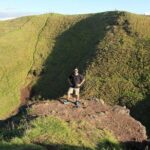
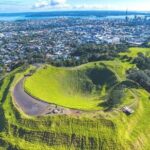
Next up is Mount Eden, also free, with about an hour to enjoy it. Mount Eden, or Maungawhau in Māori, is one of Auckland’s iconic lookouts, and the height is the whole point—at 196 meters, it gives you the kind of overview that makes the city snap into focus.
This stop is one of the best “you get more than you expected” moments on the day. It’s not just pretty views. It helps you connect why places are where they are—how the harbour, suburbs, and volcanic shapes fit together.
A consideration: if the weather is gray, the view is still useful for getting your bearings, but the dramatic panorama may be less impressive. Either way, an hour is a good window because you can take photos and still have time to just stand and look.
A few more Auckland tours and experiences worth a look


Stop 3: Auckland War Memorial Museum for History and Culture Indoors
The Auckland Museum stop runs about 1 hour 30 minutes, and the general entrance is included. This is the day’s deeper indoor anchor, and it’s a great choice after two viewpoint-heavy stops. Even if you’re not a “museum person,” a place like the Auckland War Memorial Museum tends to help you read the city as more than scenery.
The key value here is context. You’re not just getting a set of locations—you’re getting cultural and historical perspective tied to New Zealand’s identity. And the fact that the admission is included removes one more decision from your day, which makes the overall experience feel smoother.
If you like museums but you don’t want to get stuck, use the 90-minute window strategically: pick a few sections that catch your eye and move with intention. That way you leave feeling informed, not exhausted.
Stop 4: Auckland Domain Winter Gardens for Historic Green Quiet
After the museum, you head to the Winter Garden Auckland Domain for about 30 minutes. This is a free stop and one of the nicer pace-breakers on the route.
The Auckland Domain is Auckland’s oldest park, and the Wintergardens sit within it. These gardens are historically significant, and they’re designed as separate sections rather than one single feature. That means the short time you have can still feel varied—you’ll likely want to slow down a touch and notice the different garden areas rather than rushing through.
If you’re the type who likes photos, this stop can pay off even in a quick window. Soft lighting and garden structure often make better pictures than the harsh brightness that can happen at open viewpoints.
Stop 5: Holy Trinity Cathedral in Parnell for Architecture and Atmosphere
Holy Trinity Cathedral is next, included in the cost and about 30 minutes. It’s located in Parnell, just minutes from Auckland’s city centre, which makes it a convenient but meaningful break from the more outdoors-based stops.
This stop works because it’s both spiritual and architectural. Even if you don’t stay for a service, the building’s design and setting tend to create a distinct mood. It’s also a good contrast after the gardens—more structure, more lines, and a chance to reset your senses.
Practical note: cathedral interiors are often dimmer than you expect outside. If you want photos, check your camera settings ahead of time and don’t block anyone’s view.
Stop 6: Achilles Point for Panoramic Hauraki Gulf Views
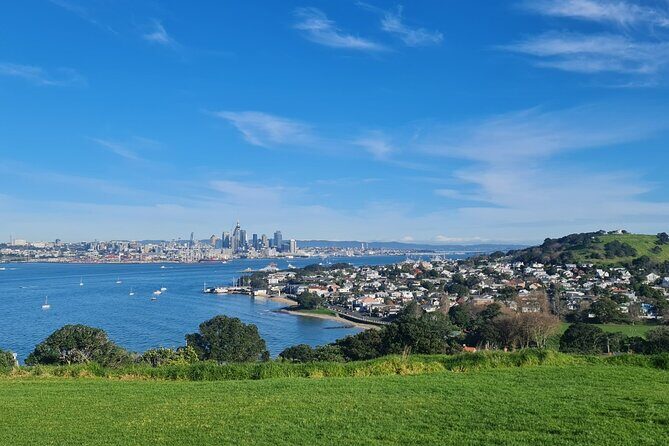
Then you’re off to Achilles Point, free and about 30 minutes. This is a classic Auckland-style payoff: a scenic lookout at the eastern end of St Heliers Bay, with panoramic views over the Hauraki Gulf.
This stop is valuable because it’s not just “another viewpoint.” It’s positioned to give you water-focused perspective, and that’s a different kind of sight than the harbour-and-city angle you saw earlier at the bridge and Mount Eden.
A consideration: since you only get about half an hour, you’ll want to decide quickly where you want your photos and where you just want to stand and look. If the wind is up, keep your time tight. If conditions are clear, don’t rush—this is one of those places where the whole point is looking.
Stop 7: Auckland Art Gallery Toi o Tāmaki for Top Art in the City Core
You finish at the Auckland Art Gallery Toi o Tāmaki for about 1 hour 30 minutes, and the entrance is free. This is one of the best closing choices on the itinerary because it gives you a “final brain reset” after outdoor views.
The Auckland Art Gallery Toi o Tāmaki is described as New Zealand’s largest art gallery and a premier art experience. It’s also right next to Albert Park in the city centre, so the location itself is convenient—easy to get your footing with Auckland’s layout after spending the day moving around.
If art isn’t your thing, you can still use the time well. Don’t try to see everything. Instead, focus on a couple of areas or exhibits that match your interests. The goal is to leave with a sense of what the gallery represents, not to tick every box.
Who This Tour Suits Best (And Who Might Prefer Something Else)
This tour fits you best if you want a high-value Auckland sampler in one day. It’s especially good for first-timers who need orientation fast: you get the CBD-bridge relationship, volcanic skyline context, and water views, plus culture stops like Auckland Museum and the cathedral.
It also suits travelers who don’t want to self-drive across multiple neighborhoods and manage parking and ticketing. With guide-led timing, included entrances, and an air-conditioned vehicle, the day stays organized.
If you’re the type who hates feeling rushed, or you want long museum time and slow wandering, you may find the schedule a bit tight. In that case, you might prefer a more flexible plan focused on one or two areas rather than seven stops.
What to Bring So the Day Feels Easy
Even with transport and key admissions covered, you’ll enjoy the day more if you come prepared for the variety of settings.
- Wear comfortable walking shoes for viewpoints and garden paths.
- Bring a light layer for lookout stops, since coastal air can change how you feel.
- Pack water and a snack because food and drink aren’t included.
- If you like photos, bring a phone charger or power bank for a full day of picture-taking.
Should You Book This Auckland Full Day Attractions & Museums Tour?
Book it if you want one well-balanced Auckland day that mixes iconic scenery with included culture stops—and you’d rather pay for organization than spend your vacation time planning logistics.
I’d also lean toward booking if you like the idea of a small group (up to 11) and a guide-driven rhythm that helps you hit major locations without losing half the day to transit.
Skip it or adjust expectations if you strongly prefer slower pacing, long museum immersion, or you want a food-first day plan. This is a highlights route, and the best experience comes when you treat it like that: a structured day to see a lot, get oriented, and leave with clear memories of what Auckland feels like.
FAQ
What time does the tour start?
The tour starts at 9:30 am.
How long is the Auckland Full Day Attractions & Museums Tour?
The duration is approximately 7 hours.
Is pickup included?
Pickup is offered.
Is this tour for small groups?
Yes. The maximum group size is 11 travelers.
Are tickets for Auckland Museum included?
Yes. Auckland Museum general entrance fees are included.
Are tickets for Holy Trinity Cathedral included?
Yes. Holy Trinity Cathedral admission ticket is included.
Is food and drink included in the price?
No. Food and drink are not included.
Is there free cancellation?
Yes. You can cancel up to 24 hours in advance for a full refund.