REVIEW · NAPIER
Half Day Sightseeing and Taste Tour
Book on Viator →Operated by john · Bookable on Viator
Te Mata Peak plus tastings sounds like a good day in Hawke’s Bay, and this tour does it in a tight half-day plan. You’ll cover 100+ km by minivan, with a driver who narrates the region as you go and time built in for photos and buying local treats. The pacing is flexible too, so it can stretch a bit if your day needs it.
What I like most is the combo: first you get the big scenery (river valley views and a climb to Te Mata Peak), then you switch gears to hands-on food stops like honey, wine, cheese, and figs. And with a maximum group size of 10 travelers, you’re not stuck listening through the back of a coach.
One thing to consider: this is still a minivan tour with set stop times, and Te Mata Peak’s viewpoint is reached via a steep drive—great for photos, but not a good fit if you’re sensitive to height or want lots of wandering time at each stop.
In This Review
- Key highlights worth circling
- A small-group van route that mixes views with real local flavor
- Tukituki River valley: photo stops with farmland details
- Te Mata Peak: the quick, dramatic viewpoint stop
- Art Deco Napier drive and earthquake context
- Arataki Honey Visitor Centre: live hives and multiple honey tastings
- Askerne Vineyards: wine tasting plus a locally made cheese platter
- Te Mata Figs: quick sweet stops and energy for the ride back
- Oak Road and the historic trees planted in 1874
- Price and value: what you’re really paying for at $99.29
- What this tour feels like in real time (3 to 4 hours)
- Who should book this Napier sights and taste tour
- Should you book it
- FAQ
- How long is the Half Day Sightseeing and Taste Tour?
- What’s included in the tour price?
- Is pickup available?
- How many people are in the group?
- Where does the tour take you?
- Is there WiFi on the vehicle?
- Is food included?
- Can I buy items during the tour?
- What’s the cancellation policy?
Key highlights worth circling

- Small group cap (10 people) for a more personal route and easier conversation
- Te Mata Peak (399 m elevation) with a quick, scenic top-of-hill photo window
- Arataki Honey Visitor Centre with live bees you can view through windowed hives
- Askerne Vineyards tasting that comes with a locally produced cheese platter
- Te Mata Figs for quick sweet snacks plus coffee/ice cream options
- Art Deco Napier drive with guide explanations tied to the earthquake story
A small-group van route that mixes views with real local flavor
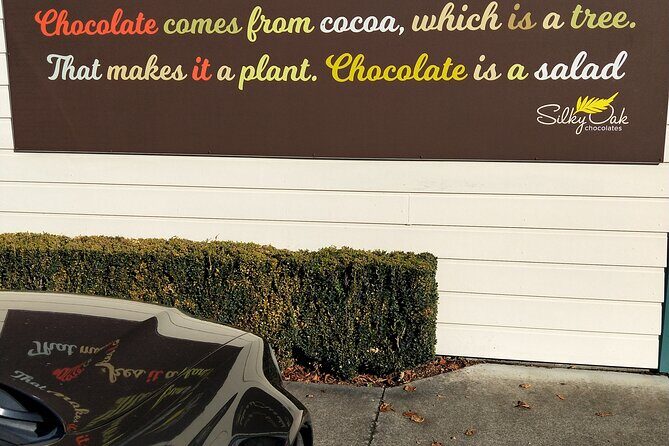
This is a practical half-day that’s built for orientation. You get to see a broad sweep of Hawke’s Bay around Napier—rivers, farmland, and viewpoints—without having to drive yourself. The minivan is air-conditioned, and there’s WiFi on board, which helps if you’re doing trip planning on the go.
The route is structured like this: you start with sightseeing, then shift into the tasting side after you’ve taken in the scenery. That order matters. After a couple of viewpoint stops, you’re ready for honey, wine, cheese, and fig products—rather than feeling like you’re eating your way through a day that you haven’t even seen yet.
Group size is a big deal here. With a maximum of 10 people, you tend to get clearer narration and easier access to questions—especially on days when schedules are tight (like cruise port days). Pickup is offered, so you can show up and let the driver handle the steering and timing.
You can also read our reviews of more tours and experiences in Napier.
Tukituki River valley: photo stops with farmland details
Your first major stop is the Tukituki River area. This is where the tour leans into “Hawke’s Bay in motion”: you drive through the TukiTuki valley, then pause for photos along the way. The guide explains the river history and points out what’s around you—grazing animals, lush farmland, and the agricultural rhythm that defines this part of New Zealand.
Why this works: a river valley stop is not just a pretty stretch of road. You’ll get context for what you’re seeing—how the land is used and why people settled and farmed here. Even if you only catch a few minutes at each photo point, the narration helps you “read” the scenery instead of just snapping pictures.
What to watch: this is a short window (about 30 minutes). If you want long walks or a long photo session at one spot, don’t expect that. You’re collecting moments, not spending hours hiking.
Te Mata Peak: the quick, dramatic viewpoint stop
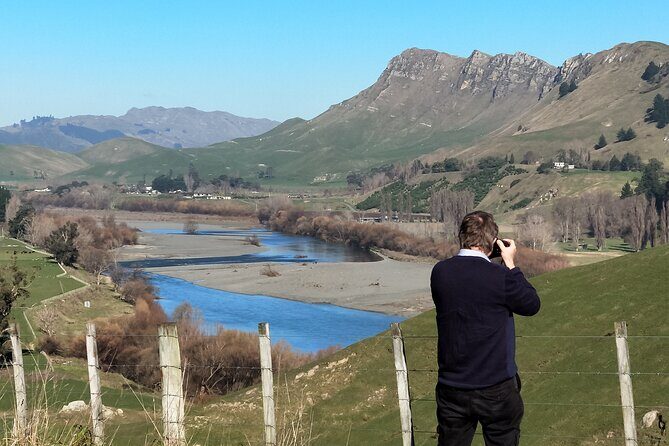
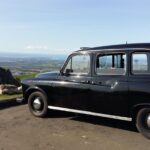
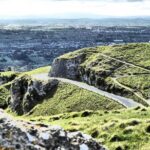
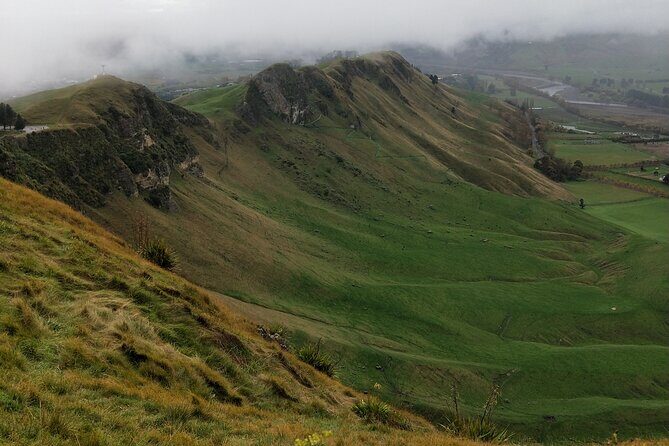
Next comes Te Mata Peak, reached by driving up to the top. It sits about 399 meters above sea level, and the payoff is straightforward: wide views and great angles for photos. The stop time is around 15 minutes, so it’s designed for quick viewing and then back into the van.
This is the stop you’ll remember on a tight schedule. You go from farmland and river scenery to a clear “big sky” viewpoint, and the guide points out features you might miss if you were driving on your own.
Practical note: the viewpoint time is short. Wear comfortable shoes for the steps and uneven surfaces near viewpoint areas. If it’s windy or cool up there, bring a light layer—you’ll feel it more at height.
Art Deco Napier drive and earthquake context
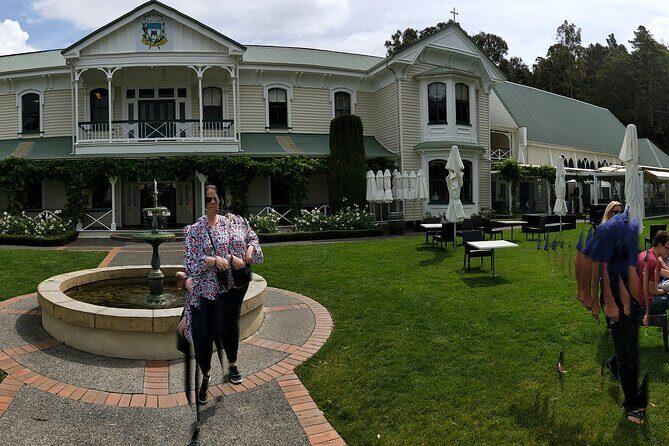
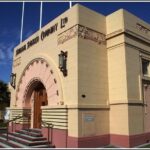
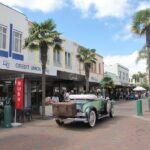
Between the countryside stops, the tour brings you back toward Napier’s famous Art Deco character. You’ll see the Art Deco architecture explained in connection with the earthquake that shaped the city.
This is one of those moments that upgrades your travel photos. Without the guide’s explanation, Art Deco buildings can look like just another style. With the context, you start noticing details and understanding why Napier rebuilt the way it did.
Timing-wise, this is often done by driving through rather than long walking time. If you love architecture and want deeper exploration, you’ll probably use this drive as your “preview,” then come back later under your own steam.
Arataki Honey Visitor Centre: live hives and multiple honey tastings
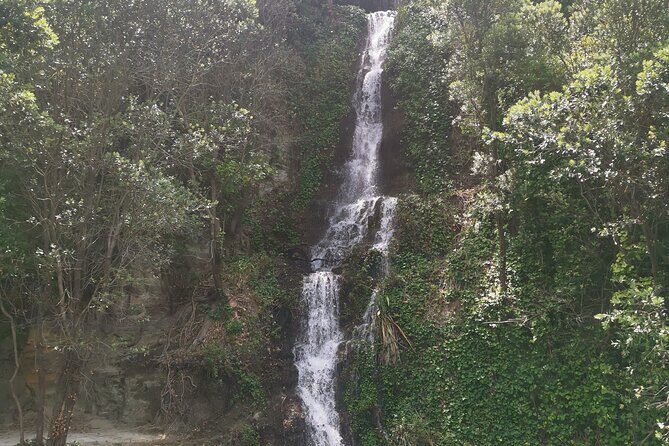
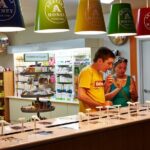
The tasting side kicks off at the Arataki Honey Visitor Centre. Here, the tour becomes more hands-on. You get taken through the experience, including a look at live bees. The hives have a window that lets you see the bees working up close.
Then it’s tasting time. Expect to sample a range of honeys—one review-style detail included tasting about 10 different honeys during the visit. That’s a key part of why this stop feels worth the time: you’re not just buying one jar and moving on. You’re learning how flavors can differ.
Why you’ll enjoy it: seeing bees through the window adds a “real world” layer. You get curiosity, then you get the flavor payoff. It’s a straightforward learning moment that doesn’t drag.
Possible drawback: honey tasting is short by design (about 20 minutes). If you want to linger with staff, compare lots of products, or spend extra time shopping, you may feel time-compressed. Still, you’ll leave with ideas for what to buy.
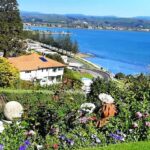
Askerne Vineyards: wine tasting plus a locally made cheese platter
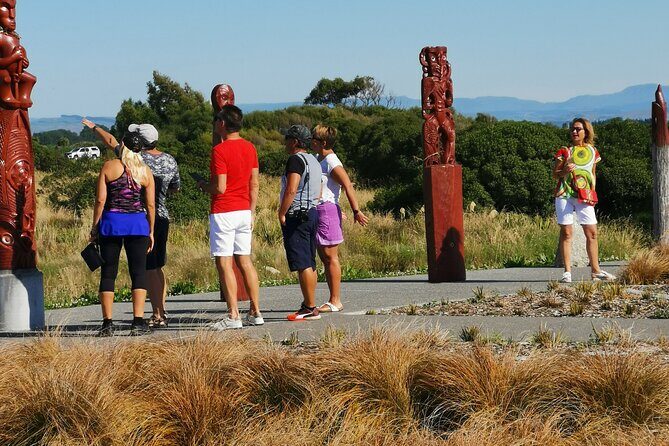
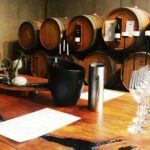
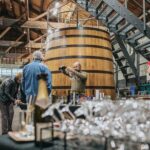
The tour’s main winery stop is Askerne Vineyards. Plan for about 45 minutes here, which is generous for a half-day. Wine tasting is included, and you’ll also get to enjoy a cheese platter made with locally produced cheese.
The best practical detail: tastings come with enough food support that you won’t feel rushed or overwhelmed. Cheese and crackers (and other small bites) help you pace yourself while tasting multiple wines.
You also have options to purchase wines if you want to take something back. This is one reason I like pairing a tasting stop like this with earlier sightseeing: you’re not trying to decide what to buy while you’re still “travel tired.”
What to watch: wine tasting means there’s alcohol involved. If you’re the kind of person who doesn’t do well with even small amounts, pace yourself and consider having water. Also remember you still have more stops after this—so don’t overdo it.
Te Mata Figs: quick sweet stops and energy for the ride back
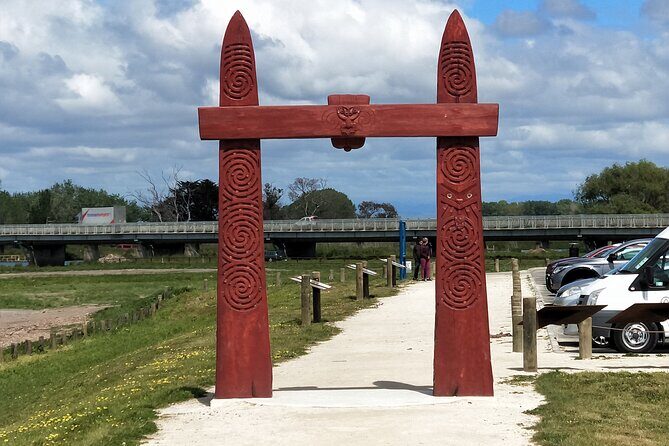
Then comes Te Mata Figs, where you can taste fresh fig products. The tour keeps this stop short (about 15 minutes), but it’s useful. If wine and cheese made you slow down, fig products can feel like a reset—sweet, fruit-forward, and great for taking home.
You’ll also have time for a light snack and optional extras like coffee or ice cream. That matters more than it sounds. A half-day tour moves fast, and a small sugar-and-coffee moment can make the last stretch feel easier.
Drawback to consider: this isn’t a long marketplace stroll. You get to taste and grab a few things, then you’re on to the final sight stop.
Oak Road and the historic trees planted in 1874
Your last sightseeing stop is Oak Road, the historic oak avenue planted in 1874 by J.D. Ormond as a drive-way to his house. You’ll stop for photo opportunities and the guide explains why this road matters.
This is a nice palate cleanser after food stops. Instead of eating, you’re looking at living history: trees that have stood for a long time and a road that tells you something about the people who shaped the area.
Time is again tight—about 15 minutes—so treat it like a photo-and-learn moment rather than a long walk.
Price and value: what you’re really paying for at $99.29
At $99.29 per person, this isn’t a “free roaming” casual drive. You’re paying for four things that add up fast on a short schedule:
- Transportation and a driver guide who handles routing, timing, and narration.
- A packed route that covers multiple zones: river valley, Te Mata Peak, countryside viewpoints, Napier architecture context, and then several food stops.
- Included tastings where you don’t have to guess whether things are “worth it.” Wine tasting with a cheese platter is a clear value anchor, and honey viewing plus tasting is another.
- A small group format (max 10 people), which often makes a half-day tour feel less like “bus tourism.”
If you were to do these stops on your own by car, you’d still spend time getting from place to place and then spend your “vacation hours” figuring out what to book and when. This tour compresses that decision-making and adds local commentary you can’t easily replicate from a map.
If you’re already planning to eat and drink heavily around town, you might wonder if you need the tastings. But the tour is built so tastings aren’t random—they connect to the region’s farming and product stories you’re seeing from the road.
What this tour feels like in real time (3 to 4 hours)
The tour runs about 3 to 4 hours, with travel time included in that total. In practice, the route can run closer to the longer end depending on timing needs. For example, one reason people get good results on this tour is that the guide can adjust the plan if schedules change.
You’ll likely feel the structure as:
- drive + photo stops,
- quick viewpoint then quick tasting transitions,
- finish with historic scenery and a final chance to buy items.
Because the stops are short and intentional, you won’t feel lost or stuck for long stretches. You will still be “on the clock,” so if you want hours of wandering at one site, this format isn’t that.
Who should book this Napier sights and taste tour
This tour is a strong fit if you:
- want a fast overview of Napier and Hawke’s Bay without driving yourself
- like food tourism with actual tastings (honey, wine, cheese, fig products)
- enjoy a guide who makes the trip fun and keeps it moving
- are in town for a cruise-style timing window or a short stay
You might look at another option if you:
- want lots of time in one place to explore deeply on foot
- hate any alcohol tasting (wine is included)
- prefer totally free, do-it-yourself pacing
One more balanced note: there was at least one unhappy review that criticized the tone of the guide’s comments and said it involved disparaging the native population. If that matters to you, pay attention to the guide’s communication style during the tour and consider asking how they approach local culture and language before joining.
Should you book it
Yes, I’d book this tour if you want the best “half-day return on time.” You get big viewpoint payoff at Te Mata Peak, a clear sense of Hawke’s Bay agriculture from the river valley, and then tastings that don’t feel like filler. The small group size helps a lot, and the wine-and-cheese stop plus honey and figs are a smart mix of sweet and savory.
Book it especially if you’re new to Napier and want to leave with a short list of things to buy or come back for later. If you’re sensitive to short stop times or you want alcohol-free, you can still enjoy parts of it—but be ready to pace yourself and maybe swap purchases for non-alcohol treats.
FAQ
How long is the Half Day Sightseeing and Taste Tour?
It runs about 3 to 4 hours, and the travel time is included in the total duration.
What’s included in the tour price?
The tour includes private transportation (air-conditioned vehicle), WiFi on board, and tastings such as wine at Askerne Vineyards. Wine tasting and the cheese platter at the winery are included.
Is pickup available?
Yes, pickup is offered.
How many people are in the group?
The tour has a maximum of 10 travelers.
Where does the tour take you?
You’ll visit the Tukituki River photo stops, Te Mata Peak, Arataki Honey Visitor Centre, Askerne Vineyards, Te Mata Figs, and Oak Road, plus driving through Napier’s Art Deco area with commentary about the earthquake.
Is there WiFi on the vehicle?
Yes, WiFi is provided on board.
Is food included?
Food and drink are not listed as broadly included. However, wine tasting and a cheese platter are included at Askerne Vineyards, and you’ll have tasting experiences at honey and fig stops.
Can I buy items during the tour?
Yes. The stops are set up with time for tasting and the opportunity to purchase local products.
What’s the cancellation policy?
Free cancellation is available up to 24 hours in advance of the experience start time for a full refund.