REVIEW · CANTERBURY
Lyttelton Shore Excursion – Guided Walking Tour and Picnic
Book on Viator →Operated by Crater Rim Walks · Bookable on Viator
Godley Head rewards every step. This small-group walking tour ties together coastal café time, a black-sand beach stop, and a guided Godley Head Loop with WWII sights plus big Southern Alps views. You also get chances to spot seals, dolphins, and native birds along the way.
I particularly like the pacing. You start with pickup from Lyttelton Port in an air-conditioned minivan, then you’re given plenty of breaks so photos and short rests don’t feel rushed. Another win: walking poles are included, which makes the undulating track feel more manageable for a wide range of hikers.
The main thing to consider is weather. This outing depends on good conditions, and the track includes some inclines, so bring shoes with grip and plan for a moderate effort.
In This Review
- Key Things I’d Focus On Before You Go
- From Lyttelton Port to Sumner Beach: a smooth start with real payoff
- Sumner Beach coffee (Cave Rock): the easiest way to set the mood
- Taylors Mistake’s black-sand stop: outfitted, fed, and ready
- Godley Head Loop Track: where the views meet WWII landmarks
- Boulder Bay picnic lunch: the break that makes the climb feel worth it
- How the timing and pacing feel across a 5-hour day
- Value at $186.17: what you’re really paying for
- Who this tour suits best (and who should think twice)
- Should you book this Godley Head walking tour from Lyttelton?
- FAQ
- How long is the Lyttelton Shore Excursion guided walking tour and picnic?
- Where do I meet for the tour?
- Is pickup and drop-off included?
- What hiking route will we walk?
- What’s included for food and drinks?
- Are walking poles provided?
- What happens if the weather is bad?
Key Things I’d Focus On Before You Go
- Small group (max 10): easier movement, more conversation, fewer bottlenecks on the trail.
- Included walking poles: they help on the uneven, rolling parts of the route.
- Wildlife chances: seals, dolphins, and native birds are often seen during the tour.
- WWII markers on Godley Head: the walking comes with history you can actually see.
- Picnic lunch at Boulder Bay: a real payoff spot with Southern Alps views.
- Calm, photo-friendly timing: built-in pauses so you can enjoy the coastline, not just hike through it.
From Lyttelton Port to Sumner Beach: a smooth start with real payoff
If you’re coming from a cruise or you just don’t want to wrestle with local transport, the pickup is one of the best parts of the day. You meet at Lyttelton Harbour / Whakaraupō, then ride out in a 12-seater, air-conditioned minivan. The ride to the first stop is about 10 minutes, which keeps the tour feeling like a day out—not a long commute.
What I like about this setup is how it protects your energy. By the time you reach Sumner Beach (Cave Rock area), you’re not already tired from transit or searching for parking. And because the group is small (up to 10 people), the start feels relaxed. You can focus on the view and the fact that you’re actually going to walk a proper route later, not just stroll.
Also: the tour includes a planned flow with return drop-off at Lyttelton Port at the end. If there’s time, you can even request an extra drop into Christchurch City—handy if you want to top off the day with food or a quick wander on your own.
You can also read our reviews of more tours and experiences in Canterbury.

Sumner Beach coffee (Cave Rock): the easiest way to set the mood
The tour begins with an easy win: coffee and/or tea at Sumner Beach. It’s a casual start—hot drink, deck time, and you get to take in the coastal scene before you head toward the hike section.
This stop matters more than it sounds. On a walking day, a warm drink does two things: it settles your pacing and it gives your body a gentle ramp-up. It also sets the tone for the rest of the tour, because you’re about to walk a track where weather can shift fast. Getting your bearings early helps you enjoy the ups and downs without feeling behind.
One more plus: the coastline around Lyttelton is the kind of place where wildlife can show up when conditions are right. The tour commonly includes sightings like seals and dolphins, plus native birds. Even if you don’t see everything, this is exactly the sort of coastline where you’re watching anyway—so the “chance factor” adds fun instead of stress.
Taylors Mistake’s black-sand stop: outfitted, fed, and ready
Next you head to Taylors Mistake—a black-sand surf beach with small coastal homes (the kind locals call baches). This stop is short, about 30 minutes, but it’s not filler time. It’s where the guide gets you ready for the hike section in a practical way.
Here’s what you can expect during this part:
- You’ll receive backpacks and walking poles (poles are also included in the overall tour).
- You’re handed water bottles, snacks, and your lunch setup.
- The guide does prep so you know what to carry and what to expect next.
Why this stop is valuable: it removes the mental work from the hike. Instead of you trying to figure out what to pack or scramble to eat later, you’re set up by someone who’s done the route and knows how the timing works.
Also, the black-sand setting shifts the vibe. Sumner feels like a café-view opener; Taylors Mistake gives you that rougher, more dramatic coastline look right before you hit the Godley Head track.
Godley Head Loop Track: where the views meet WWII landmarks
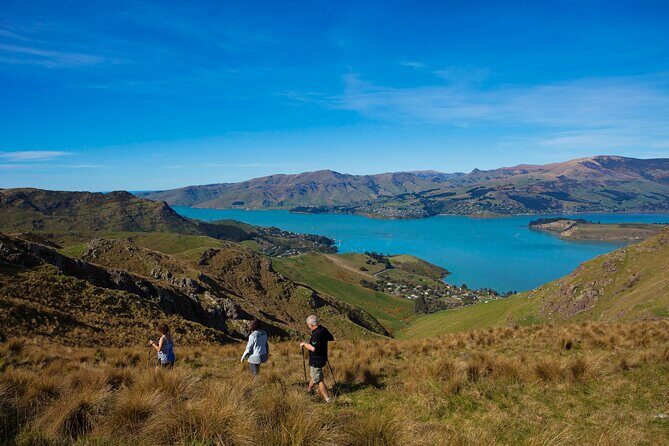
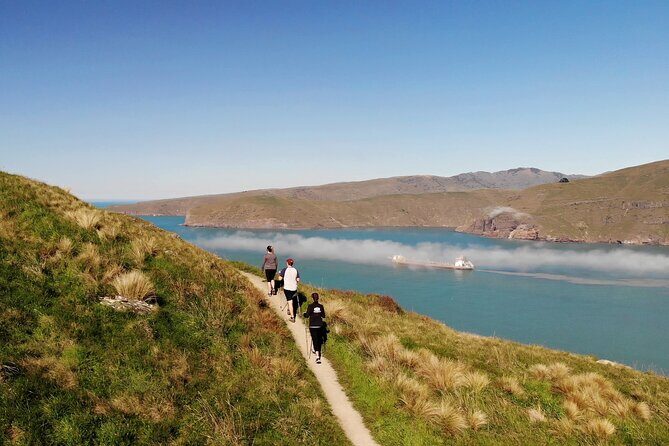
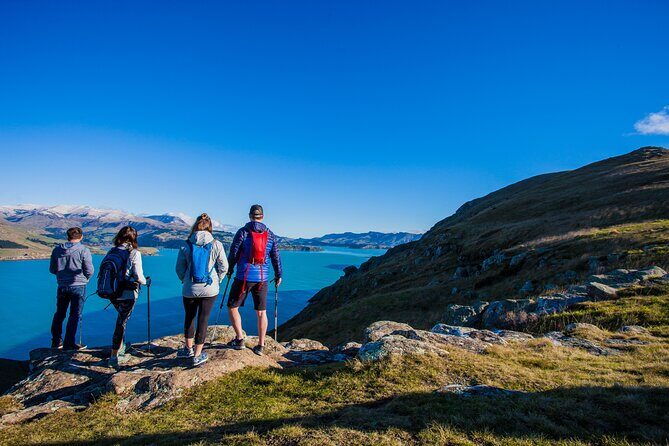
This is the main event: the Godley Head Loop Track, about 3 hours of guided walking. The route is described as well-maintained with undulating terrain. Translation: you’ll get rolling climbs and descents, not a flat boardwalk. But it’s also not portrayed as a technical hike. With the poles and the built-in stops, it works for a lot of people who are comfortable with a moderate workout.
The group pace is part of what makes this section enjoyable. You get plenty of time between scenery stops, so you can pause for photos and look around instead of feeling like you’re being pushed from one landmark to the next. In the happiest days, that pacing is what turns a “walk” into a proper experience.
What you’ll see along the way:
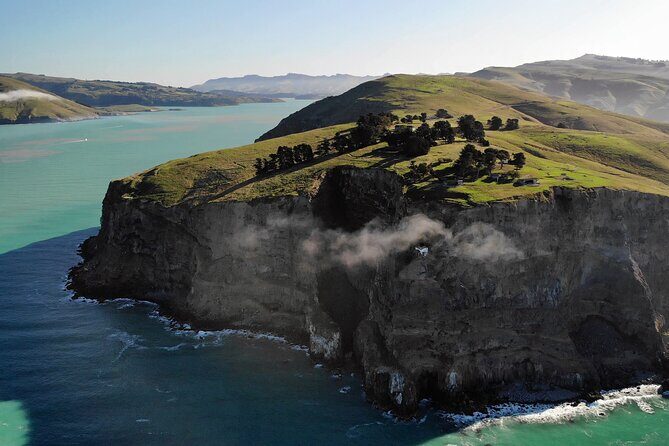
- coastal views over the water
- historic World War II landmarks and features connected to the headland
- points like Scott’s Hutt (not something you’d casually stumble into on your own)
One practical note: there are inclines. Some people go in thinking it’ll be easy, then feel the hill work once they’re on the loop. The upside is that it’s spread out, and the guide can help you keep a steady rhythm—especially with poles.
And yes, this is where you’ll likely spot more wildlife. Coastal walking plus your guide’s eyes for movement can lead to native birds and the occasional seal or dolphin sighting if conditions line up.
Boulder Bay picnic lunch: the break that makes the climb feel worth it
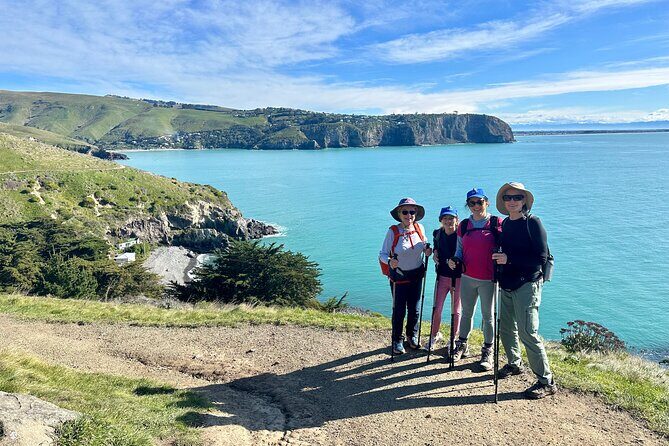
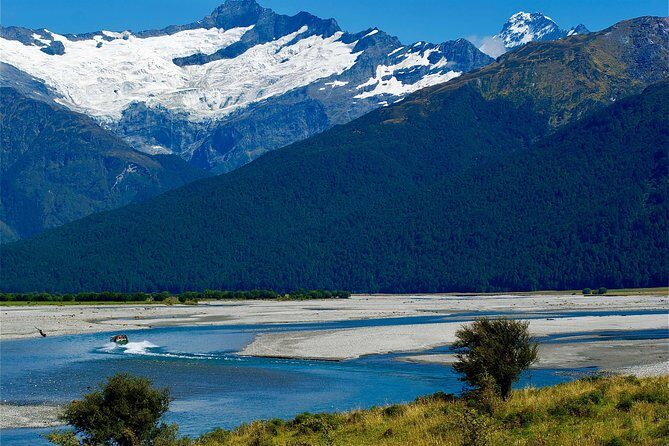
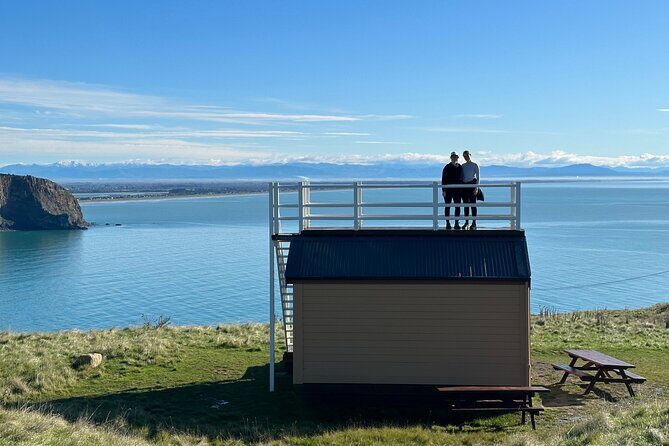
After the main walking portion, you reach the lunch moment: picnic lunch at Boulder Bay. This isn’t just “here’s food, keep moving.” The picnic is set in a spot with striking vistas of the Southern Alps, which makes the break feel like a reward instead of a pause you tolerate.
Because your lunch is planned into the day, you can think about your energy management without guessing. You’re already carrying what you need from the Taylors Mistake stop, and the schedule is structured so you don’t wander around hungry while everyone waits.
The way the tour handles breaks is a big deal. You’re not forced into a single photo spot with a strict photo line. You can take your time, settle your breath, and eat while you look out. That’s the difference between a “busy hike” and a day that feels like you actually got out to see the area.
How the timing and pacing feel across a 5-hour day
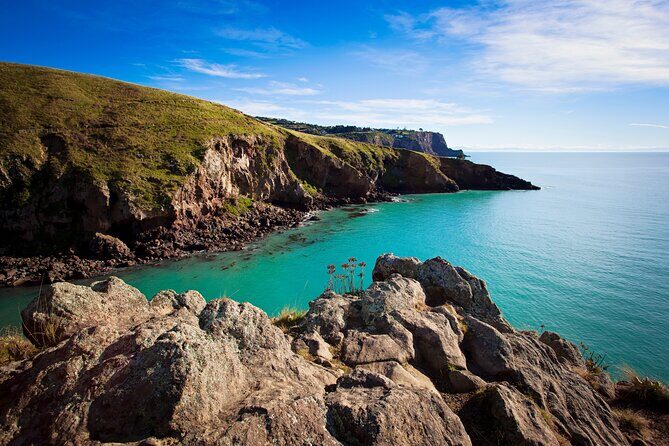
The total tour time is about 5 hours. It’s not a half-day nap-and-snack outing; it’s a working, guided walk with meaningful stops. Still, the schedule has a calm rhythm:
- Sumner Beach: about 1 hour for coffee and views
- Taylors Mistake: about 30 minutes for prep and beach time
- Godley Head Loop: about 3 hours of walking
- Back in Lyttelton: about 30 minutes for return and options if there’s time
This flow matters because it reduces the usual hiking-day problem: “We’re always behind schedule.” Instead, you get pauses built in so you can slow down for a view, then rejoin the group without feeling like you caused delays.
In the best cases, the guide also sets a friendly hiking tone—encouraging you to take your pace while still keeping the route on track. Some guides you might be led by include Nicole and Dee, and other names that come up with this operator include Heidi, Flick, Harriet, Sonia, and Fraser. Different voices, same idea: they’re there to help you enjoy the route, not just move you through it.
Value at $186.17: what you’re really paying for
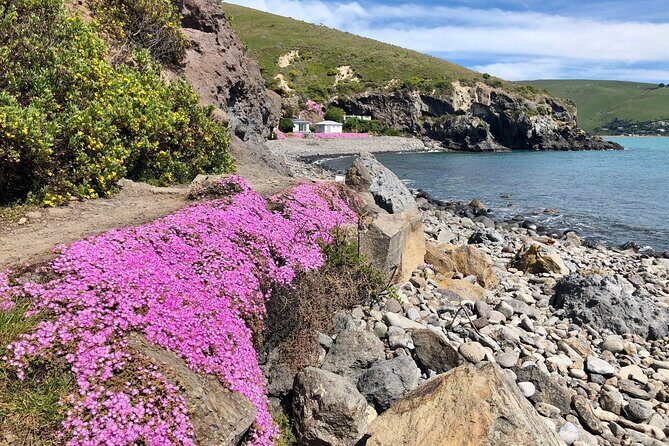
At $186.17 per person, this is not a budget excursion. But it can still feel like good value because you’re buying a package, not just a walk.
Here’s what’s included:
- Port pickup and drop-off
- Local guide
- Transport by air-conditioned minivan
- Walking poles
- Coffee and/or tea
- Lunch
- Snacks
You also get the structure: a guided coastal route, the right places at the right time, and the “someone already handled it” comfort that matters on a short port day. For me, the big value driver is that you’re not planning any of it. You’re stepping into a day that’s organized from the moment you meet at the harbour.
Could you do parts independently? Sure. But you’d still need transport, a plan for where to stop, and the patience to figure out the WWII points and the best hiking rhythm. Paying for a guide is often what turns “I did a walk” into “I understood what I was looking at and enjoyed it.”
Who this tour suits best (and who should think twice)
This experience is described as suitable for most travelers. In practice, it fits best if you:
- enjoy active days but want them structured
- like scenery with a purpose (coast + WWII points)
- want a guide to manage pacing and help with trail comfort
- prefer a small group atmosphere
It’s also a good match if you’re not a fast hiker. The tour’s built-in pauses and the help from walking poles make it easier to keep moving without sprinting between viewpoints.
Think twice if you:
- hate any uphill at all
- struggle on uneven, rolling terrain
- are traveling during a time when weather is likely to be poor (the experience depends on good conditions)
Bring grippy shoes and plan to use the poles if you have any knee or stability concerns. The track is well-maintained, but “moderate and undulating” still means your legs will work.
Should you book this Godley Head walking tour from Lyttelton?
I’d book it if you want an itinerary that feels like a real day outside in Canterbury. You get the full package: port logistics handled, a guided walk with coastal views and visible WWII landmarks, plus coffee and a picnic in spots with standout scenery.
Skip it if you’re looking for an easy, flat nature stroll or if you don’t handle weather uncertainty well. Also, arrive ready for a moderate effort: not a mountain expedition, but not a stroll either.
If you like hiking with breaks, small-group attention, and a guide who helps you enjoy what you’re seeing, this is a strong choice for a Christchurch-area stop that actually moves you.
FAQ
How long is the Lyttelton Shore Excursion guided walking tour and picnic?
The tour runs for about 5 hours (approx.).
Where do I meet for the tour?
You meet at Lyttelton Harbour / Whakaraupō.
Is pickup and drop-off included?
Yes. The tour includes pickup and drop-off at Lyttelton Port, using an air-conditioned minivan.
What hiking route will we walk?
You’ll walk the Godley Head Loop Track, along with a short stop at Taylors Mistake and time at Sumner Beach (Cave Rock).
What’s included for food and drinks?
The tour includes coffee and/or tea, plus lunch (picnic style) and snacks.
Are walking poles provided?
Yes. Walking poles are included to help you enjoy the hike.
What happens if the weather is bad?
This experience requires good weather. If it’s canceled due to poor weather, you’ll be offered a different date or a full refund.