REVIEW · NAPIER
Napier: Highlights & Tour Exploring the Best of this Region
Book on GetYourGuide →Operated by Napier Premium Tours · Bookable on GetYourGuide
Napier’s Art Deco story has real drama. This small-group tour links the city’s famous style with the 1931 earthquake rebirth, plus stops in Ahuriri and Hawke’s Bay towns where the details matter. You’ll also see symbolic sights like the Star Compass and a conservation message tucked into street art.
What I like most is the small group size (no more than 11), which keeps the pace friendly and the photo stops useful. I also appreciate the human factor: guides like Tere Morales bring the architecture and history to life with energy and clear explanations.
One thing to keep in mind: the day is tight. Many segments are short, so it’s best if you’re happy with quick guided looks and photo opportunities rather than lingering for hours at one spot.
In This Review
- Key highlights that make this tour worth your time
- Napier Art Deco in small-group comfort: why 11 people changes everything
- Marine Parade start: how you get oriented before the history begins
- The Napier architecture tour: Art Deco with context, not trivia
- Ahuriri harbour and the National Tobacco Building: the working side of town
- Street art with a message: what to look for beyond the wall
- A quick “hidden” sightseeing stop: short, but it changes the drive
- Celestial Compass: Māori art and the practical joy of looking up
- Hawke’s Bay fruit-bowl drive: orchards and vineyards on the move
- Te Mata Peak’s 380-degree views: weather permitting, and that’s part of the deal
- Havelock North: the European-village feel and time for honey tasting
- Hastings in a nutshell: quick guided context before you head back
- Price and value: $89 for 90 minutes, and what you actually get
- Who should book this Napier highlights tour?
- Quick practical tips so your day goes smoothly
- Should you book Napier Premium Tours Highlights & Tour?
- FAQ
- How long is the Napier highlights tour?
- What group size should I expect?
- Where do I meet the guide?
- What languages are offered for the live tour guide?
- What’s included in the tour price?
- Is this tour suitable for wheelchair users or people with mobility impairments?
- What should I bring with me?
- Is there free cancellation, and can I reserve without paying right away?
Key highlights that make this tour worth your time
- Art Deco capital walking tour that explains what you’re seeing, not just where to stand for photos
- 1931 earthquake rebirth stories tied to real streets, buildings, and city planning choices
- Ahuriri harbour + fishing village vibe for a grounded view beyond the postcard center
- Celestial Compass stop with Māori art and a practical sense of how constellations sit in New Zealand’s sky
- Te Mata Peak views or Arataki Honey tastings, depending on your timing and conditions
- Guide-led storytelling that stays lively and specific, including great explanations of Napier’s symbols
Napier Art Deco in small-group comfort: why 11 people changes everything
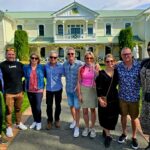
This is one of those tours where group size isn’t a marketing detail. It’s the whole point. With a maximum group of 11, you don’t get swallowed by the crowd, and your guide can actually point things out without everyone straining to hear.
You also feel the practical benefit. In places like Napier’s center—where buildings, corners, and details are the attraction—small-group touring helps you notice things you’d miss on your own. And because the guide is live (Spanish and English are offered), you can follow the stories as you move.
You can also read our reviews of more tours and experiences in Napier.


Marine Parade start: how you get oriented before the history begins
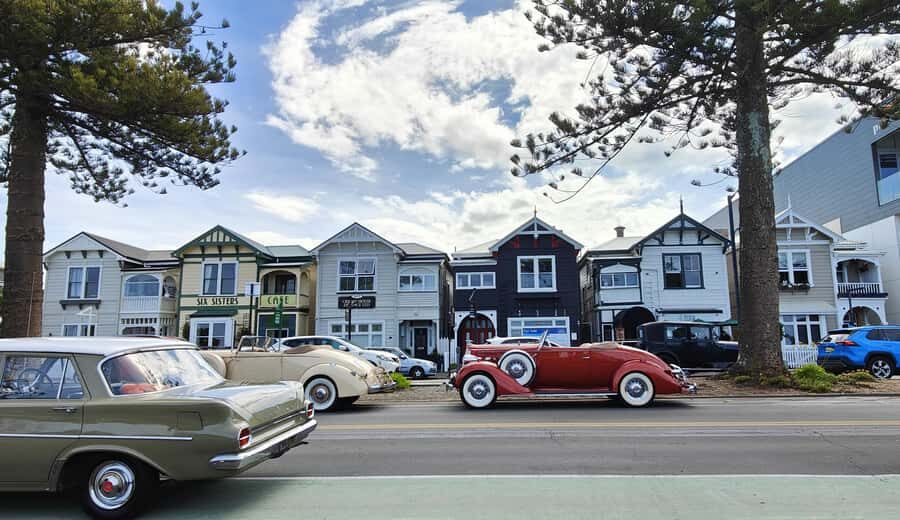
You meet at the i-site information center at 100 Marine Parade. That matters more than it sounds. Getting your bearings right away helps you understand why Napier looks the way it does today—especially when the conversation turns to the 1931 earthquake and the city’s rebuild.
From there, the tour starts with a guided look around Napier itself. This is the kind of introduction that makes later stops easier: you’re not just seeing landmarks, you’re learning what to pay attention to as the route shifts between old harbor areas, restored architecture, and the surrounding Hawke’s Bay region.
The Napier architecture tour: Art Deco with context, not trivia

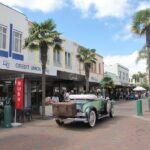
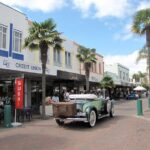
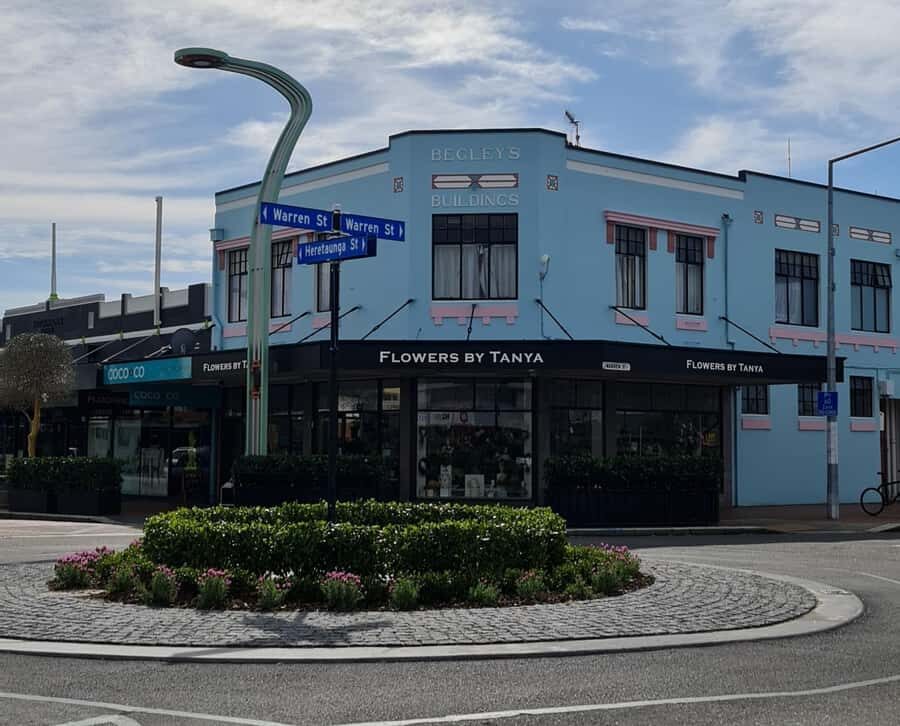
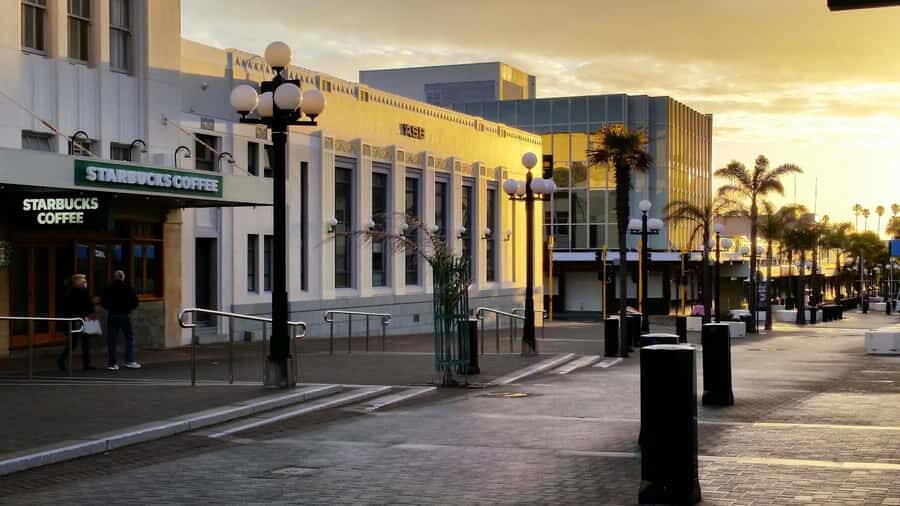
Napier’s reputation as the Art Deco Capital of the World is easy to say. It’s harder to understand unless someone points out the patterns and symbols on the buildings. The guided segment focuses on exactly that—how the city’s design reflects its era and its comeback after a catastrophe.
Two things you’ll likely feel immediately:
- The stories explain the why behind the look.
- The guide connects buildings to the human side—industry, civic life, and the consequences of the quake.
A standout part of this area is the way the tour ties Napier’s rebuild to specific places. You’ll learn about how the city changed after the 1931 earthquake, and you’ll also hear about areas that used to be covered in water but now include an airport. That contrast is a great reminder that cities are living projects, not just scenic backdrops.
Ahuriri harbour and the National Tobacco Building: the working side of town
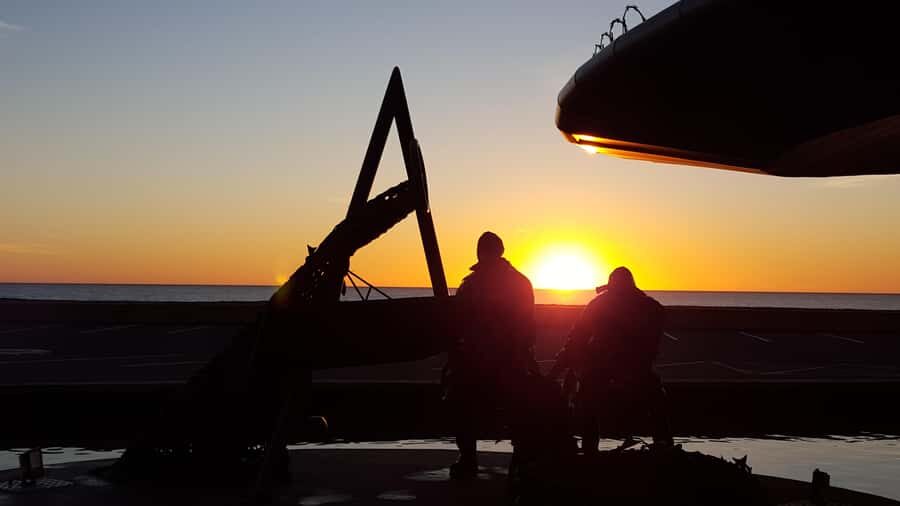
After Napier’s center, the route shifts toward Ahuriri, where the vibe feels more like a working coastal neighborhood than a museum street. This stop includes a guided look around the old harbor and the fishing village character.
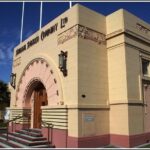
Then you’ll see iconic architecture tied to local industry—especially the National Tobacco Building. It’s one of those structures that grabs your attention even before you know its story. The guide helps you place it in Napier’s larger comeback narrative, which makes it more satisfying to look at later on your own.
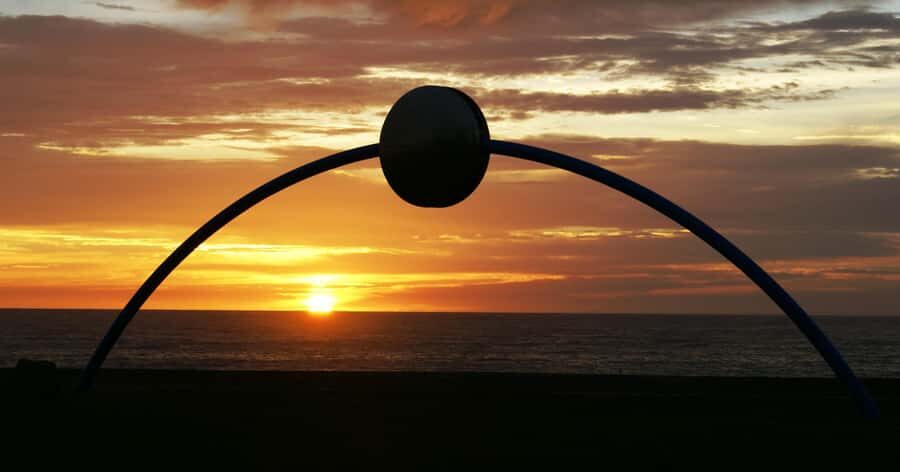
You’ll also come across the Star Compass, a symbolic element that turns the city into a kind of open-air map. It’s the sort of detail that helps you understand Napier’s pride: not just in style, but in meaning.
Street art with a message: what to look for beyond the wall
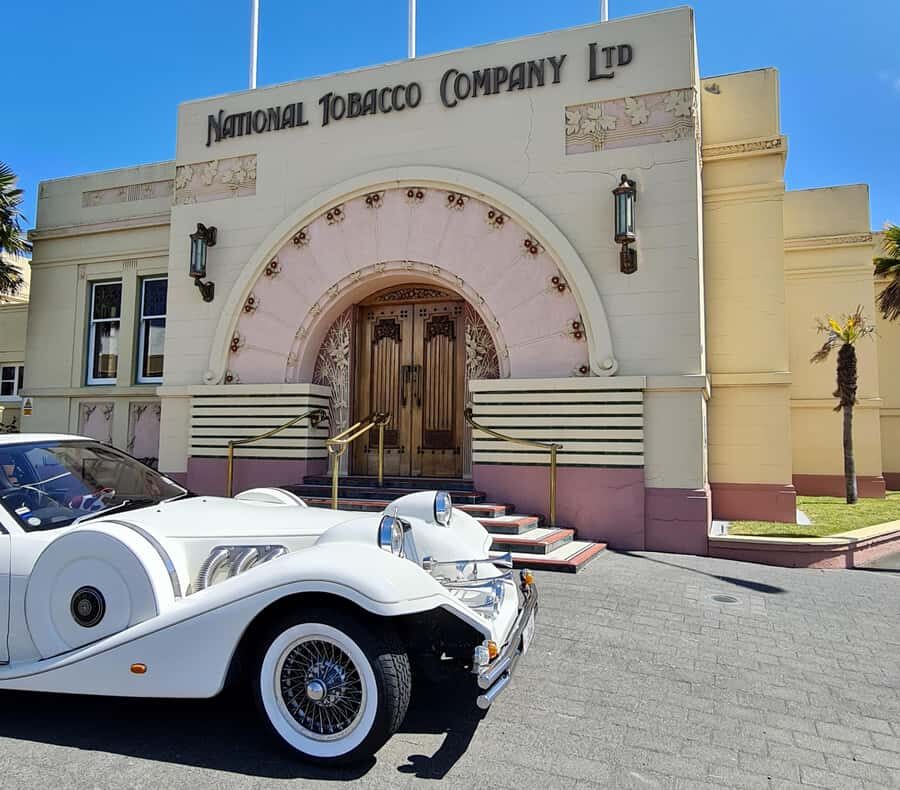
Napier’s street art isn’t presented as random color. The tour frames it with a conservation message, so you’re encouraged to look at it with intention rather than only as decoration.
This is one of those practical travel moments. When you know what to watch for—what the artwork is trying to say—you get more out of the stop than a quick glance would provide. And since it happens alongside the older architecture, it creates an interesting contrast: a city that rebuilt itself once, and keeps talking to itself today.

A quick “hidden” sightseeing stop: short, but it changes the drive
There’s a short sightseeing moment included along the way. The tour doesn’t promise a long detour, which is a good thing if you’re trying to cover a lot in a limited time.
For you, that brief stop is less about a single must-see landmark and more about pacing. It gives you a breather, a photo angle, and a chance to re-orient before the bigger transition from Napier outward toward Hawke’s Bay.
Celestial Compass: Māori art and the practical joy of looking up
Between Napier and Hastings, the tour stops at the Celestial Compass. This isn’t just a quirky roadside photo. The point is cultural and educational: Māori art and how major constellations appear in the New Zealand sky.
Even if you’re not a star-spotting person, this works because the explanation is meant to help your eyes. It gives you a reference frame so your brain connects what you see up above to what you’re being told on the ground. It’s a good reminder that “local knowledge” isn’t only about buildings and streets.
If the sky is clear when you’re in the region, you’ll likely appreciate the timing even more. If not, the stop still helps you understand the idea.
Hawke’s Bay fruit-bowl drive: orchards and vineyards on the move
As the van heads toward Havelock North and Hastings, you pass through orchards and vineyards. This matters because Hawke’s Bay isn’t just a pretty region—it’s an engine. You’re seeing the “why” behind the fruit-bowl reputation as you travel.
You don’t need to be a wine expert to enjoy this part. What I like about including it is that it widens the story from city history to regional life. Napier’s Art Deco rebirth is only one layer; the broader area is what keeps the region moving today.
Te Mata Peak’s 380-degree views: weather permitting, and that’s part of the deal
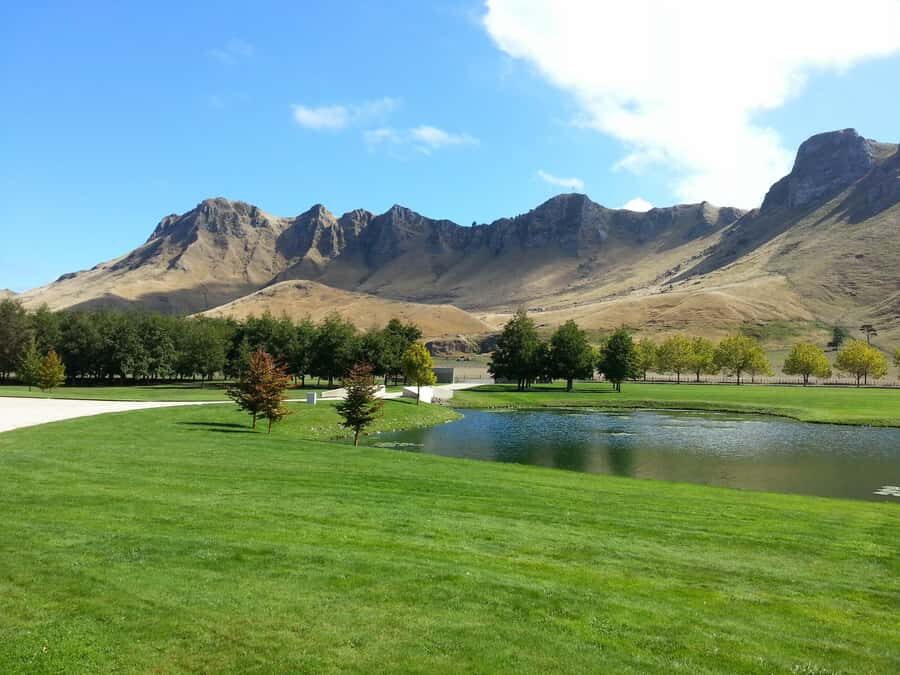
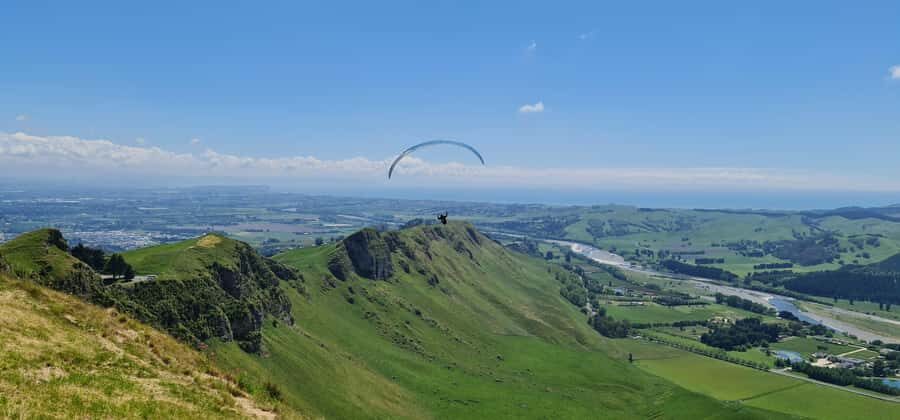
The tour includes time at Te Mata Peak for a sightseeing stop. The big hook is the potential for a 380-degree view, weather permitting.
This is a key decision point for your day. In clear conditions, it’s the kind of viewpoint that makes the whole route feel bigger—coast, countryside, and town edges all in one glance. When the weather doesn’t cooperate, the stop still functions as a reset point, but you won’t get the full “wraparound” payoff.
If you’ve got limited time in Hawke’s Bay, this stop is a strong reason to choose a guided format. You get the benefit of someone else timing the day and choosing when to go where.
Havelock North: the European-village feel and time for honey tasting
Next you reach Havelock North, described as a small European-style village near Te Mata Peak. The stop is short, but it helps you slow down for a moment. You’re not only chasing big highlights; you’re sampling a different town mood.
You’ll also have the chance to visit the Arataki Honey Visitor Center where you can taste a variety of honey, including the famous manuka. That tasting is one of the most practical treats on the tour. It turns “regional produce” into something you can actually experience.
If you’re the type who likes to bring home edible souvenirs, honey is a smart pick. And if you’re not, the tasting still gives you a memorable, low-pressure stop that breaks up the driving and sightseeing.
Hastings in a nutshell: quick guided context before you head back
The tour also includes a brief guided look in Hastings. The time there is short, so think of it as orientation rather than a full day. The value comes from connecting what you learned in Napier and Hawke’s Bay to how the broader area fits together.
After that, you return to the starting point at 100 Marine Parade. It’s a solid loop for a short stay, especially if your priority is “see the best, understand the story” rather than “spend all day in one museum.”
Price and value: $89 for 90 minutes, and what you actually get
At $89 per person for a listed 90 minutes, the value depends on your travel style. This isn’t a budget-only transfer; it’s a guided highlight tour with pickup and drop-off, and you’re getting live commentary in Spanish or English.
Here’s where the pricing feels fair:
- You’re paying for interpretation. Napier’s symbols and architectural details become much easier to read with a guide.
- You’re paying for convenience. Pickup and drop-off at the i-site removes the hassle of coordinating transport across towns.
- You’re paying for limited group size. Max 11 people keeps the experience from turning into a loud bus tour.
If you already know Napier’s Art Deco history and you’d rather roam freely, you might decide to DIY. But if you want the quick, story-driven highlights without planning, this price lands in the reasonable zone.
Who should book this Napier highlights tour?
Book it if you:
- Want a guided introduction to Napier’s Art Deco scene and the 1931 rebuild story
- Appreciate small-group touring where you can hear the guide and get useful photo stops
- Plan to move around Hawke’s Bay but still want structure
- Like a mix of architecture, cultural symbolism, and a tasty stop (honey)
Skip it (or consider an alternative) if:
- You need long, slow time at a single site. This tour is built for highlights and quick learning.
- Mobility is a concern. It isn’t suitable for people with mobility impairments or wheelchair users.
Quick practical tips so your day goes smoothly
- Wear comfortable shoes. You’ll be on your feet for city walking and sightseeing moments.
- Bring sunscreen and water. Coastal sun and short stops mean you can burn without noticing.
- Bring a camera, and don’t just shoot wide views. Napier’s whole appeal is in the details.
- Keep an eye on weather. Te Mata Peak’s best payoff is weather dependent, so plan to be flexible.
Should you book Napier Premium Tours Highlights & Tour?
If you’re short on time but still want the real Napier story, I’d book it. The combo of guided Art Deco explanation, earthquake rebirth context, Ahuriri harbour flavor, and a payoff stop at Te Mata Peak or the Arataki Honey Visitor Center is a smart use of limited hours.
The deciding factor for many people is the guide quality. Names like Tere Morales show up for a reason: clear, energetic storytelling that makes the architecture feel understandable, not just old. If that’s your kind of travel, this is an efficient way to see the highlights of Napier and Hawke’s Bay without turning your day into a logistical puzzle.
FAQ
How long is the Napier highlights tour?
The tour duration is 90 minutes.
What group size should I expect?
It’s a small-group experience with no more than 11 people, and it’s described as a private group.
Where do I meet the guide?
Meet your guide at the information centre, i-site, at 100 Marine Parade.
What languages are offered for the live tour guide?
The live tour guide offers Spanish and English.
What’s included in the tour price?
Pickup and drop-off are included, along with a guided tour.
Is this tour suitable for wheelchair users or people with mobility impairments?
No. It’s not suitable for people with mobility impairments or wheelchair users.
What should I bring with me?
Bring comfortable shoes, a camera, sunscreen, and water.
Is there free cancellation, and can I reserve without paying right away?
Yes. There’s free cancellation up to 24 hours in advance for a full refund, and there’s a reserve now, pay later option.