REVIEW · AUCKLAND
Private Tour From Auckland to Rotorua & Waitomo Glowworm Caves, Small group
Book on Viator →Operated by Black Car Transfers & Tours · Bookable on Viator
One driver, two icons: Rotorua and Waitomo. I like that this is truly private for up to two, with return transfers from Auckland’s CBD or the port, so you skip the whole self-drive headache. I also love that lunch, snacks, bottled water, and the key admissions (Te Puia and Waitomo) are built into the price. The only real catch: it’s an early start and a long day, so you’ll want to be ready for 6:00 am.
Rotorua gives you geothermal sights with a local guide at Te Puia, and then Waitomo adds the glowworm cave payoff. Based on the operator’s past guide style, you can also expect a friendly, history-and-landmarks kind of approach from drivers like Chris or Kris, with real care for guest needs (including food allergies). If you hate rushed mornings or are sensitive to driving time, this might feel like a marathon.
Key points to know before you go
- Private up to two: the day runs at your pace, not a bus schedule
- Door-to-door Auckland transfers: included from central Auckland/CBD hotels and Ports of Auckland
- Admissions included where it counts: Te Puia ticket plus Waitomo Glowworm Caves entry
- Fuel for the ride: lunch, snacks, and bottled water are provided
- Weather-dependent cave visit: Waitomo can be refunded if conditions aren’t right
- WiFi on board: helpful when the long drive eats your phone battery
In This Review
- Door-to-door Auckland transfers and a 6:00 am start
- Te Puia geothermal time with a local guide (3 hours)
- Lake Rotorua for quick photos and garden views (15 minutes)
- Waitomo Glowworm Caves: a 1.5-hour cave booking that depends on weather
- Lunch, snacks, WiFi, and bottled water for the long ride
- Value check: what $1,675.55 for up to two actually buys you
- Should you book this private Auckland-to-Rotorua-and-Waitomo day?
- FAQ
- What time does the tour start?
- How long is the Auckland to Rotorua & Waitomo tour?
- Is this a private tour?
- What is the maximum group size?
- Where is pickup and where do you return to?
- What meals and drinks are included?
- Are admission tickets included?
- How long do you spend at each main stop?
- What happens if Waitomo Glowworm Caves can’t be booked or the weather is bad?
- Is there free cancellation?
Door-to-door Auckland transfers and a 6:00 am start
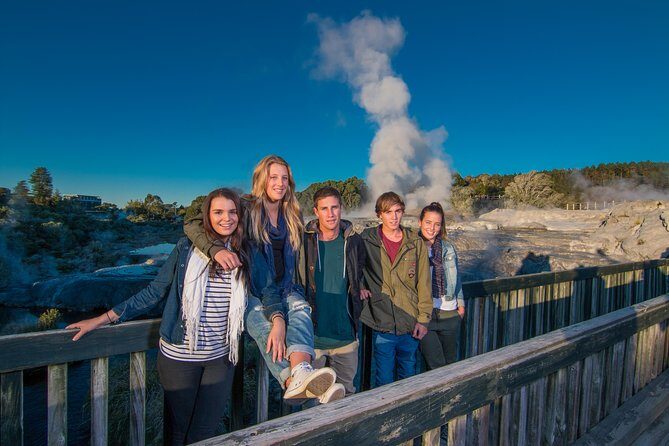
This is a classic North Island “big sights in one day” plan, and the schedule starts early: the pickup begins at 6:00 am. The plus is simple—you’ll cover serious distance before your day gets swallowed by traffic, check-in lines, and the general chaos that comes with self-driving.
Because it’s private for just you and your partner (up to 2 people), the day feels less like a timetable and more like a shared itinerary. You don’t need to coordinate rental car logistics, parking math, or where to leave the car while you do quick stops. Instead, you hand off directions to a driver and focus on what you’re actually there to see.
The small comfort details matter, too: you get WiFi on board and bottled water during the ride. I also appreciate that the tour is described as customizable, which usually means you can adapt the pacing and how you spend time at each stop, within reason. Just remember the trade-off: you’re signing up for a long day (about 12 hours 30 minutes total).
Te Puia geothermal time with a local guide (3 hours)
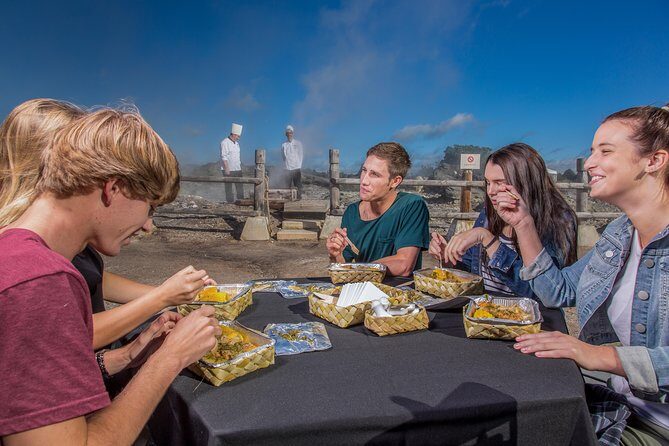
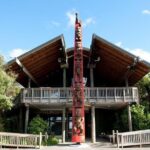
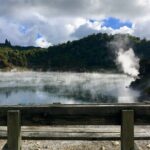
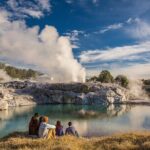
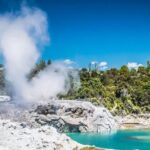
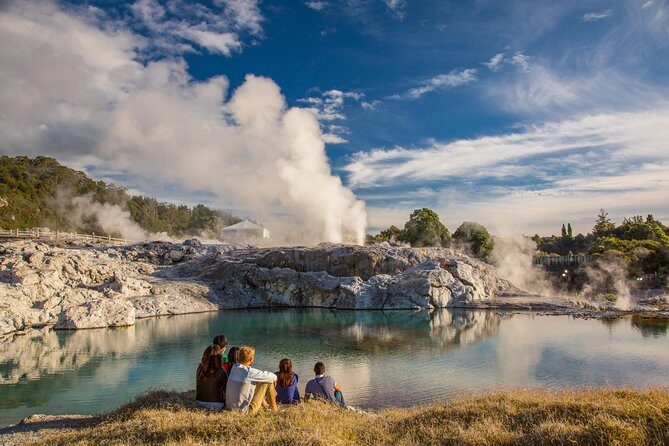
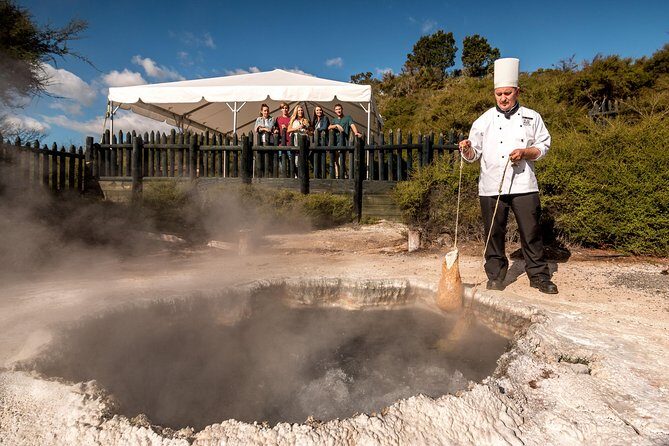
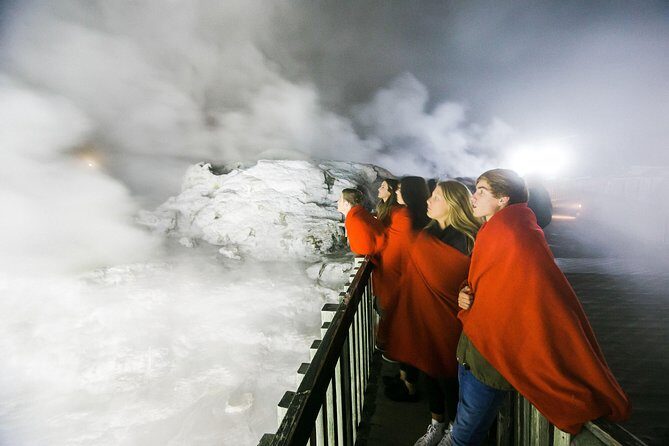
Rotorua’s geothermal activity shows up fast—steam rising from the hills, heat in the air, and pools that look like they’re bubbling quietly under the surface. At Te Puia, you’ll spend about 3 hours with a local guide, and you’ll see geothermal features firsthand, including bubbling mud and pools.
That guide time is the key value here. You’re not just taking photos of steam vents; you’re getting context on what you’re looking at and why it looks the way it does. Past guests highlighted guides who were professional, caring, and strong on history and landmarks of New Zealand—one driver named Chris was praised for being both knowledgeable and genuinely excited about the job. Even if your guide’s style is different, you should expect this to be more than a drive-by.
A practical consideration: geothermal areas can mean uneven ground, damp paths, and lots of steam. Wear shoes you trust, and plan on being outside for a good chunk of that 3-hour block. If you like nature that feels real and active (not staged), Te Puia is one of the most satisfying stops in this whole day.
You can also read our reviews of more private tours in Auckland



Lake Rotorua for quick photos and garden views (15 minutes)
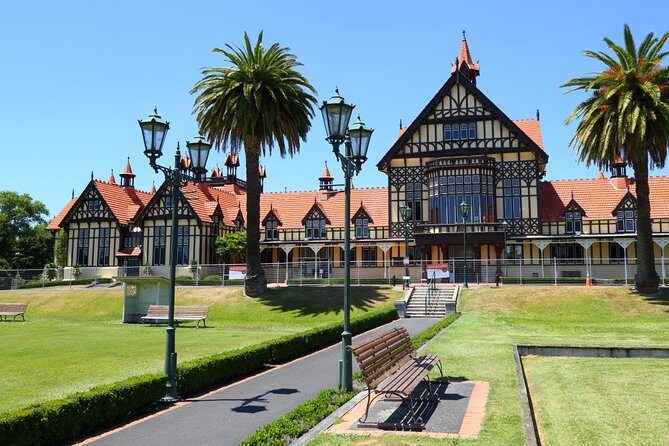
After Te Puia, you’ll continue around Lake Rotorua. The stop is short—about 15 minutes—and it’s mainly a chance to enjoy the lakefront and visit the historical government gardens. There’s also mention of hot pools, but they’re listed as under maintenance at present, so don’t plan your timing around a soak.
For what it is, this quick stop works well. When you only have one day, you don’t want to blow your schedule trying to do everything. Lake Rotorua and the government gardens give you a calmer, scenic counterpoint after the geothermal intensity of Te Puia.
Here’s how to make the most of those 15 minutes: keep your eyes on the surroundings first, then grab photos, then move. The temptation with short stops is to slow down too much and end up with less time than you hoped. With a driver handling the schedule, you can still enjoy the area without stressing over the clock.
If hot pools are a big part of your Rotorua fantasy, this itinerary may leave you wanting more. But if your priority is seeing the must-dos plus getting to Waitomo without rushing yourself, that short Lake Rotorua window is a smart use of time.
Waitomo Glowworm Caves: a 1.5-hour cave booking that depends on weather
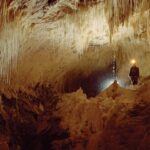
Waitomo is the payoff portion of the day. You’ll head to Waitomo Valley, the gateway to the Glowworm Caves, and then spend about 1 hour 30 minutes at the caves with the admission included.
Glowworm caves don’t require much hype—they’re genuinely impressive. The cave experience is also one of those travel moments where the details of timing matter. You want to be there when everything is running smoothly, because caves are sensitive to conditions.
Two important realities are clearly stated:
- Glowworm cave booking is subject to availability.
- The experience requires good weather. If it’s canceled due to bad weather, you’ll be offered a different date or receive a full refund. If there’s no availability at the cave, a full refund is also provided.
In other words, you’re not buying a “maybe.” You’re buying a plan with protection. The long-drive day is worth it when the caves run, but you should be mentally prepared for the possibility that Waitomo could shift—especially if your travel dates sit in a weather-uncertain window.
Pack and plan like you’re going underground: bring layers you can handle when conditions change inside/outside the cave area, and keep your cave visit calm and unrushed. This is one of those stops where you’ll remember the moment far longer than you’ll remember any restaurant around it.
Lunch, snacks, WiFi, and bottled water for the long ride
If you’re used to doing road trips solo, the biggest quality-of-life upgrade here is how little you need to think during the drive. Lunch, snacks, and bottled water are provided, and there’s WiFi on board.
Coffee and/or tea aren’t included, and breakfast isn’t included either. That means you’ll want to start your day fed—especially because you’re beginning at 6:00 am. Once you’re on the move, the included meals help you avoid the all-too-common problem on day tours: losing time hunting food, paying tourist pricing, and rushing meals between stops.
This is also where private touring can shine for real life needs. One guide named Kris was specifically praised for accommodating a food allergy during a similar private day. You can use that as a good sign that the operator takes practical needs seriously—still, it’s smart to mention any dietary concerns at booking so they can plan properly.
With WiFi and water handled, you can focus on the day’s rhythm: drive time to reset, guided time to learn and look closely, and then the two headline nature stops. For couples especially, this kind of “less logistics, more together time” is a big part of the value.
Value check: what $1,675.55 for up to two actually buys you
The total price is listed at $1,675.55 per group (up to 2). That number looks steep at first glance—until you list what’s covered. You’re not only paying for a driver and car. You also get return transfers from Auckland CBD/port areas, plus included admission tickets at Te Puia and the Waitomo Glowworm Caves, along with lunch, snacks, bottled water, WiFi, and all fees/taxes.
So the real question isn’t just cost. It’s what you’re avoiding:
- rental car stress and parking decisions in Rotorua and along the way
- buying tickets separately for the major stops
- time lost searching for meals that fit your schedule
- the mental load of navigating a long day on your own
For two people, a private format can be a strong value when you want both convenience and a nature-heavy day. Also, the tour is described as being booked on average 86 days in advance, which hints that popular dates fill up. If your dates are fixed, earlier booking is a smart move.
This tour won’t feel like a bargain if you’re price-first. But if you want a smooth, guided day with key admissions covered and no driving burden, it’s a solid way to spend your time in the North Island.




Should you book this private Auckland-to-Rotorua-and-Waitomo day?
Book it if your top priorities are clear: Rotorua geothermal (Te Puia), Waitomo Glowworm Caves, and doing it with a private driver so you can enjoy the day instead of managing transportation. It’s especially well suited for couples who want quality time and a nature-focused itinerary with lunch and essentials handled.
Skip it (or reconsider your dates) if you know you won’t handle an early morning and a long travel day well. Also keep in mind that Waitomo depends on weather and availability, and while you’ll have options or a refund if plans can’t run, you still want to avoid putting your entire trip on one fragile slot.
If you can be flexible and you want a no-stress way to see some of the North Island’s most famous natural attractions in one shot, this private tour is a strong choice.
FAQ

What time does the tour start?
The tour start time is 6:00 am.
How long is the Auckland to Rotorua & Waitomo tour?
It runs for approximately 12 hours 30 minutes.
Is this a private tour?
Yes. It’s listed as a private tour/activity, and only your group participates.
What is the maximum group size?
The price is per group up to 2 people.
Where is pickup and where do you return to?
Return transfers to Auckland CBD hotels & Ports of Auckland are included, with pickup offered from central Auckland or the port area.
What meals and drinks are included?
Lunch, snacks, and bottled water are included. Breakfast is not included, and coffee and/or tea are not included.
Are admission tickets included?
Yes. Te Puia admission is included, and Waitomo Glowworm Caves admission is included. Lake Rotorua is listed as free for admission.
How long do you spend at each main stop?
Te Puia is about 3 hours, Lake Rotorua is about 15 minutes, and Waitomo Glowworm Caves is about 1 hour 30 minutes.
What happens if Waitomo Glowworm Caves can’t be booked or the weather is bad?
Waitomo cave booking is subject to availability. If there is no availability or the experience is canceled due to bad weather, you’ll receive a full refund (or be offered a different date for weather-related cancellation).
Is there free cancellation?
Yes, you can cancel up to 24 hours in advance of the experience for a full refund.