REVIEW · NAPIER
Shore Excursion: 4 Hour Premium Hawke’s Bay, Napier Art deco Tour
Book on Viator →Operated by Hawkes Bay Scenic Tours · Bookable on Viator
Napier in one afternoon sounds hard, but this 4-hour Art Deco and Hawke’s Bay loop is built for cruise time, with viewpoints and a sweet stop. I like how you get both city story and countryside views, plus the day includes bottled water for the warmer coastal climate. One thing to weigh: this tour is structured and time-tight, so you’ll spend a lot of the day driving and photos happen at set stops.
The best part is the balance of themes. You’ll learn why Napier looks the way it does, then ride up to Te Mata Peak for a 360-degree sweep of Hawke’s Bay, and finish with a fruit-industry look in Hastings. If you want a super slow, stop-everywhere style day—or more long walks—this isn’t that kind of excursion.
In This Review
- The key things to know before you go
- Why this Napier to Hastings route works on a cruise day
- Price and what you really get for $86.88
- Getting to the meeting point without losing time
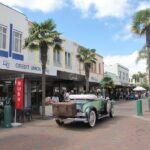
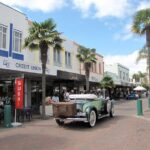
- Stop 1 in Napier: Art Deco streets and the earthquake rebuild story
- Arataki Honey Visitor Centre: tasting, shopping, and fun facts
- Bluff Hill Lookout: Napier views and a chance to spot your ship
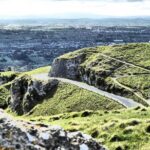
- Te Mata Peak: the 400m climb that makes the day feel worth it
- Tukituki River drive: scenic views without extra walking
- Hastings: NZ’s best town, orchards, and vineyard explanations
- Guides make a big difference: who you might ride with
- Comfort, timing, and the main trade-offs to expect
- Should you bring your own planning mindset?
- Quick checklist for the day
- Should you book this 4-hour Hawke’s Bay Art Deco tour?
- FAQ
- How long is the shore excursion?
- Where do I meet the tour in Napier?
- Is pickup available?
- What attractions and stops are included?
- Are admission fees included?
- How big is the group?
- Does the tour include bottled water?
- What is the cancellation policy?
The key things to know before you go
- Small-group feel (max 22) with an efficient route that still gives you photo time
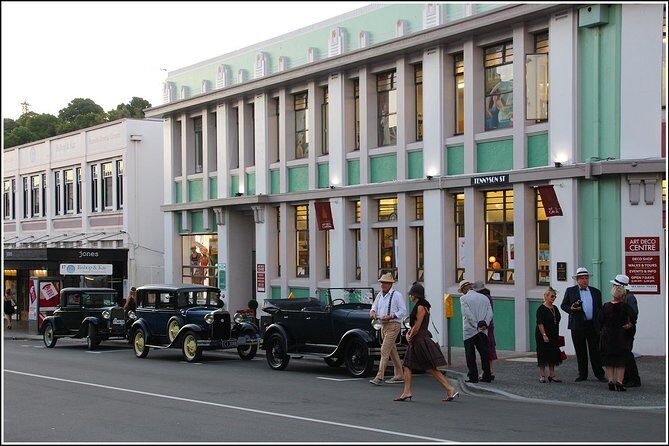
- Art Deco Napier + earthquake rebuild stories as a core thread, not just quick photo ops
- Te Mata Peak (400m up) for a 360-degree view that feels like the pay-off stop
- Arataki Honey Visitor Centre includes time to taste and shop
- Hastings orchard and vineyard driving that connects what you see with how the industry works
- Bottled water included, which matters more than you’d think on a bright day
Why this Napier to Hastings route works on a cruise day
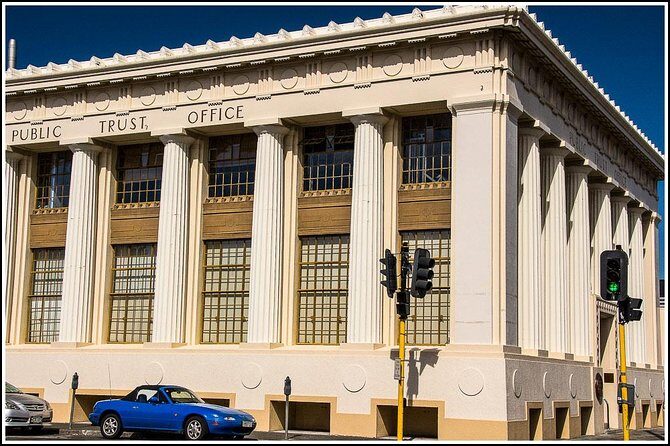
When you’re in port for a limited window, you usually face a choice: pick a city focus and miss the views, or chase scenery and skip the story. This tour tries to do both, and it does it in a sensible order—Napier first (so you understand the “look”), then the height and the wider region, and finally Hastings (so you end with food and farming context).
You’re not just going from one landmark to the next. You’re getting a guided explanation of how Napier rose again after the earthquake that shaped the city, and how the Art Deco style became part of the area’s identity. After that background, the photo stops land better, because you’re looking with a bit more context.
The pacing is built around short, high-impact stops: you’ll be able to stretch your legs, grab photos, and still get the mountain viewpoint and the farming-drive finale in time.
A few more Napier tours and experiences worth a look

Price and what you really get for $86.88
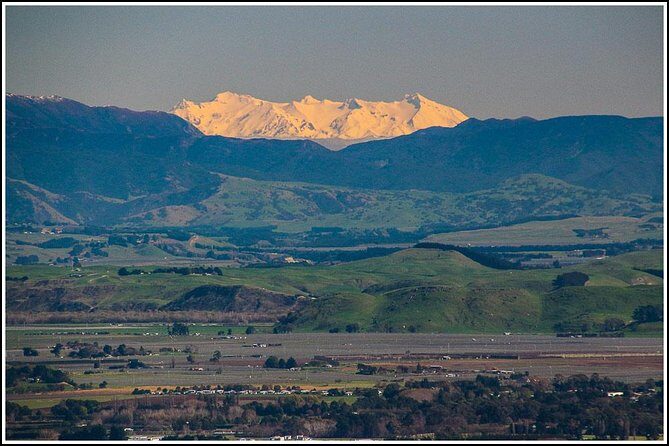
At $86.88 per person, you’re paying for a guided “greatest hits” day that covers multiple regions: city, viewpoint, and countryside. The value comes from three practical things.
First, the stops include a mix of experiences and admissions—Arataki Honey Visitor Centre, Bluff Hill Lookout, and Te Mata Peak have included admission time, while other segments are viewing drives or free stops. Second, the tour includes bottled water, which reduces little stress during the day. Third, it’s designed for cruise passengers, meaning the route is compact enough to fit a shore day.
If you’re hoping to spend most of the time wandering independently, this may feel more scheduled than you want. One caution I’d give up front: some people expect “premium” to mean fewer driving hours or more time at each site, so if you’re the slow-and-stroll type, temper expectations.
Getting to the meeting point without losing time
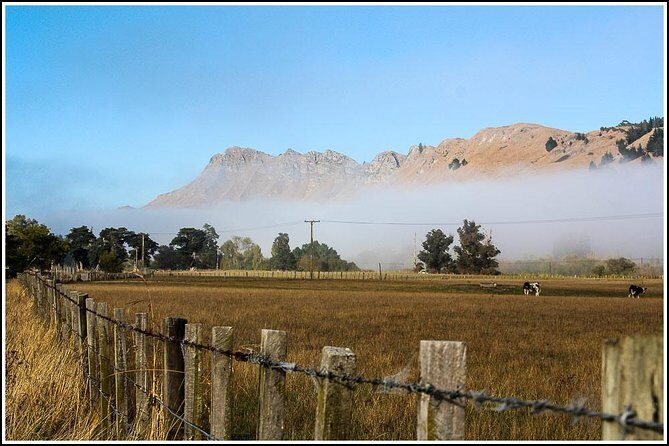
Your anchor point for the day is the Napier iSite Visitor Information Centre, 100 Marine Parade, Napier South. The tour states pickup is offered and you’ll use a mobile ticket, which helps cut down on paper chaos.
Here’s the real-world trick: when you’re arriving by shuttle from the port area, confirm the destination with whoever drops you off. Some days get messy when shuttles take multiple passengers to different nearby points. If you want a smooth start, look for clear signage at your stop and double-check you’re at the iSite meeting location.
Also, do yourself a favor and be ready a little early. Even a minor delay at the start compresses the rest of the day, because there’s no time buffer built in.
Stop 1 in Napier: Art Deco streets and the earthquake rebuild story
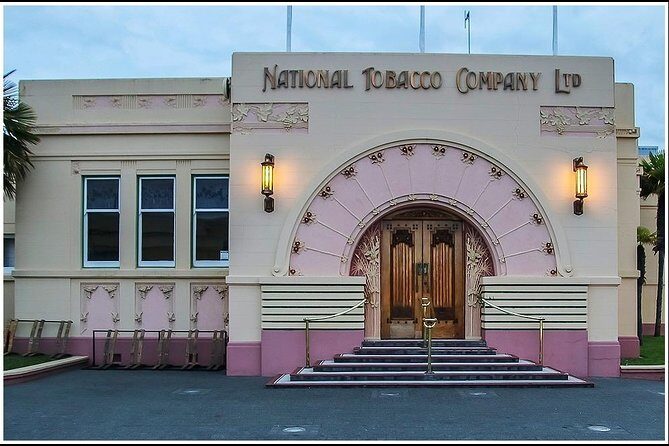
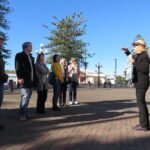
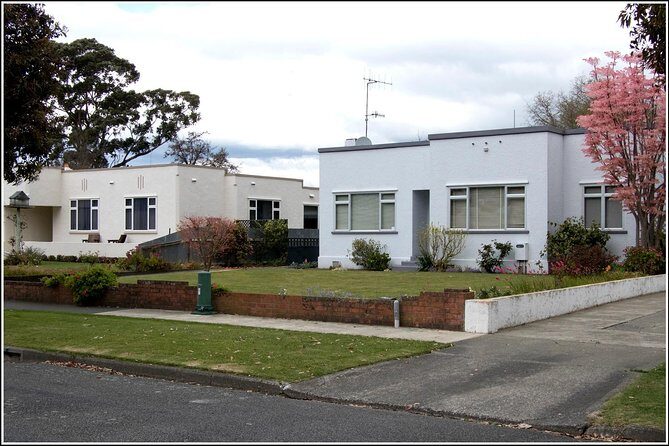
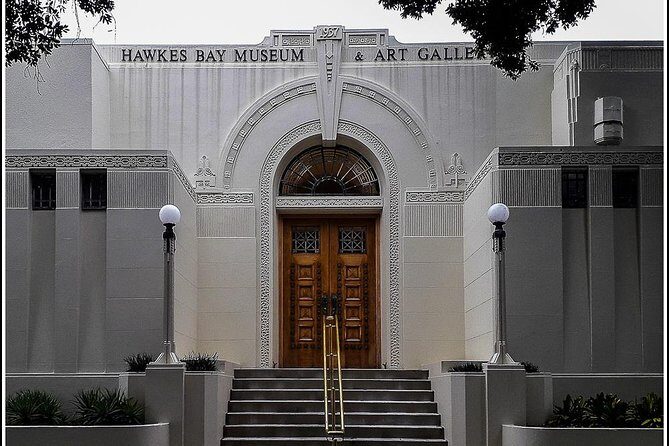
Napier is where this tour earns its name. You’ll start with a drive around the city and a guided walk-through of why Napier became famous for its Art Deco character. The guide is set up to let you stop for photos, and the story includes how the town rose again after the earthquake.
This stop is about understanding the “why” behind the facades. Art Deco in Napier isn’t just a style you spot—it’s part of a rebuilding chapter that shaped the look of whole streets. Even if you only catch a few buildings from the roadside, the explanation helps you notice details you might otherwise miss.
One trade-off: you’re not signing up for an Art Deco walking tour where you linger on every corner. This is more “see the essentials” with driving segments and photo-friendly pauses.
Arataki Honey Visitor Centre: tasting, shopping, and fun facts
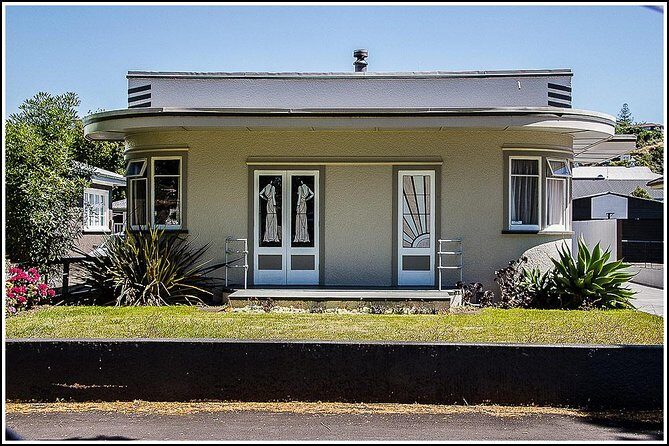
Next comes the Arataki Honey Visitor Centre, which includes admission time. You’ll visit the honey farm area and you’ll have a chance to buy New Zealand honey.
I like this stop because it breaks up the day with something hands-on and upbeat. It also pairs well with the rest of the tour: after the city story and lookout views, you shift to a local product and real farming work.
Some guides share extra food-and-cultivation facts, including details around plants and cultivation that tie into the wider region’s agricultural identity. If you enjoy small, personal touches—tasting, stories, and a chance to buy something local—this is one of the better places to lean in.
Potential drawback: this is still a short stop. If you want a long farm visit with lots of walking and deep production info, you might feel the time is limited.

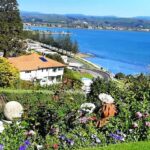
Bluff Hill Lookout: Napier views and a chance to spot your ship
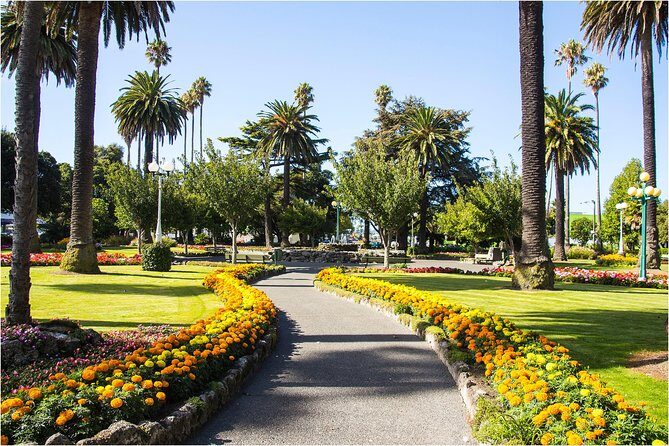
From there, you head to Bluff Hill Lookout for about 30 minutes. This is another included admission stop, and it’s timed to give you wide city-and-coast views.
A practical bonus: you’ll get a chance to look back toward your cruise ship from the hill, which helps you orient yourself. For cruise passengers, that kind of visual check is surprisingly satisfying—you get a map in your head without needing to study it.
This is a “stand, look, take photos, and go” stop. If the day is windy or hot, you’ll likely spend most of the time under a sheltered viewpoint area, then move on quickly.
Te Mata Peak: the 400m climb that makes the day feel worth it
Then comes the big payoff: Te Mata Peak. You’ll go up by road, and the tour builds in time to enjoy the 360-degree view of Hawke’s Bay from about 400m higher than ground level.
This stop matters because it’s the one place where you can really grasp the shape of the region. When you’re down at road level, you see farm fields and pockets of coastline. Up here, you see how the valley, the bay, and the surrounding terrain connect. It’s also a great place to take photos from multiple angles, since the view wraps around.
What to consider: Te Mata Peak is weather-dependent. If it’s misty or very windy, your view may be less dramatic, but even then, the vantage point usually makes the effort feel good.
If you only care about one “must-do” moment, I’d bet this is it.
Tukituki River drive: scenic views without extra walking
After the peak, you’ll ride along the Tukituki River. This segment is about an hour and is framed as scenic driving, with views of hills along the river.
I like this part of the itinerary because it keeps the day from turning into stop-and-go tourism. You’re still traveling through the countryside, but you’re not stuck in another ticketed attraction.
Because it’s a drive, you should have realistic expectations. You’ll likely have photo opportunities, but this won’t replace a longer nature walk or a dedicated countryside tour.
Hastings: NZ’s best town, orchards, and vineyard explanations
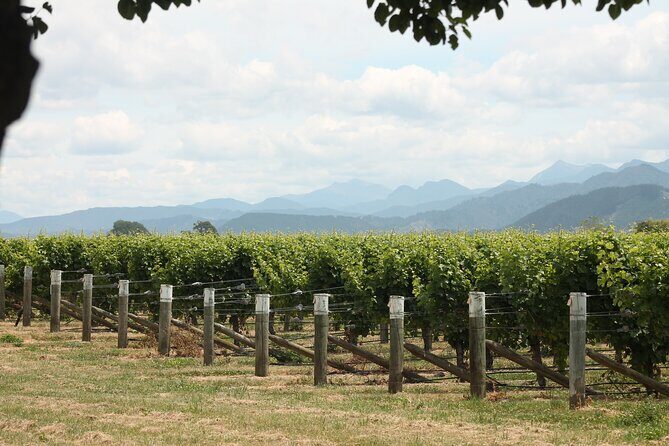
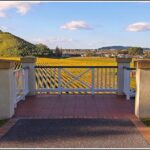
Finally, you reach Hastings, described as NZ’s best town for four consecutive years. You’ll have around 20 minutes, and the tour includes driving through orchards and vineyards while learning how the fruit industry works in New Zealand.
This stop works well as a finale because it connects the region’s scenery to livelihoods. Even in a short window, the guided context can make the fields look more purposeful than just pretty patches of land.
One practical note: 20 minutes is brief, so don’t plan on extensive wandering. Think of this as “see, understand, and move on.”
If your interests are specifically food, farming, and New Zealand production, you’ll likely appreciate Hastings more than those looking only for architecture and viewpoints.
Guides make a big difference: who you might ride with
This tour’s quality often comes down to your guide, and the operator has used a mix of different guide styles. You might be guided by people like Mark, Roy, Sukh, Kirsti, or John—and each seems to bring a different strength.
What tends to show up across guides is a willingness to explain: Napier’s rebuilding and Art Deco identity, honey and cultivation facts, and the logic behind how the route flows from city to viewpoints to farms. When a guide invests in telling the story, the driving time feels less like “transport” and more like part of the experience.
If you want a more tailored day, it helps to be upbeat and ask clear questions early. These tours move, so your best chance to influence what you notice is at the start of each stop.
Comfort, timing, and the main trade-offs to expect
This is a 4-hour tour with a max of 22 people. That’s small enough to feel personal, but not small enough to guarantee everyone gets the exact same level of photo time.
The bigger trade-offs are built into the design:
- Short stops mean you can’t do everything. You’ll see many sights, but you won’t linger for long.
- The day has driving time. Parts of the tour are built around getting you from Napier to views and then to Hastings.
- Art Deco is a strong theme. If you’re not in the mood for architecture history that day, you may feel it takes up more time than you wanted.
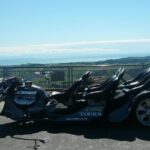
Some people also report discomfort when the van feels tight. The tour uses standard Toyota mini buses, so pack with that in mind. If you’re tall, or if you’re picky about seat space, arrive prepared for a compact ride.
If you’re sensitive to delays, you should know that cruise-day schedules can create ripple effects. A late start compresses everything else, so aim to be at the meeting point promptly.
Should you bring your own planning mindset?
This excursion gives you a structured snapshot. That’s good. But your personal enjoyment will depend on how you handle the snapshot concept.
If you like:
- getting your bearings fast,
- learning a clear local story (quake rebuild and Art Deco style),
- and ending with a panoramic viewpoint,
then you’ll probably love the format.
If you want:
- long independent exploration,
- lots of time in one place,
- or lots of extra stops on demand,
this tour might feel limiting. You can still have a great day, but you’ll want to mentally treat it as a guided overview rather than a flexible countryside spree.
Quick checklist for the day
Bring what helps you enjoy viewpoints and heat:
- a camera/phone with enough battery and space,
- sun protection (the region can be warm),
- and a light layer if you expect wind at viewpoints.
You’ll have bottled water included, which is great, but don’t count on extra comforts beyond that.
Should you book this 4-hour Hawke’s Bay Art Deco tour?
I’d book it if you’re visiting Napier for a limited time and you want a guided, high-value overview that hits the essentials: Art Deco Napier, a honey farm stop, a lookout with city views, Te Mata Peak’s 360 view, then Hastings with orchards and vineyards.
Skip it (or at least reconsider) if you strongly prefer slow travel, lots of walking, or a tour that lets you roam freely with minimal structure. Also think twice if you don’t care about Art Deco history. This day is built around it.
If you do book, your best strategy is simple: show up early, listen when the guide explains the story, and save your biggest photo energy for Te Mata Peak and the lookouts. Those are the moments that make the driving time feel like it had a point.
FAQ
How long is the shore excursion?
It runs for about 4 hours.
Where do I meet the tour in Napier?
You meet at Napier iSite Visitor Information Centre, 100 Marine Parade, Napier South.
Is pickup available?
Pickup is offered.
What attractions and stops are included?
The tour includes Napier Art Deco sights, Arataki Honey Visitor Centre, Bluff Hill Lookout, Te Mata Peak, a drive along the Tukituki River, and a visit to Hastings.
Are admission fees included?
Some stops have admission included (Arataki Honey Visitor Centre, Bluff Hill Lookout, and Te Mata Peak), while others are free viewing or drive segments.
How big is the group?
The tour has a maximum of 22 travelers, and it requires at least 2 people per tour.
Does the tour include bottled water?
Yes, bottled water is included.
What is the cancellation policy?
You can cancel for a full refund up to 24 hours in advance. The experience also depends on good weather; if it’s canceled due to poor weather, you’ll be offered another date or a full refund.