REVIEW · MARAHAU
3 Day Unguided Kayaking starting in the Abel Tasman National Park New Zealand
Book on Viator →Operated by Abel Tasman Kayaks · Bookable on Viator
Paddle out, and time slows down. This unguided 3-day kayaking rental in Abel Tasman National Park lets you move at your own pace, from a morning safety run-through to a water-taxi drop that sets you on course along the coastline. You get a rental kit built for open water, plus a national-park camping pass for your base planning.
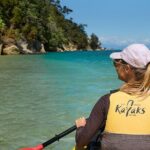
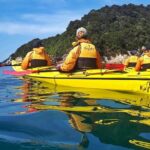
I really like the long safety briefing. It covers weather forecasts and local conditions, hazards, and self-rescue, so you start the trip with your head in the right place. I also like the straightforward value: you’re handed the core paddling gear (buoyancy vest, spray skirt, paddle jacket, paddle, and even safety emergency flares), plus a waterproof map and tools like a water pump.
One thing to consider: there’s a two-person minimum, and solo hires aren’t available. On top of that, you’ll need to sort your own transport to Mārahau, and you bring your own camping gear (or hire it separately).
In This Review
- Key things that make this kayaking setup work
- Mārahau to Onetahuti Bay: the freedom start (and why it matters)
- What’s included in the kayak rental (and what you supply)
- The safety briefing: long, specific, and built for real conditions
- Day 1 in Abel Tasman: check in, get set, then choose your own rhythm
- Day 2: a full day to explore at kayak speed
- Day 3: the clock starts to matter (and returning by 4pm)
- Camp pass, camping gear, and the rain factor
- Price and logistics: what $225.89 buys you, and what it doesn’t
- Two-person minimum and other practical rules
- Who should book this 3-day Abel Tasman kayak rental?
- FAQ
- What time do I start, and where do I meet?
- How does the trip start?
- What’s included in the rental price?
- Do I need my own camping gear?
- Is this tour available for solo travelers?
- Is transport from Nelson or Motueka included?
- Should you book Abel Tasman Kayaks 3 Day Freedom?
Key things that make this kayaking setup work
- Safety-first prep with safety and self-rescue guidance before you paddle out
- Water taxi drop-off that helps you start south on your own route
- All the core rental gear included, from spray skirt to an emergency flare kit
- National park camping pass included (you still bring or hire the actual camping kit)
- Real freedom stops for swimming, sunbathing, and picnics on beaches
- Two-person minimum means plan for partners ahead of time
Mārahau to Onetahuti Bay: the freedom start (and why it matters)
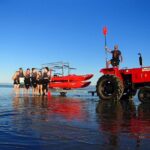
This is an unguided rental, but it doesn’t feel like you’re being thrown into the deep end. You check in at 273 Sandy Bay–Mārahau Road in Mārahau at 8:15am, get briefed, then get set up to paddle with a water-taxi transfer to Onetahuti Bay. That starting point matters because it lets you focus on the fun part—paddling—rather than spending your day figuring out how to get positioned.
The key benefit for you is pacing. Day one isn’t about “cover distance no matter what.” It’s about learning how your kayak handles, getting confident with your gear, and then choosing your own stops along the way. If you want a swim-and-picnic kind of day, you can. If you want to move farther and camp farther, you can also.
And because it’s unguided, your trip becomes about decisions you can actually control: how often you stop, where you land, and how you manage energy. That’s great when weather is cooperative. It also means you need to pay attention, because the ocean doesn’t care about your schedule.
A few more Marahau tours and experiences worth a look

What’s included in the kayak rental (and what you supply)
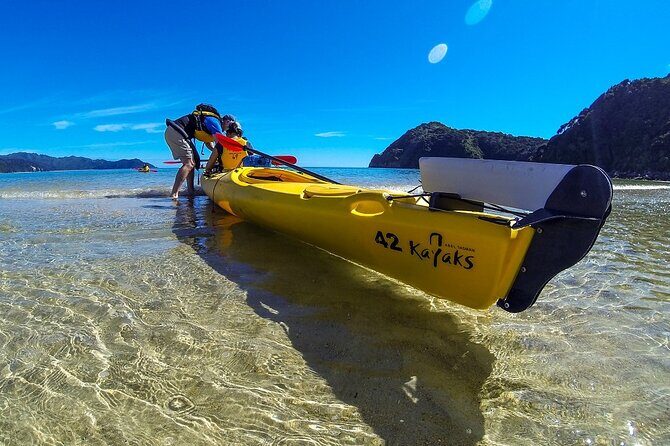
You get a solid rental package that covers the “don’t-get-cold, don’t-get-waterlogged” basics. Included items are:
- Buoyancy vest (life jacket style, for staying afloat)
- Spray skirt (helps keep water out of the cockpit area)
- Paddle jacket (extra layering where wind and spray can bite)
- Paddle and a spare paddle
- Safety emergency flares
- Waterproof map and a water pump
- Camp pass for the national park
The biggest practical advantage is that you don’t have to hunt down a half-dozen specialty items. Even if you own some kayaking gear already, the spray skirt and paddle jacket combo can be the difference between a pleasant day and a miserable one.
What you do need to supply yourself: camping equipment. The camp pass is included, but the sleeping system and gear aren’t in the rental price. You can hire camping sets and individual items from the office, though, so you’re not stuck scrambling if you’re traveling light.
One detail from the experience that’s especially useful: the kayaks can carry more than most first-timers expect. The storage is big enough for about two large packs of gear (around 380 liters total storage). That means you can pack realistically for a multi-day trip without turning it into a minimalist challenge.
The safety briefing: long, specific, and built for real conditions
This trip earns its “feel safe” reputation because the prep isn’t vague. You get a safety briefing at check-in that covers weather forecasts and local conditions, hazards, and self rescue. You also go over how to handle the situation if something goes wrong, and you’re reminded that you’re responsible for listening, following guidance, and making responsible decisions.
One review highlights that the safety discussion runs long enough to make people feel secure, and that’s consistent with the way this setup is designed. You’re not just learning where to paddle. You’re learning how to think like a paddler.
Another big practical touch: they work through the basics first, and they’ll do a test run before you’re sent out. If you’re nervous about starting from zero experience, this kind of practice time can save you from learning everything the hard way on the water.
Also, you’ll be dealing with real weather swings—rain happens in coastal New Zealand. The plan accounts for that, and one review notes that when downpour hit, shelter at the anchorage bay hut/campsite had enough space to wait it out.
Day 1 in Abel Tasman: check in, get set, then choose your own rhythm
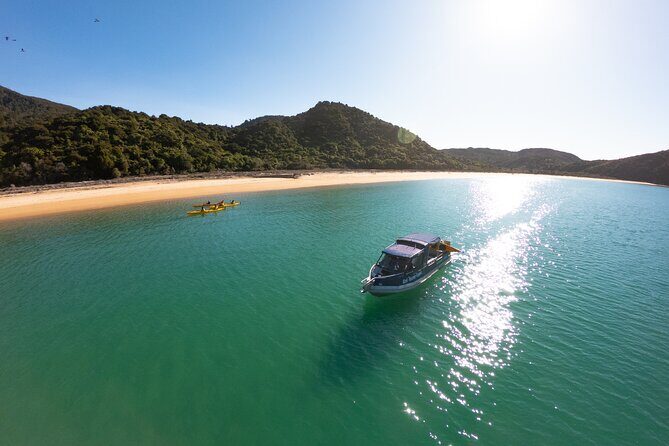
Your day starts at 8:15am with check-in and the rental briefing. You’ll go over local conditions and hazards, then you’ll be equipped with the kayak and safety gear. The schedule then moves you into paddling mode with the water-taxi transfer to Onetahuti Bay.
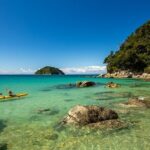
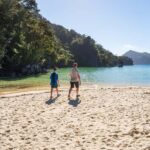
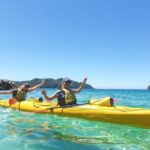
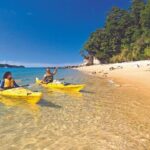
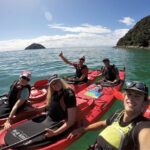
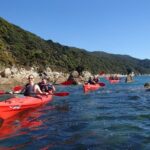
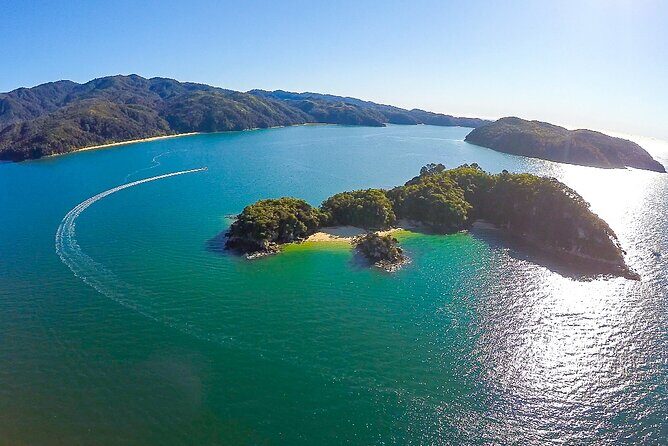
From there, you paddle south at your own pace. The “own pace” part isn’t just marketing. It means you can stop where you want for the stuff that makes Abel Tasman memorable: swimming, sunbathing, and picnicking on beaches.
The trade-off with flexibility is that you still need to make smart choices. If the day gets windy or chop builds, you may want to shorten your paddling time and take a more sheltered option. With unguided freedom, your best move is usually simple: slow down early, get confident, and let the rest of the day follow your energy level.
Day 2: a full day to explore at kayak speed
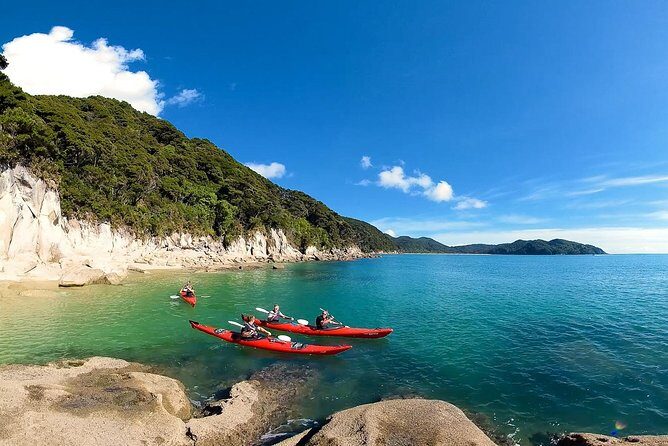
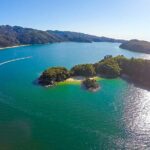
Day two is your main exploration day. You spend the day paddling around Abel Tasman National Park, and you keep all the freedom you had on day one: stop for beaches, rest when you need to, and adjust your route based on how conditions feel.
This is the day where your choices start to shape the trip. If you’re the type who likes to linger—watching the shoreline from the water, taking time for photos, and getting out for a proper swim—you’ll love day two. If you prefer to keep moving and maximize distance, you can do that too.
What I like about a day like this is that kayaking isn’t just “transport.” It’s the activity. You’re close to the shoreline, you’re quiet compared with boats, and small changes—cloud cover, wind direction, water temperature—translate into real differences in comfort.
Just remember: this is still water travel. Even on a day that starts calm, things can change. The earlier briefing is there for a reason. Use it.
A few more Marahau tours and experiences worth a look
Day 3: the clock starts to matter (and returning by 4pm)
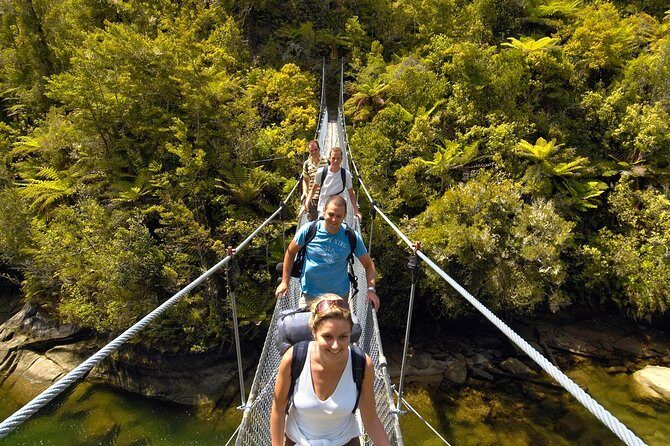
Day three is when you shift from exploration mode to wrap-up mode. You’ll be kayaking in the park in the morning and early part of the day, then you return to Abel Tasman Kayaks’ base by 4:00pm.
That end time is important for planning your day. You’ll want to pace earlier so you aren’t rushing late with tired arms and limited options. If you like long beach breaks, save the longest linger for day two or the earlier part of day three.
One nice quality-of-life detail from the experience: there are showers available at the end. After three days of salt spray and sunscreen, that kind of reset makes the whole trip feel more comfortable and less gritty.
Camp pass, camping gear, and the rain factor
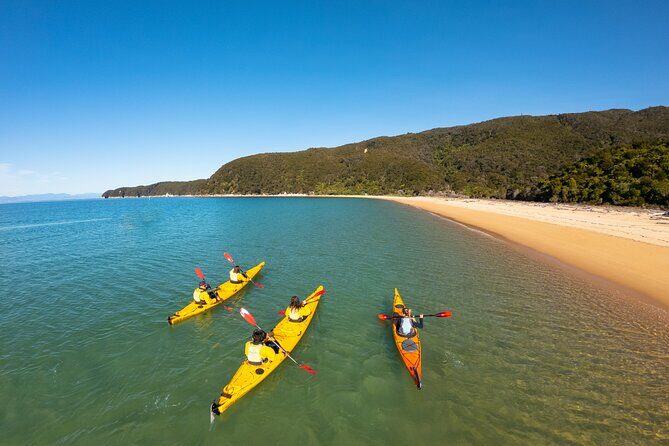
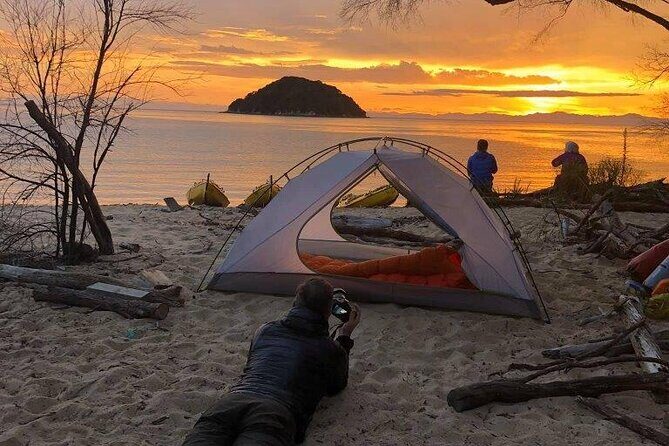
The trip includes a national park camping pass, which helps with the official side of overnight stays. The catch is camping equipment isn’t included in the base price. That means you either bring what you need or hire a camping set from the office.
This matters because it changes how you pack. With kayak trips, it’s easy to arrive thinking you’ll be able to improvise. You can’t always improvise well with sleep gear and cold/rain protection.
If you’ve got your own camping kit, great—you’re set. If you don’t, hiring can be the smarter play. You’ll travel lighter, arrive ready, and focus on kayaking instead of assembling equipment at the last minute.
Rain is also part of the equation in coastal New Zealand. One review specifically mentioned having a sheltered place at the anchorage bay hut/campsite when downpour rolled in. That doesn’t mean every stop has perfect shelter, but it’s a good reminder that the plan can handle wet weather better than you might assume.
Price and logistics: what $225.89 buys you, and what it doesn’t
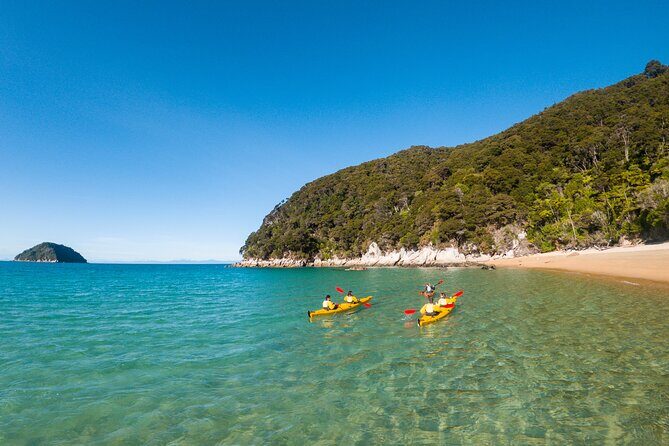
The price is $225.89 per person for a rental that runs about three days. On paper, it’s “just” a rental. In practice, the value comes from what’s included versus what you must handle separately.
What you get in the price:
- kayak and core safety/paddling gear
- emergency flares, waterproof map, water pump, spare paddle
- camp pass for the national park
What you don’t get:
- return transport from Nelson or Motueka to the Mārahau starting point
- camping equipment (unless you hire it separately)
So your total cost depends on how you’re getting to Mārahau and what camping setup you’re bringing. If you already have reliable transport or you’re coming from Nelson/Motueka with an easy connection, you’ll feel the value quickly. If you need to add extra travel costs, the price still holds up, but it becomes more of a “whole trip budget” number.
One more practical point: this type of active trip gets booked ahead. If you’re traveling in peak periods, book early rather than last-minute hoping for luck.
And yes, this experience depends on good weather. If conditions aren’t right, you’ll be offered another date or a full refund.
Two-person minimum and other practical rules
This rental requires at least two people. Solo hires aren’t available, so this is a great choice for:
- couples
- friends
- families where everyone can meet the basic activity requirements
Most travelers can participate, and service animals are allowed. Still, it’s a water-based adventure, and the risk disclosure is real: you can face issues like hypothermia, heat stroke, sea sickness, injury, drowning, and property damage in outdoor conditions.
The good news is that Abel Tasman Kayaks mitigates risk with training, info, and safety gear. The responsibility part is on you too: listen to directions and make responsible decisions.
Who should book this 3-day Abel Tasman kayak rental?
You’ll likely love it if you:
- want a classic Abel Tasman coastline experience at your own pace
- enjoy active travel and can handle a multi-day outdoor rhythm
- like the idea of beach stops for swimming and picnics without a fixed itinerary
You might want to skip it (or at least rethink) if you:
- are traveling solo and don’t have a partner to meet the minimum
- don’t want to handle camping gear logistics
- get anxious in open-water conditions without guided coaching (even though the briefing and test run help, you’re still paddling unguided)
If you want freedom without total chaos, this is a strong balance. You get the prep, then you steer the day.
FAQ
What time do I start, and where do I meet?
You check in at 8:15am at 273 Sandy Bay–Mārahau Road, Mārahau 7197, New Zealand. The experience ends back at the same meeting point.
How does the trip start?
After the rental briefing and safety information, you’re transferred by water taxi to Onetahuti Bay, then you paddle south at your own speed.
What’s included in the rental price?
You receive buouancy vest, spray skirt, paddle jacket, paddle, safety emergency flares, a waterproof map, a water pump, and a spare paddle. You also get a national park camping pass.
Do I need my own camping gear?
Camping equipment is not included. The camp pass is included, but you’ll need to bring your own camping gear or hire camping sets and items from the office.
Is this tour available for solo travelers?
No. There’s a minimum group size of 2, and solo hires are not available.
Is transport from Nelson or Motueka included?
Return transport from Nelson or Motueka is not included in the trip price, so you’ll need to book that separately.
Should you book Abel Tasman Kayaks 3 Day Freedom?
If you want a self-guided Abel Tasman experience where your day is shaped by beach stops and your own paddling pace, I think this is a smart way to do it. The included gear list is practical, and the safety briefing is thorough enough to make new paddlers feel ready. Add in the camp pass and you’re not stuck doing paperwork or scrambling for key items.
The decision hinges on two real-world factors: can you meet the two-person minimum, and can you handle the camping gear (or hire it)? If yes, book it and plan your transport to Mārahau early. If you need a solo option or fully guided coaching for every decision on the water, you’ll probably feel more comfortable choosing a different style of trip.