REVIEW · AUCKLAND
Auckland Highlights Full Day Guided Tour
Book on Viator →Operated by Rainbow Tours NZ · Bookable on Viator
Auckland gets a lot of attention in a single day. This full-day private tour mixes iconic landmarks with serious coastal scenery, and your guide helps with photos along the way.
I love how the day feels personal: it’s designed for small groups or just your party, and the guide can steer the pace based on what you care about. I also like that the route hits big picture highlights like Mt Eden crater views while still leaving time to enjoy the places themselves, not just pass through.
One thing to keep in mind: this is priced at $217.20 per person and lunch, bottled water, and snacks aren’t included, so you’ll want to plan your own food and drinks for the long stretches.
In This Review
- Key highlights you’ll notice fast
- A private 8-hour Auckland route that actually feels like a day
- Meeting at 107 Quay Street and how the pace works
- Westhaven Marina and Auckland Harbour Bridge: where the harbor tells the story
- Mt Eden crater views and Winter Garden glasshouses
- Mission Bay and MJ Savage Memorial Park: coastal ease, harbor views
- Arataki Visitor Centre: culture and nature before Piha
- Piha Beach and Lion Rock: the black sand payoff
- Guide-led flexibility and the personal-photographer effect
- Price and value: when $217.20 per person feels fair
- What to bring so the day doesn’t feel “missing”
- Who this Auckland tour suits best
- Should you book this Auckland Highlights Full Day Guided Tour?
- FAQ
- How long is the Auckland Highlights full day guided tour?
- What time does the tour start, and where do I meet?
- Is pickup offered?
- Is this tour private?
- What’s included in the price?
- Are admission tickets included?
- What’s not included?
- Which major places are part of the route?
- Does the tour run in any weather?
- What is the cancellation window?
Key highlights you’ll notice fast
- Private, group-only experience with an experienced guide and your own itinerary flow
- Photo help built into the tour, with guides acting like a personal photographer in reviews
- A mix of city viewpoints and coastal time, from Mt Eden to Piha’s black sand
- All major stops are listed as free, so you’re not fighting extra entrance fees
- Weather matters, and the tour may be rescheduled or refunded if conditions are poor
A private 8-hour Auckland route that actually feels like a day
This isn’t a quick hit-and-run sightseeing crawl. You’ll be out for about 8 hours, moving through Auckland from harbor views to volcanic crater panoramas and then out toward the coast. The payoff is variety: you get both the classic city-photo Auckland and the west-coast mood.
Because it’s private, the day doesn’t feel like you’re squeezed into someone else’s schedule. You and your group set the tone, and the guide can slow down when the views are good (or when you want a few extra minutes at a viewpoint).
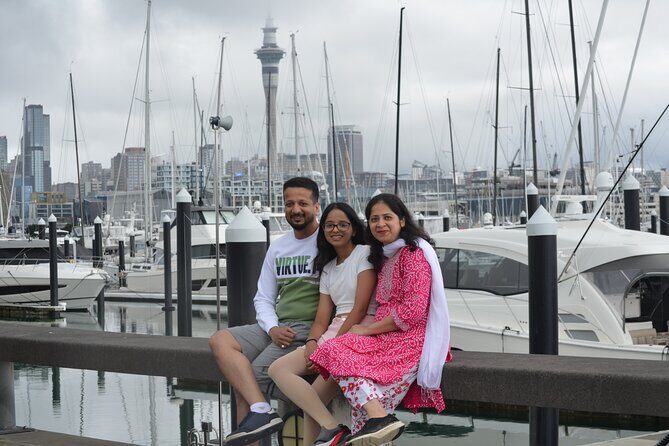
And yes, photos matter here. The concept is that your guide not only shows you the sights, but also helps capture the moments. In reviews, guides were praised for making it feel like you had your own photographer, with pictures that people felt were suitable for framing.
You can also read our reviews of more guided tours in Auckland



Meeting at 107 Quay Street and how the pace works
You start at 107 Quay Street in Auckland Central, with a 9:00 am start time. Pickup is offered, and you’ll travel in an air-conditioned vehicle, which is a real comfort factor in a long day of stops.
The pace is built around short photo and orientation stops plus a couple longer windows where you can take in the place properly. For example, some stops are around 10 minutes, while others give you 30 to 50 minutes. That blend is useful: you get key sights without feeling stuck.
If you’re the type who likes to linger, you’ll still have time—but don’t expect this to replace a slow walking day. This tour is about maximizing a single day, then sending you back to Auckland with a full set of memories.
Westhaven Marina and Auckland Harbour Bridge: where the harbor tells the story
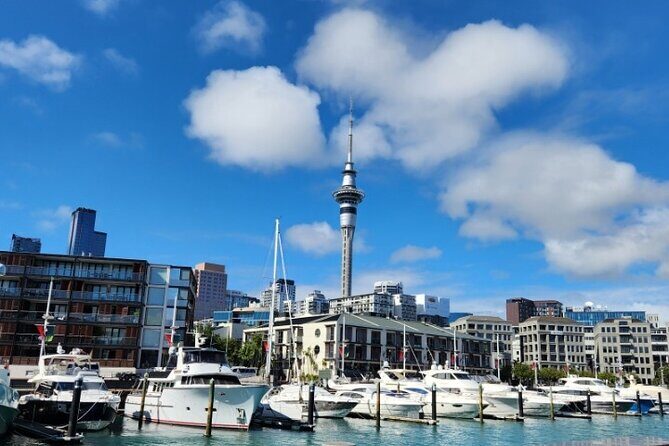
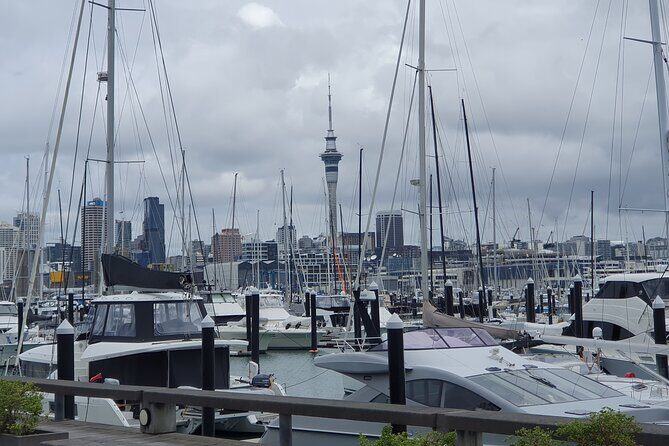
You begin with Westhaven Marina, described as the largest yacht marina in the Southern Hemisphere. Even if you’re not a sailor, the setting is impressive: you get a waterfront promenade perspective with boats stretching along the harbor. It’s one of those places where the scene looks good from just about any angle.
Then you head to the Auckland Harbour Bridge. This is the iconic spine of the city across the Waitematā Harbour, and it’s known for big-ticket adventure options like bridge climbing and bungy jumping. Even if you’re not doing those activities, the bridge still works as a photo anchor, and it’s especially dramatic in city light if your day runs well.
Practical note: these are short stops, so arrive ready to move. If you want a specific photo (wide harbor shot versus close bridge detail), tell your guide quickly and you’ll usually get a better result than trying to figure it out mid-stop.
Mt Eden crater views and Winter Garden glasshouses
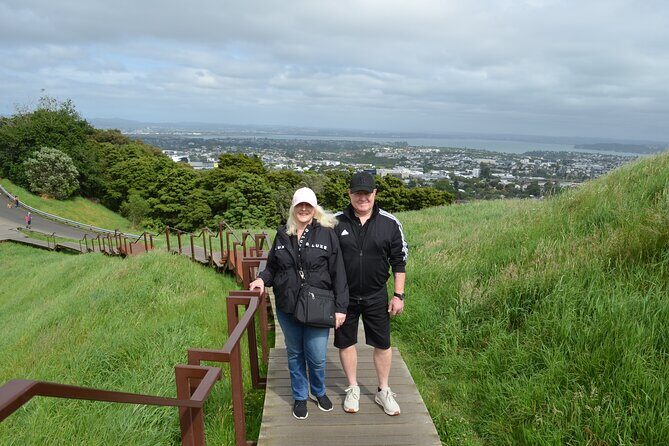
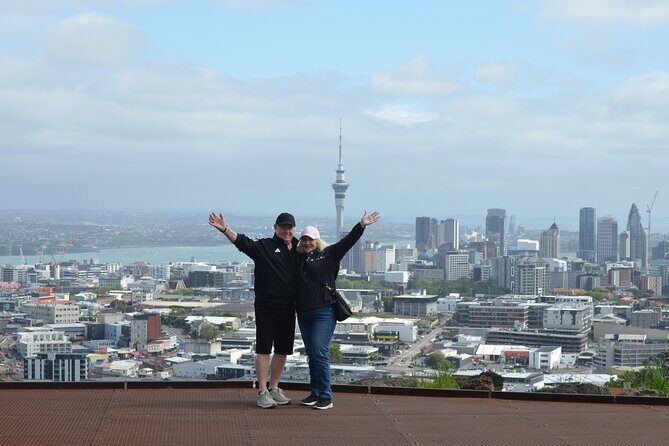
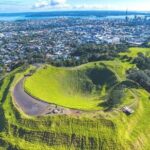
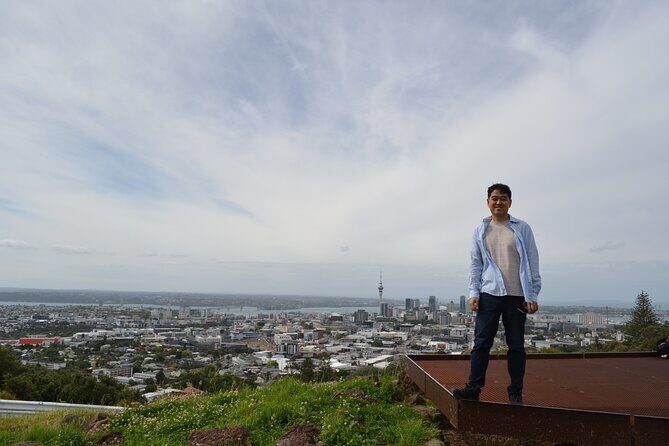
Next up is the volcanic high point: Maungawhau / Mt Eden. This crater is Auckland’s highest volcanic summit and offers panoramic views over the city. The crater is about 50 meters deep, which adds a “you can feel the scale” effect when you look down into it.
I like Mt Eden on a guided day because the viewpoints can be obvious, but the best angles aren’t always. Your guide can help you focus on the lines of sight—where the city opens up and which views are worth the climb effort.
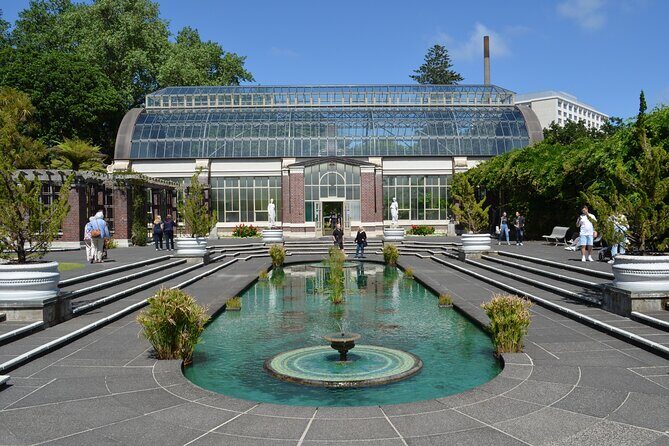
After the crater, you shift into calmer mode at Winter Garden Auckland Domain, a botanical garden dating back to 1913. The standout here is the glasshouse structure and the mix of temperate and tropical plant collections, which means you’re not forced into a single-season look. If the weather is mixed (cloudy or windy), an indoor/outdoor garden stop can be a nice reset.
A fair drawback: if you’re not a plant person, you might find this part more about atmosphere than must-see objects. That said, even non-garden lovers often appreciate the classic greenhouse look and the break from constant viewpoint hopping.
Mission Bay and MJ Savage Memorial Park: coastal ease, harbor views
You then move to Mission Bay, one of Auckland’s well-known beach areas. The focus here is the shoreline vibe and the promenade lined with cafes and restaurants. Even if you don’t plan to eat there (since lunch isn’t included), it’s a good place to feel the coastal rhythm and take a breather from city landmarks.
A common mistake is treating Mission Bay as only a beach stop. I’d treat it as an orientation to Auckland’s lifestyle—where the water is right there, and the neighborhood feels designed for strolling.
Later you visit MJ Savage Memorial Park, a smaller stop but a memorable one. It’s dedicated to New Zealand’s first Labour Prime Minister and is praised for its garden setting and harbor and city skyline views. If your timing hits a clear moment, the skyline angle can be a nice bridge between the marina, the city center, and the later trip toward the west coast.
One consideration: this park stop is shorter (around 20 minutes). So if you’re hoping for a long walk, plan to use your time for photos and the best viewpoint rather than expecting a full stroll.
A few more Auckland tours and experiences worth a look

Arataki Visitor Centre: culture and nature before Piha
Before heading toward the beach highlight, you pause at Arataki Visitor Centre, which functions as a gateway to the Waitākere Ranges. You’ll get information about Māori culture and local nature. The value here is context: after seeing Auckland’s city face, you get a sense of how the surrounding land shaped the region.
This stop is also a good “reset” for attention. You’ll be switching gears from harbor and garden scenery to more rugged coastal conditions.
In reviews, guides were credited with adapting the day to your interests. This is exactly the kind of place where that flexibility can matter—if you want to spend more time understanding what you’re about to see, you can usually make that happen with a responsive guide.
Piha Beach and Lion Rock: the black sand payoff
The finale is Piha Beach, famous for its black sand and its connection to surfing culture. The beach is dominated by Lion Rock, one of those landmarks that instantly anchors the scene.
This is also the stop where your day depends most on the weather. The tour notes that it requires good conditions, and if it’s canceled due to poor weather, you’ll be offered a different date or a full refund. That matters because Piha is best when you can see the coastline clearly and enjoy the late-day light that people associate with the area.
If conditions are good, this is the moment that makes the whole day feel worth it: you’ll go from city icons to something raw and dramatic. Even if you don’t surf, a walk along the sand with Lion Rock in the frame is a very New Zealand ending.
If weather is rough, you won’t want to force it. Piha can be slippery and windy, and a good guide will know how to keep you comfortable while still delivering the experience.
Guide-led flexibility and the personal-photographer effect
The biggest strength across the guide experiences shared in reviews is how human it feels. Names like James and Se Mok came up for friendly, attentive guiding and for going beyond what big group tours typically do.
Several reviews highlight that the guide didn’t just run a fixed checklist. Instead, they adjusted the itinerary based on your interests, even though there were set stops. That flexibility is what turns a “highlights tour” into a day that feels like it fits you.
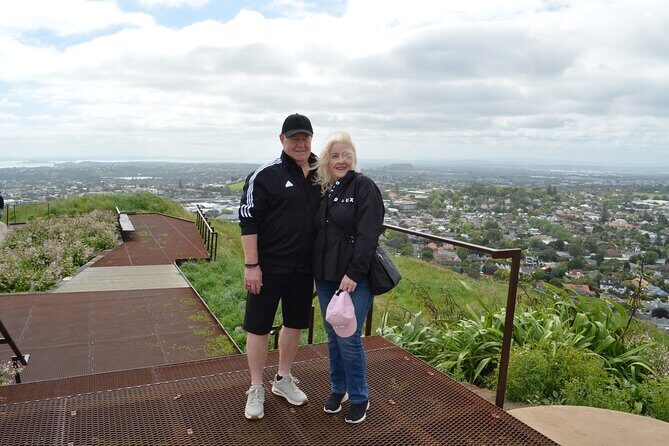
There’s also the photo piece. In one review, the guide’s help was described as having your own personal photographer, with photos suited for framing. Even if you’re not a camera person, that service helps you avoid the usual problem: scrambling for the right angle while everyone else is moving on.
Price and value: when $217.20 per person feels fair
At $217.20 per person for about 8 hours, this tour sits in the higher tier for a day trip. The value isn’t in paid attractions—every listed stop is marked free in the tour info. So you’re really paying for three things:
- Private guidance and driving through a spread-out route
- Time efficiency (you hit multiple key areas in one day without planning)
- Photo assistance and adaptation to your interests
That means the best value comes when your group truly uses the private nature. If you want to ask questions, get photography help, and move at a pace that doesn’t feel rushed, the price can make sense.
A fair consideration from reviews: some people felt the price was high because the stops weren’t paid attractions. If you’re someone who prefers self-guided sightseeing and doesn’t care much about being photographed, you might feel the cost more than the benefit.
What to bring so the day doesn’t feel “missing”
Since lunch, bottled water, and snacks aren’t included, I recommend you bring at least a small snack plan and water for the longer stretches. One review notes water was provided by a guide, but you can’t count on that happening every time.
Also bring:
- Sunglasses and sunscreen
- A light layer (coastal air can change fast)
- Comfortable shoes for the crater area and beach walk
- Your phone or camera—and tell your guide what kind of shot you want
And if your priority is photos, say so early. A good guide can set you up for better angles when they know what you’re aiming for.
Who this Auckland tour suits best
This is a strong fit if you:
- Want a private, guided day instead of navigating stops alone
- Care about high-quality photos and having someone help you with angles and timing
- Like a route that mixes city viewpoints with coastal scenery
- Prefer a guide to explain the context, especially around places like Arataki Visitor Centre
If you’re traveling as a couple or just want a day that feels tailored without having to plan the whole route, this checks a lot of boxes.
If you’re on a tight budget or don’t want help with photos, you might prefer a cheaper self-drive plan and spend less time in structured stops.
Should you book this Auckland Highlights Full Day Guided Tour?
I’d book it if your ideal Auckland day looks like this: harbor icons in the morning, a volcanic view mid-day, gardens and coastal neighborhoods for a breather, and a big west-coast finish at Piha. The guide factor matters here, and the photos are a real part of the experience—not an afterthought.
Skip it if you only want free sightseeing at your own pace and you’re happy to plan transport and timing yourself. Also, if your travel dates are tight and the weather forecast is unpredictable, remember the tour requires good conditions and may be rescheduled.
If you want your day to feel easy, efficient, and photo-friendly, this one is a solid choice.
FAQ
How long is the Auckland Highlights full day guided tour?
It runs for about 8 hours.
What time does the tour start, and where do I meet?
The start time is 9:00 am at 107 Quay Street, Auckland Central.
Is pickup offered?
Yes, pickup is offered.
Is this tour private?
Yes. It’s a private tour, and only your group will participate.
What’s included in the price?
An air-conditioned vehicle and a guide are included.
Are admission tickets included?
All listed stops show admission ticket as free.
What’s not included?
Lunch, bottled water, and snacks are not included.
Which major places are part of the route?
You’ll visit Westhaven Marina, Auckland Harbour Bridge, Maungawhau / Mt Eden, Winter Garden Auckland Domain, Mission Bay, MJ Savage Memorial Park, Arataki Visitor Centre, and Piha Beach.
Does the tour run in any weather?
It requires good weather. If it’s canceled due to poor weather, you’ll be offered a different date or a full refund.
What is the cancellation window?
You can cancel up to 24 hours in advance for a full refund.