REVIEW · WELLINGTON
Wellington: Cave to Coast Highlights Guided Tour
Book on GetYourGuide →Operated by Zozo Travel Limited · Bookable on GetYourGuide
Wellington changes with every turn. This guided loop gives you the big hits fast: 360-degree harbour views, Weta Cave storytelling, coastal scenery, and classic city stops like the Cable Car and Old St Paul’s. It’s the kind of tour that helps you get your bearings fast in a city that’s built on hills, bays, and dramatic weather.
Two things I really like are the mix of viewpoints plus the way the day is paced for seeing a lot without feeling totally rushed. And you get a very Wellington add-on in the form of Weta Cave’s behind-the-scenes style documentary and hands-on shop vibe. Guides also show up in the feedback as a major strength, with names like Phil, Steve, Mike, and Michael getting called out for being friendly and quick to connect the dots around town.
One possible drawback: five hours can only fit so much, so some stops are photo-and-stroll length rather than deep time. Also, a ride on the Cable Car and optional entry at Old St Paul’s Cathedral cost extra, so your final spend may be a touch more than the base price.
In This Review
- Key highlights worth your attention
- Mt Victoria, the waterfront, and how this tour helps you orient fast
- Time check that matters
- Weta Cave Shop: the creative stop that actually feels like New Zealand
- A note on what’s included versus optional
- The coastal drive: Oriental Bay, windy sign vibes, and the south shore attitude
- Why this part is good value
- Shelly Bay to Miramar Peninsula: scenery plus just enough structure
- Photo stops work best when you’re ready
- Seaside lunch: where the included meal makes the tour feel fair
- Cable Car, Lady Norwood Rose Garden, Parliament area, and Old St Paul’s
- Wellington Cable Car
- Lady Norwood Rose Garden
- New Zealand Parliament Buildings (pass by + photo time)
- Old St Paul’s Cathedral
- The 5-hour pace: fast, but not chaos
- Price and what you truly get for $124 per person
- Who this tour suits best (and who might want to skip it)
- Should you book Wellington: Cave to Coast Highlights Guided Tour?
- FAQ
- How long is the Wellington Cave to Coast Highlights Guided Tour?
- What does the tour price include?
- Is lunch included, and what is it like?
- Do I need to buy tickets for the Wellington Cable Car?
- Is Old St Paul’s Cathedral included?
- What do I get at Weta Cave?
- Where do I meet the tour if I don’t have a hotel pickup?
- Is pickup available from hotels and the cruise terminal?
- Is the tour wheelchair accessible?
- What ID do I need to bring?
Key highlights worth your attention
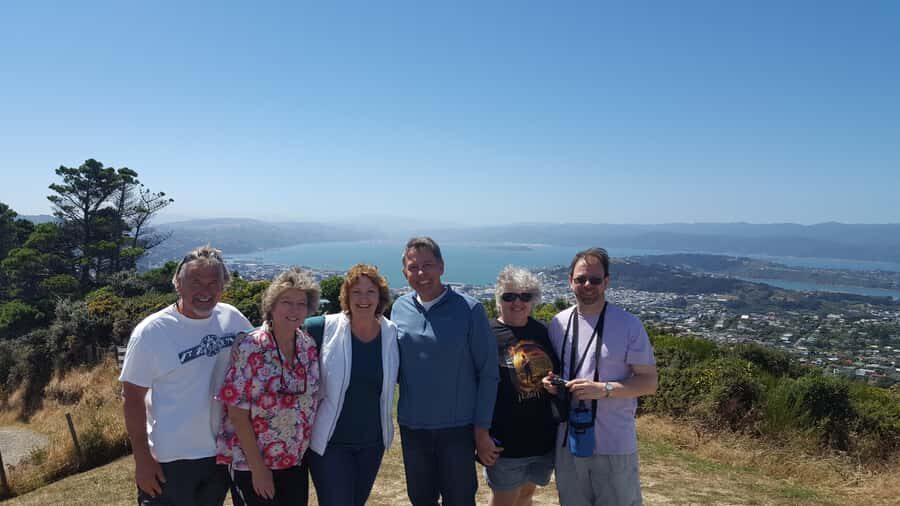
- Mt Victoria Lookout: a quick 30-minute photo stop that delivers big orientation value for the rest of your trip
- Weta Cave documentary at Weta Cave Shop: a creative, visual stop that’s more than shopping
- Rugged south Wellington coastline: dramatic shoreline views with nature-minded stops along the way
- Seaside lunch included: a main and beverage at a café or restaurant by the water
- City icons in one run: Cable Car photo time plus Lady Norwood Rose Garden and Old St Paul’s area
- Guide-led storytelling: multiple guides called out by name for making the day feel personal and informative
Mt Victoria, the waterfront, and how this tour helps you orient fast
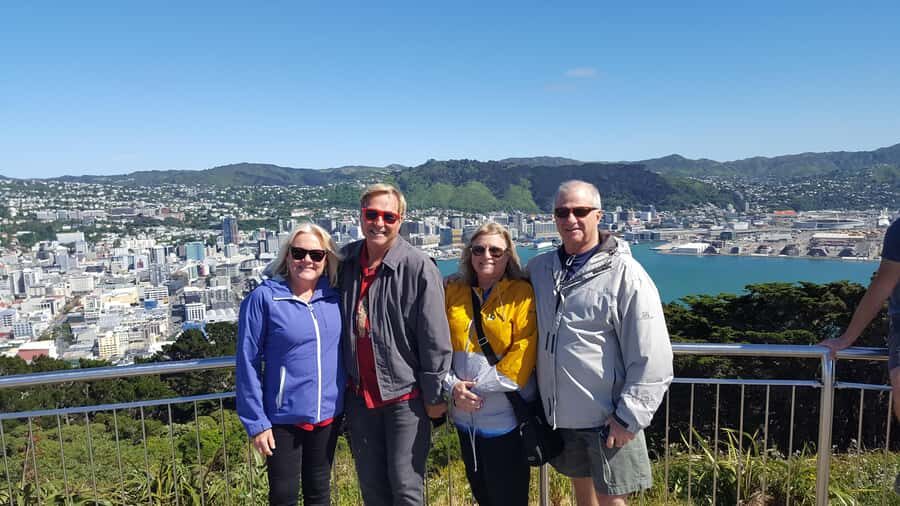
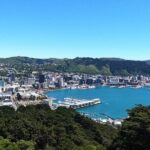
Wellington is one of those cities where the hills and the water make everything feel connected—if you can only see the parts in the right order. The tour starts by driving you up to Mt Victoria Lookout, where you get that classic harbour-and-city perspective. Even if the light is gray (Wellington does that sometimes), the shape of the city still reads clearly from up high.
I like this opening stop because it changes how you experience everything that follows. After Mt Victoria, the waterfront roads, the bays, and the curving coastlines make more sense. It’s not just a view; it’s a map you can feel in your head.
From there, you’ll head through the Wellington Waterfront area and up and around the viewpoints that give Wellington its personality: bays, headlands, and the long sightlines that make photo stops worth it. The tour then continues to the coastal drive segments, where the city gradually gives way to wild shoreline scenery.
You can also read our reviews of more guided tours in Wellington

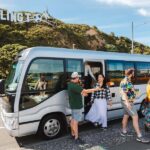
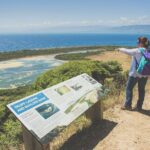
Time check that matters
Mt Victoria is about 30 minutes, which is plenty for photos and a short walk. But if you want an unhurried sit-down view, you’ll be doing that later on your own. This is a highlights-style day.
Weta Cave Shop: the creative stop that actually feels like New Zealand
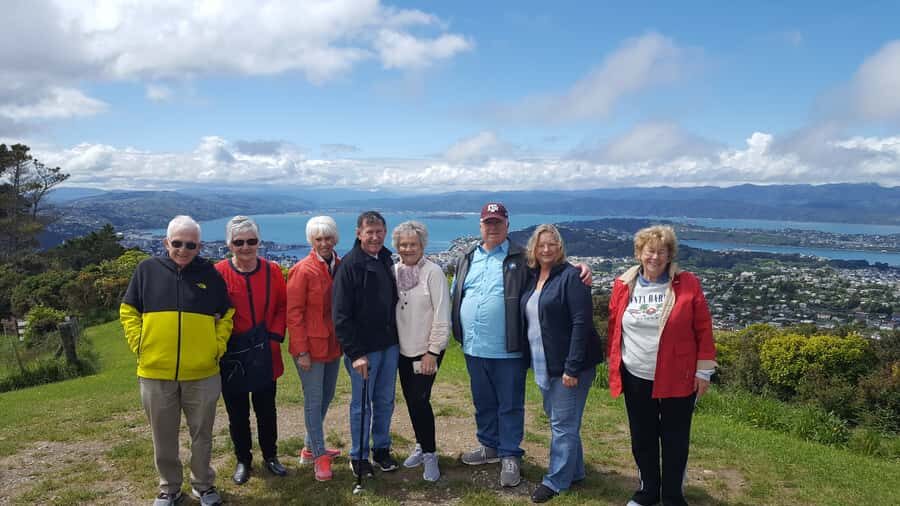
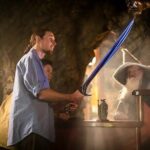
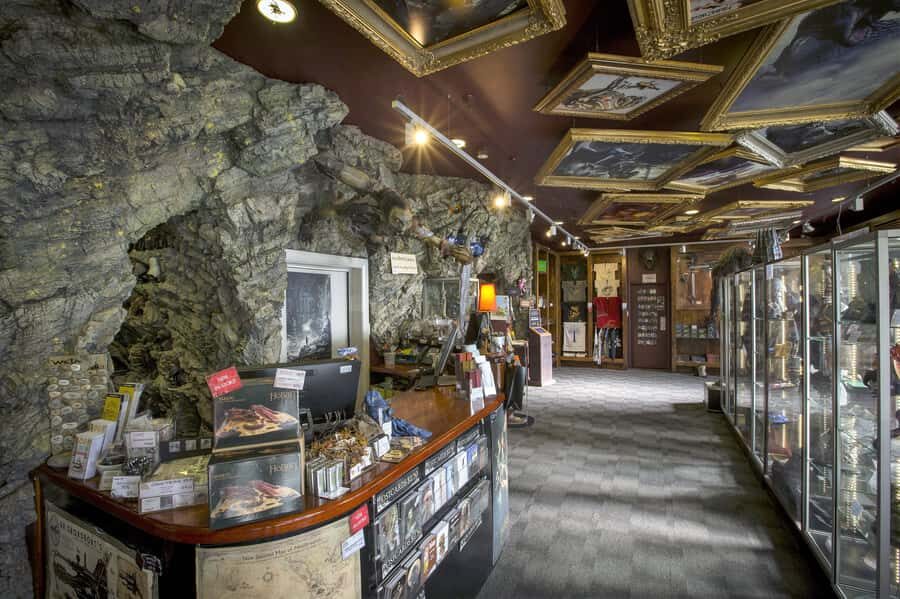
The most memorable non-city landmark on this tour is Weta Cave. This isn’t presented as a generic museum stop; it’s framed as part of the Weta Studio touring world, with a self-guided feel once you arrive.
What you can expect here:
- Life-sized sculptures where you can take selfies right in the action
- A mini-museum vibe for lingering without pressure
- An exclusive behind-the-scenes documentary screening experience as part of the Weta Cave flow
- Time to browse, because the Weta Cave shop is part of the experience, not an afterthought
I love stops like this because they’re not just pretty scenery. Wellington is small enough that cultural landmarks can hit hard, and Weta Cave gives you that mix of creativity and local industry.
A note on what’s included versus optional
The tour includes Weta Cave Shop. It also mentions that documentary experience at Weta Cave as a highlight, but the separate Weta Workshop / Behind the Scenes add-on isn’t included. In plain terms: you’ll still get the main Weta Cave experience, but don’t assume every possible extra studio ticket is rolled into the price.
The coastal drive: Oriental Bay, windy sign vibes, and the south shore attitude
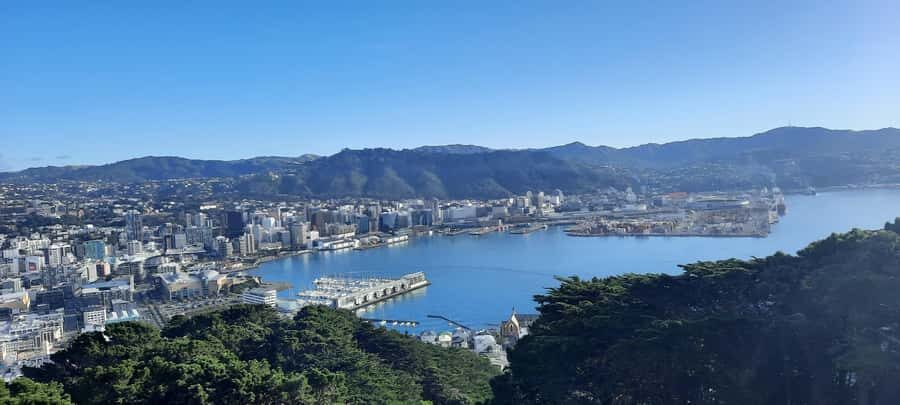
After Weta Cave, the route turns into proper Wellington coastline mode. You’ll drive along the coast around places like Oriental Bay and Evans Bay, and you’ll get scenic pull-offs where the views do the heavy lifting.
There’s also a quick stop at the iconic Windy Wellington sign—short, yes, but it’s one of those markers that makes the whole day feel like a real Wellington loop rather than a jump between landmarks.
Then comes the stretch that many people remember most: the rugged south Wellington coastline. This is where you start seeing the coast as something more than a background. You’ll pass areas including Taputeranga Marine Reserve and the Te Kopahou Reserve Visitor Centre, which help shift the day from city-and-coast postcard shots to something a little more nature-focused.

Why this part is good value
You could technically drive these roads yourself. But the value here is that you’re not trying to time traffic, parking, and the right scenic turnoffs while figuring out where you’ll want to stop. The tour lines those moments up for you, and the drive segments are long enough that it doesn’t feel like you’re just getting a series of rushed photo clicks.
Shelly Bay to Miramar Peninsula: scenery plus just enough structure
As the tour keeps moving south and around, it reaches the Shelly Bay area and the Miramar Peninsula. The point of this section is to get you the layered Wellington view—city first, then coast, then coastline details that most visitors only catch from one spot.
You also stop at Wahine Memorial Park for a moment of remembrance. This is brief, but it adds weight to the day. Wellington is a place where the ocean isn’t just a view—it’s part of the city’s story, and that pause gives the trip a more human tone.
Photo stops work best when you’re ready
Some stops are built around quick walks and photos. Dress for wind and brisk air, and keep your camera handy. If you show up thinking the day is only about slow sightseeing, you’ll feel the pace.
Seaside lunch: where the included meal makes the tour feel fair
One reason this tour works for value is that lunch is included—a main and a beverage at a seaside café or restaurant. That detail matters because the cost of food can quietly add up on self-guided days, especially when you’re trying to find places near scenic pull-offs.
You’ll get about 45 minutes for lunch, which is enough time to eat, warm up (Wellington wind is real), and reset before the city segment.
Practical tip: if you have dietary needs, you’ll need to advise when booking so they can choose options that fit. The tour notes that most dietary requirements can be catered for, but you should tell them ahead of time.
Cable Car, Lady Norwood Rose Garden, Parliament area, and Old St Paul’s
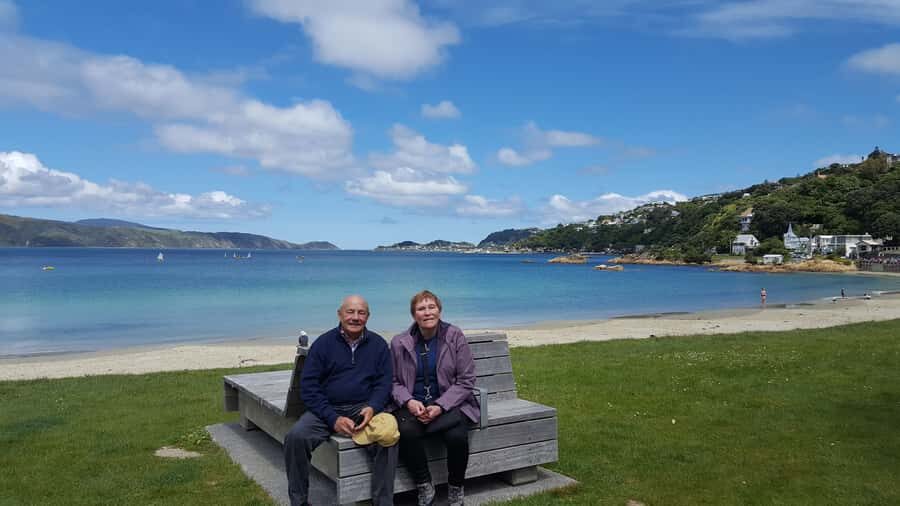
Once you swing back toward central Wellington, the tour becomes a greatest-hits sampler of the city.
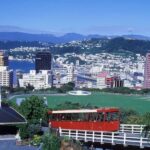
Wellington Cable Car
You’ll stop at Wellington Cable Car for a photo stop, a walk, and self-guided time. The key detail: a Cable Car ride is optional and you purchase that on the day. If you want the full ride experience (not just the outside stop), budget a bit extra.
Lady Norwood Rose Garden
Next is Lady Norwood Rose Garden. You’ll do a photo stop plus some stroll time. It’s a quick hit of green in a city that’s otherwise shaped by rock, water, and viewpoints.
New Zealand Parliament Buildings (pass by + photo time)
You’ll pass the Parliament buildings and have short photo opportunities and a walk-by moment. This is not a long guided history lesson. It’s more about seeing where you are and then moving on to the next big stop.
Old St Paul’s Cathedral
You’ll also stop at Old St Paul’s Cathedral for a photo stop and self-guided visit time. Entry is optional and costs $5 NZD per person. In other words: you can appreciate the cathedral area either way, and you decide whether paying for interior time is worth it for you.
The 5-hour pace: fast, but not chaos
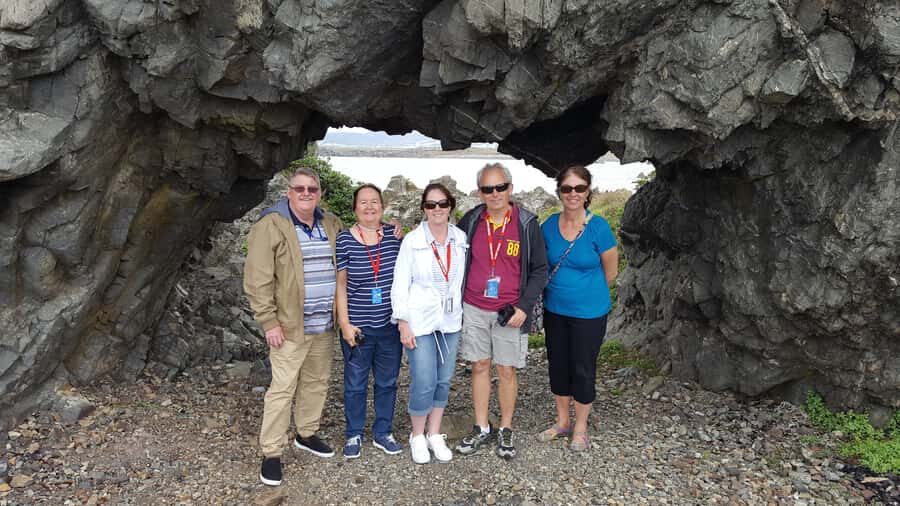
A common complaint about short city tours is that they feel like sprinting through photo spots. This one is built to feel organized. You’re traveling between zones—lookout to coastline to central icons—so the timing is pretty clear-cut.
You’ll see a mix of:
- Short photo stops (often around 15 minutes)
- A longer lunch break (45 minutes)
- A couple of self-guided chunks (like Weta Cave and the cathedral area)
That structure is why the guides show up as a big deal in feedback. With good guiding, the day feels like a story with momentum, not a checklist.
Also, multiple reviews highlight how personal some departures can feel—one review even described a very small group setting with a guide who tailored the conversation to different ages. If you end up in a smaller group, you’ll likely get more back-and-forth and faster answers to questions on the spot.
Price and what you truly get for $124 per person
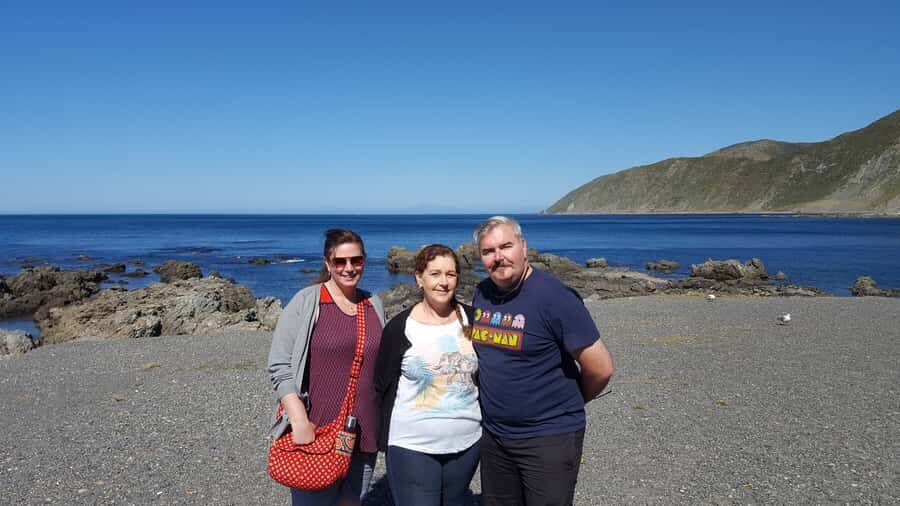
At $124 per person for a 5-hour guided experience, this tour is priced in the mid-range for Wellington day tours. The value comes from bundling several things that usually cost time and hassle if you do them independently.
Here’s what’s included:
- Transport and a local driver guide
- Live English commentary
- Lunch (main + beverage)
- Weta Cave Shop visit
Then there are extras you may choose:
- Cable Car ride (optional purchase on the day)
- Old St Paul’s Cathedral interior (optional at $5 NZD per person)
If you’re staying a short time in Wellington and want to cover both city icons and the coast without planning every stop, this pricing can make sense. If you’re the type who loves independent wandering and already knows exactly where you want to park, the tour may feel like you’re paying to save the mental load.
Who this tour suits best (and who might want to skip it)
This is a strong fit for:
- First-time visitors who want fast orientation and a “best of Wellington” route
- People who want a guided day with commentary but still enjoy self-guided time at stops
- Travelers who like mixing culture (Weta Cave) with scenery (south coast viewpoints)
- Anyone who values having lunch handled so the day stays smooth
It might be less ideal if:
- You want long, deep visits (this is a highlights format)
- You dislike optional add-ons or you prefer to control every ticket yourself
- You need more time at one single attraction rather than a variety of stops
Should you book Wellington: Cave to Coast Highlights Guided Tour?
I’d book this tour if you’re trying to get a lot out of a limited Wellington stay and you like the idea of a guide stitching together Mt Victoria views, Weta Cave creativity, and dramatic coastline scenery in one day. The included seaside lunch is also a real quality-of-life win, and the fact that guides like Phil and Steve (and others) are repeatedly praised for making the day feel engaging is a good sign.
If you hate short stops, you might feel the schedule. But if you want a well-timed overview that helps you plan your next day(s) with confidence, this is the kind of tour that earns its place early in your trip.
FAQ
How long is the Wellington Cave to Coast Highlights Guided Tour?
The tour runs for 5 hours.
What does the tour price include?
The price includes transport, a local driver guide with live English commentary, lunch (main and a beverage), and a visit to Weta Cave Shop.
Is lunch included, and what is it like?
Yes. Lunch is included as a stop at a seaside café or restaurant, with a main and a beverage. Dietary requirements can be catered for if you advise during booking.
Do I need to buy tickets for the Wellington Cable Car?
A Cable Car ride is optional. You can purchase the ride on the day for a small cost.
Is Old St Paul’s Cathedral included?
You’ll stop at Old St Paul’s Cathedral for photos and self-guided time, but optional entry costs $5 NZD per person.
What do I get at Weta Cave?
You’ll visit Weta Cave Shop, and you can enjoy the self-guided experience along with an exclusive behind-the-scenes documentary at Weta Cave.
Where do I meet the tour if I don’t have a hotel pickup?
If you haven’t booked your hotel yet, the default meeting point is the Pick Up and Drop Off lane on the Wakefield Street side of Tākina Convention and Exhibition Centre, at 217 Wakefield Street. Arrive at least 15 minutes before the tour starts.
Is pickup available from hotels and the cruise terminal?
Yes. Hotel pickup is available from your selected hotel lobby, and cruise terminal pickup is available from the Wellington Cruise Terminal waiting area.
Is the tour wheelchair accessible?
The tour is listed as wheelchair accessible, but participants must be able to enter and exit the vans unassisted, using steps and grab rails. If not, the guide may decline participation with a full refund.
What ID do I need to bring?
Bring a passport or ID card.