REVIEW · WELLINGTON
Guided Small Group Walking Tour in Wellington
Book on Viator →Operated by Greenbelt · Bookable on Viator
Wellington can feel like a city of layers. This small-group walking tour strings them together, from NZ Parliament to the seismic fault line, then up into gardens and back down to the waterfront.
Two things I like a lot: you get a real sense of how politics, geography, and daily life connect in this city, and the walking route gives you plant-and-place context as you move through New Zealand bush and gardens. One thing to consider is the physical side—this is about 2.5 hours of walking with an uphill climb.
The pacing is friendly, with a hard cap of 10 people. It also uses a mobile ticket, and the ending at Te Papa makes it easy to continue your day along the bay.
In This Review
- Key highlights at a glance
- Wellington’s politics and topography, on foot
- Wellington Railway Station and Parliament: the tour starts with power and place
- Premier House and the Wellington fault line climb
- Wellington Botanic Garden: native bush meets designed gardens
- Cable car summit orientation: views you’ll still use later
- Cuba Street and Te Papa: end where Wellington feels human
- Price and logistics: what you’re paying for (and why it’s fair)
- The guide makes or breaks the walk
- Walking effort: what you should plan for before you go
- When weather changes the day
- Should you book this Wellington walking tour?
- FAQ
- How long is the guided walking tour in Wellington?
- Where do I meet, and where does the tour end?
- What group size should I expect?
- Is admission included for the sights, and do I get a mobile ticket?
- What level of walking fitness do I need?
- Does the tour run in bad weather?
- What if I need to cancel?
Key highlights at a glance

- Parliament grounds to Te Papa waterfront: a guided loop that helps you map Wellington fast
- Fault-line route: you’ll walk where Wellington’s geology actually shapes the city
- Botanic Garden mix of native and exotic plants: a clear, on-foot lesson in New Zealand flora
- Historic cable car summit views: orientation points you can remember later
- Cuba Street stop for a quick refreshment: small break before the final stretch down
Wellington’s politics and topography, on foot
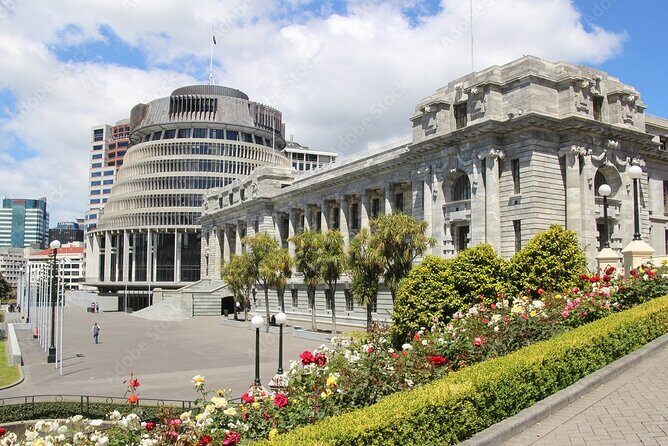
Wellington is one of those cities where the street layout and the hills aren’t just scenery—they’re part of the story. This tour leans into that. You’ll start in the rail station area, talk through what Parliament does and how Wellington’s role fits in, and then you’ll physically walk along the fault-line corridor.
The payoff is practical. After 2.5 hours, you shouldn’t feel like you’re just collecting landmarks. You’ll have a mental map of why Wellington looks the way it does—hills, architecture, and how people move through the city.
This is also a smart “first-day” option if you want orientation without spending the rest of your trip trying to connect the dots.
You can also read our reviews of more walking tours in Wellington



Wellington Railway Station and Parliament: the tour starts with power and place
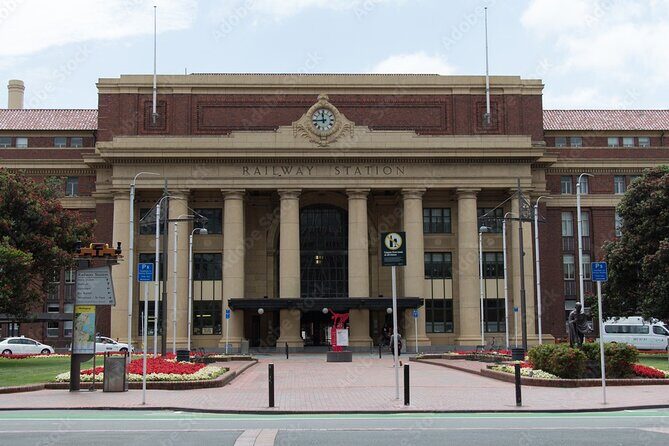
You meet at the Wellington Railway Station, right at the main entrance. From there, the walk takes you through the station’s neoclassical grandeur and then toward the Parliament grounds.
At the Parliament stop, the focus isn’t just big buildings. You’ll get an explanation of New Zealand politics and culture, plus how Wellington connects to that story. Even if you’re not a policy person, it helps you read the area correctly—why the architecture looks the way it does and what the spaces are for.
Timing here is short, which is a good thing. You get context without burning half the tour standing around in one spot.
Premier House and the Wellington fault line climb
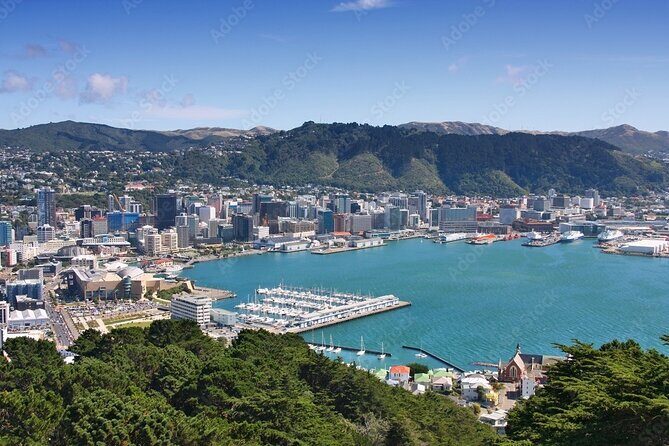
Next comes Premier House, the official residence of New Zealand’s prime minister, located on Tinakori Road. The route links the architecture and the street geography with the underlying fault line you’re walking toward.
This is one of the tour’s most memorable ideas: you’re not just hearing geology as a science fact. You’re experiencing it as city structure. The fault line corridor influences where things sit on slopes and how neighborhoods relate to each other. It’s the kind of connection that only makes sense once you’re moving.
If you like “why is this here” questions, this portion delivers.
Wellington Botanic Garden: native bush meets designed gardens
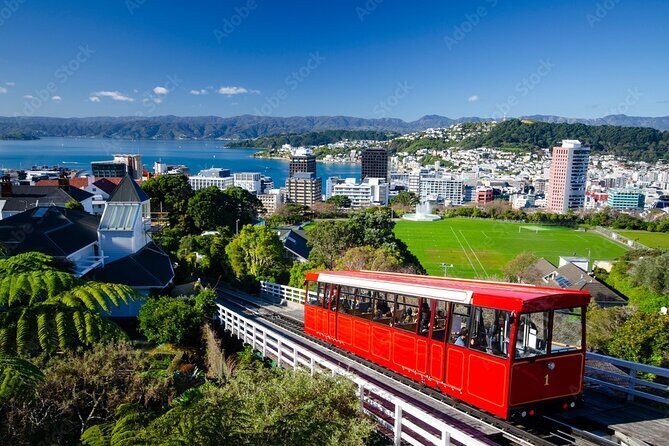
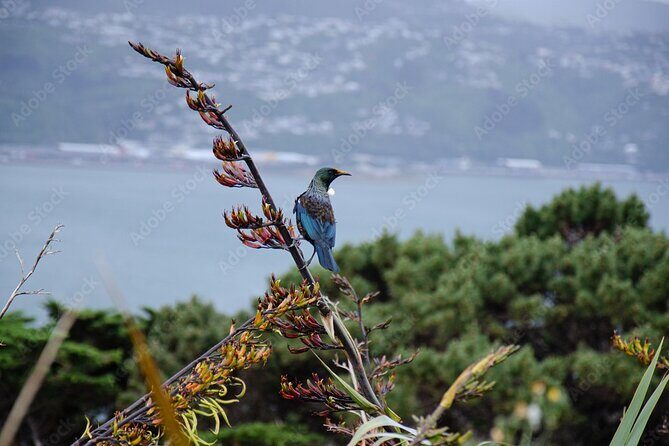
The Wellington Botanic Garden segment is where the tour turns from politics and geology into ecology. Expect a walk through gardens, domains, and bush areas where native and exotic plants share space, with explanations tied to biodiversity and local ecosystems.
The guide’s style matters here. In the strongest moments of the tour, you’re not only told what to see—you’re told how the mix works. That’s the difference between a pretty stroll and a garden that teaches you something you can reuse on your own later.
Also, this is a good highlight for many people because it slows things down just enough to let the setting sink in. Dense New Zealand bush shows up here, which changes the feel of Wellington from city to something more natural and enclosed.
Practical note: this is also where the uphill effort shows up. The garden itself is beautiful, but it does ask you to keep your footing and energy steady.
Cable car summit orientation: views you’ll still use later

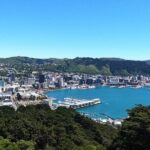
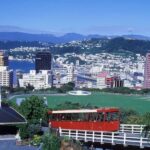
After the garden walk, you reach the top of the historic Wellington cable car. This is a classic orientation move: you get a broad view that helps everything you’ve walked through click into place.
Your guide will point out landmarks and help you understand the area from above. Even if you’ve passed these spots on a bus or on your own, seeing them from the summit turns them into a connected picture.
This stop is short on purpose. It gives you a moment to breathe, take in the scenery, and then transition toward the city streets.
If you’re trying to pace yourself, this is a great time to hydrate and reset your legs.
You can also read our reviews of more guided tours in Wellington



Cuba Street and Te Papa: end where Wellington feels human

From the summit area, the tour winds through suburbs and neighborhoods that most visitors don’t naturally wander into. The goal is perspective—how Wellington feels when you’re not just in the main attractions.
Then you hit Cuba Street, the heart of the city. The tour includes a quick refreshment stop, which is genuinely useful because it breaks up the walk before the final descent.
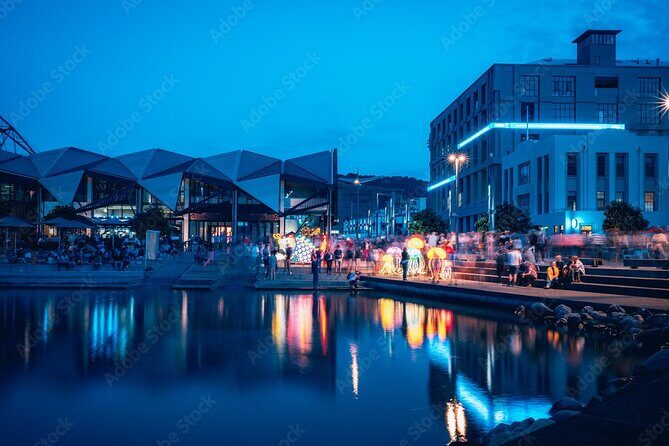
The finish is at the Museum of New Zealand Te Papa Tongarewa, down on the waterfront (near 55 Cable Street). Ending at Te Papa is smart value: you finish in a place where you can keep exploring without needing another plan or another commute.
If you’re the type who likes to end tours with an easy next step, you’ll appreciate that Te Papa sits right where Wellington’s outdoor-and-indoor days blend together.
Price and logistics: what you’re paying for (and why it’s fair)
At $52.75 per person for about 2 hours 30 minutes, the value comes from the mix of walking route + interpretation. You’re not just paying to be taken from A to B. You’re paying for someone to connect Wellington’s politics, architecture, geology, and plant life as you go.
Two more reasons this tends to feel fair:
- Small group size (maximum 10) keeps the walk flexible and easier for questions.
- Many of the key stops are free to access as part of the experience, so you’re not hitting surprise paid admissions mid-tour.
In other words, you’re paying for the guided thinking, not a stack of tickets.
The guide makes or breaks the walk
This is one of those tours where the guide quality shows up fast. Multiple guides are mentioned in the experience: Louie and Von. The common thread is a lively, engaging style—mixing history, architecture, Māori culture references, plant talk, and humor without turning it into a lecture.
If you like asking questions and getting direct answers on the spot, you’re set up well. The pacing also matters: one of the strengths is that even when the group is small, the tour shouldn’t feel rushed.
A practical tip: bring questions. This route naturally raises them—about plants, why houses sit precariously on slopes, or how political buildings fit into city life. The best moments tend to happen when you lean into that curiosity.
Walking effort: what you should plan for before you go
This tour works best with moderate physical fitness. You’re walking for around 2.5 hours, and a good chunk of that includes uphill movement toward the gardens and the cable car summit.
That doesn’t mean you need to be an athlete. But it does mean you should wear shoes with solid grip and plan your day around the hike. If your knees get cranky on slopes, take that seriously.
A smart approach: travel with a bit of cushion time afterward. Te Papa is an easy follow-up, but you’ll still want a normal amount of rest after all those steps.
When weather changes the day
The tour requires good weather. If conditions are poor, you’ll be offered a different date or a full refund. Since you’ll be walking outdoors through gardens and along city streets, this is the right kind of weather rule. It keeps the experience comfortable and safer for everyone.
If Wellington is doing its usual mix of wind and drizzle, check conditions before you commit your schedule too tightly.
Should you book this Wellington walking tour?
Book it if you want an efficient way to understand Wellington beyond the typical highlights. This is the right choice when you care about how place works: politics near Parliament, geography through the fault-line route, plants in the gardens, and city texture on the way to Cuba Street and Te Papa.
Skip it (or reconsider) if long uphill walking is a problem for you. The route is scenic, but it’s still a workout. Also, if you prefer a purely flat, casual stroll, this won’t match that style.
If you’re unsure, look at it like this: this tour is a guided map in motion. When you finish at Te Papa, you’ll likely feel like you can finally place Wellington in your head.
FAQ
How long is the guided walking tour in Wellington?
It lasts about 2 hours 30 minutes.
Where do I meet, and where does the tour end?
You start at Wellington Station (Bunny Street, Pipitea, Wellington). The tour ends at the Museum of New Zealand Te Papa Tongarewa (55 Cable Street, Te Aro, Wellington).
What group size should I expect?
The tour has a maximum of 10 travelers.
Is admission included for the sights, and do I get a mobile ticket?
Admission for the listed stops is free as part of the tour, and you’ll receive a mobile ticket.
What level of walking fitness do I need?
The tour is listed for travelers with moderate physical fitness. It includes walking and an uphill climb as you move toward the gardens and cable car area, so comfortable walking shoes help.
Service animals are allowed.
Does the tour run in bad weather?
It requires good weather. If it’s canceled due to poor weather, you’ll be offered a different date or a full refund.
What if I need to cancel?
Free cancellation is available up to 24 hours in advance for a full refund. If you cancel less than 24 hours before the start time, the amount paid is not refunded.