REVIEW · DUNEDIN AND THE OTAGO PENINSULA
Shared Small Group Dunedin City and Peninsula Scenery Day Tour
Book on Viator →Operated by Skyline Dunedin Day Trips · Bookable on Viator
One day, Dunedin plus albatross in one loop. This shared small-group tour links city classics—like Signal Hill, Baldwin Street, and the University clock tower—with big ocean viewpoints along the Otago Peninsula.
I like the pace and organization, but what really wins is the small-group size (up to 10 people) and the wildlife stop at the Royal Albatross Centre on Taiaroa Head. I also appreciated how guides like Billy and Yili kept things clear and polite, even when the weather didn’t cooperate.
The main thing to keep in mind is weather: this outing relies on outdoor viewpoints, so fog or steady rain can limit what you see from places like Signal Hill Lookout and the coastal stops.
In This Review
- Quick hits before you go
- Why Dunedin and the Otago Peninsula fit so well in one day
- Small-group comfort and what $139.63 buys
- From Port Chalmers to Signal Hill: your first view of Dunedin
- Baldwin Street, the University clock tower, and Dunedin Railway Station
- Botanic Garden aviary and the feeling of classic Dunedin
- Otago Peninsula lookouts: Sir Leonard Wright and Sandfly Bay
- Royal Albatross Centre at Taiaroa Head: the wildlife moment
- Weather, timing, and getting the best photos
- Should you book this Dunedin City and Peninsula day tour?
- FAQ
- What time does the tour start?
- How long is the tour?
- Is pickup offered, and where do we get dropped off?
- How large is the group?
- What languages are available with the guide?
- Are tickets and entry fees included?
- What’s included in the tour besides guiding?
- Will the tour work if the weather is rainy?
- Is the tour suitable for people with limited physical fitness?
Quick hits before you go

- Up to 10 people: easier conversations, less rushing, more time at each viewpoint
- Otago Peninsula wildlife moment: the Royal Albatross Centre is the one big reason many people book
- Icon stops in one pass: Signal Hill, Baldwin Street, University of Otago clock tower, and Dunedin Railway Station
- Short, scenic breaks: Sir Leonard Wright Lookout and Sandfly Bay give you the ocean view without a full day hike
- Pickup and drop-offs: convenient for cruises and city sightseeing, with a city center option
- Internet and water provided: a free hotspot connection and bottled water keep the day smooth
Why Dunedin and the Otago Peninsula fit so well in one day
Dunedin is the kind of city where the best moments aren’t all in one neat museum cluster. You get history in architecture, yes—but you also get a fast route to big viewpoints and sea life. That’s why I like this format: it strings the highlights together without turning the day into a checklist of far-apart stops.
The Otago Peninsula adds the “oh wow” factor fast. You’re not stuck just watching roads—there are specific pull-offs and viewing areas where the coastline does the talking. If you’re short on time, this is one of the most practical ways to see the city side and the coastal side of the region in about six hours.
And because it’s a small group with a guide, you get help making sense of what you’re looking at—especially on the wildlife portion.
You can also read our reviews of more city tours in Dunedin and The Otago Peninsula


Small-group comfort and what $139.63 buys
At $139.63 per person for an approx. 6-hour outing, the value comes from the mix of locations and the logistics handled for you. You get a guide, a pickup option, bottled water, and a mobile ticket setup—so you’re not spending your morning figuring out transport.
Two practical perks matter on a day like this. First, you’re capped at 10 travelers, which helps keep the pace manageable at overlooks and photo stops. Second, the day includes a free hotspot connection for high-speed internet. That means you can check maps, update friends, or quickly research anything you spot without burning your own data.
Language support also helps. The guide operates in English and can also work in Mandarin and Cantonese, which makes the explanations easier to follow for more visitors.
The trade-off is time. You’re seeing a lot of places, but you won’t have hours to linger in one spot. If you hate bus schedules, you’ll want a slower, single-area plan.
From Port Chalmers to Signal Hill: your first view of Dunedin

The day starts with pickup at Port Chalmers at 9:00 am. For cruise passengers, this is a big deal because you’re not trying to coordinate independent transit across town.
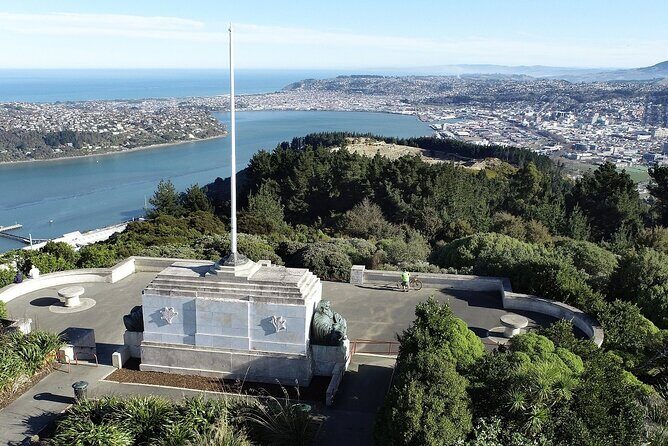
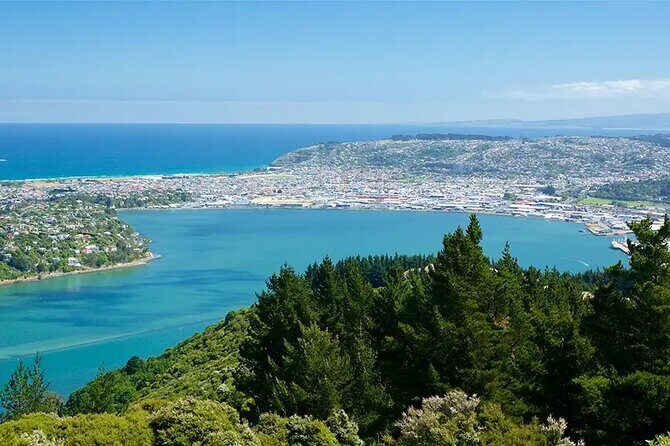
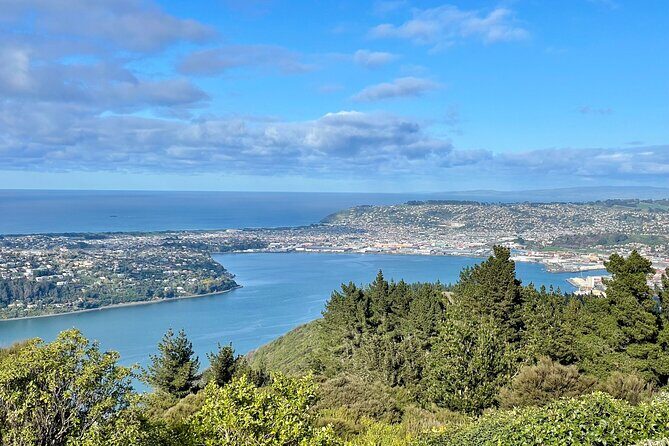
Your first major stop is Signal Hill near the Otago Harbour. Even with a short visit, it gives you orientation: you can look out over Dunedin and get your bearings fast. Think of Signal Hill as the day’s visual “map”—once you’ve seen the city from above, the later stops make more sense.
The stop is brief (about 15 minutes), so come ready. I’d suggest pulling your camera settings into place before the group gathers, and taking a couple of photos from the same angle rather than spreading your time across too many spots. When the light is good, these overlooks can give you a dramatic overview of harbor and coastline.
If the weather is overcast, you’ll still get the layout. If it’s foggy, the views may be muted—plan to keep your expectations flexible.
Baldwin Street, the University clock tower, and Dunedin Railway Station
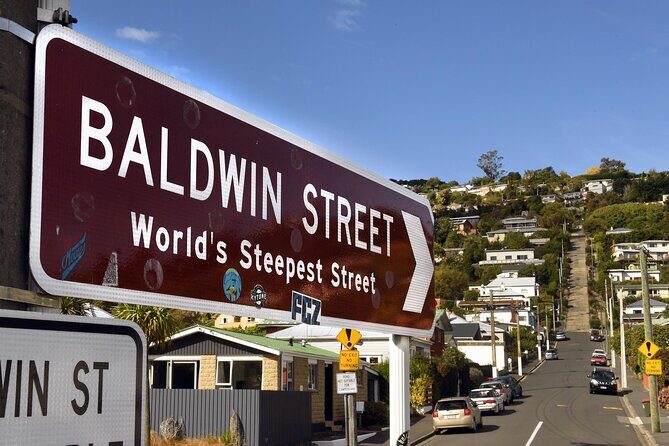
Next up: a mix of must-see Dunedin icons. Baldwin Street is short and fun—fifteen minutes is enough to appreciate why it’s famous and to take a quick photo without turning it into an all-day steep-street detour.
Then you’ll see the University of Otago clock tower, one of the city’s standout landmarks. The point here isn’t just the tower itself; it’s that Dunedin has a strong Victorian-and-Edwardian feel, and the campus area helps you spot that character quickly.
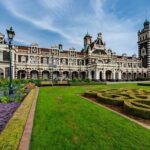
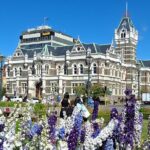
After that comes Dunedin Railway Station, a real architecture moment. In a city filled with street-level details, it’s a building you can’t miss. I like that the stop is timed well for photos, since it gives you a quick window to walk in the right direction, frame the façade, and capture the symmetry without feeling rushed.
If you only have one day and want the classic Dunedin vibe, this cluster is the payoff. It’s easy sightseeing that still feels meaningful.
Botanic Garden aviary and the feeling of classic Dunedin

Before you hit the peninsula, you’ll get a break in the Dunedin Botanic Garden with time for the aviary. This isn’t just a pause; it’s a change of pace. Bird time helps, especially if you’re spending the afternoon outdoors and looking for wildlife.
The aviary is known for native and exotic birds, and the birds can be quite interactive—so even a short visit feels lively. If you’re traveling with kids or anyone who likes animals, this stop often becomes the “small moment” people remember later, even though it’s not the main wildlife highlight of the day.
This is also where you’ll feel the overall tone of Dunedin. The city isn’t only about grand buildings and lookouts. It also has pockets of greenery and calm that balance out the driving.
If you’re the type who likes to photograph details—bird color, garden paths, and architectural edges—use your time here to slow down for once. The rest of the day runs more on views than on wandering.


Otago Peninsula lookouts: Sir Leonard Wright and Sandfly Bay
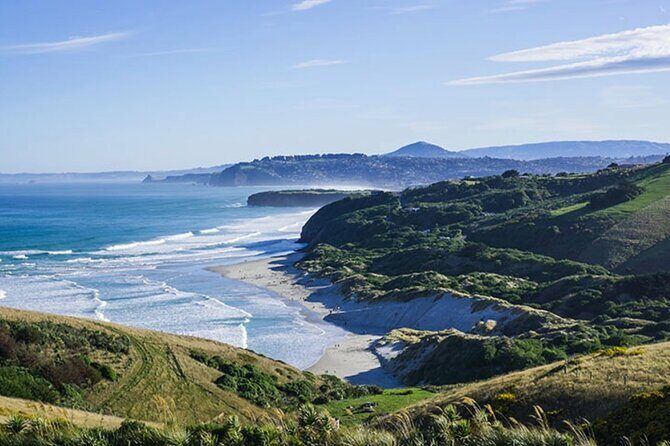
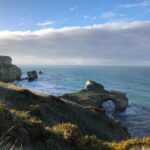
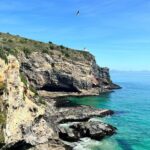
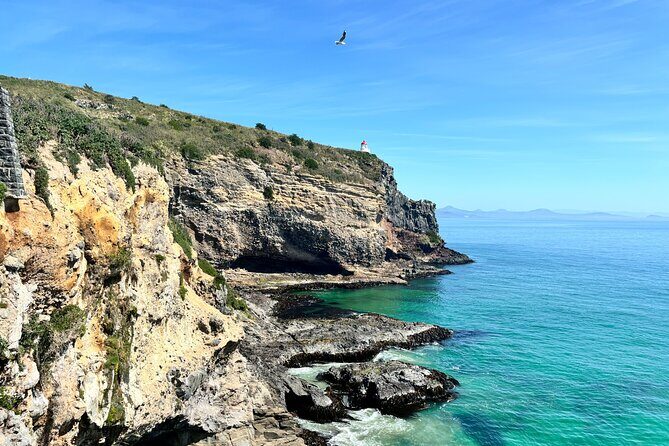
Once you’re out of the city, the tour shifts into coastline mode. You’ll stop at Sir Leonard Wright Lookout in the Lawyers Head area for ocean views. This is one of those “pull over and let it land” stops. Even if the group moves quickly, you get enough time to take in the horizon line and appreciate the sheer scale of the coast.
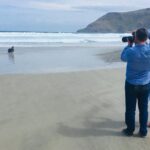
Then you’ll head to Sandfly Bay. The viewing platform gives you a clear chance to scan for wildlife from a distance. Seals and sea lions can often be seen resting on the sands. You don’t need to chase them, which is good because the viewing style here is about patience and observation.
A practical tip: wear shoes you’re comfortable standing in for a while. The itinerary mentions moderate fitness overall, and these stops typically involve getting in and out of the vehicle and moving around viewing areas.
This part of the day is where the tour starts to feel like more than just a sightseeing loop. It becomes a real nature day—just in a time-efficient package.
Royal Albatross Centre at Taiaroa Head: the wildlife moment
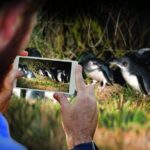
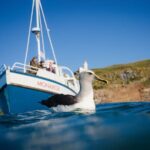
The biggest wildlife stop is the Royal Albatross Centre, located at Taiaroa Head at the end of the Otago Peninsula drive. This is the part many people book for, because it’s the world’s only mainland breeding colony of Northern Royal Albatross.
You’ll have about 45 minutes here, which is enough time to understand what you’re looking at and to take a proper set of photos without feeling squeezed. The centre is also where the day connects the dots: you see the birds, then you learn why their breeding colony is so special and what makes this area important.
One key mindset: don’t treat it like a fast photo stop. Take a moment to watch how the birds move and how the viewing areas work. Even if you don’t spot every bird in every moment, the centre helps you know what to look for.
If weather is decent, this is where the day becomes truly memorable: sea wind, big skies, and a rare conservation story in one place.
Weather, timing, and getting the best photos
This tour runs about 6 hours total, including travel time, and you’ll return to Port Chalmers on time. There’s also an optional drop-off in Dunedin city center for self-exploration. That’s useful if you want to finish with a short walk, coffee, or an extra stop on your own schedule.
Because it’s weather-dependent, plan to dress in layers. Coastal Dunedin can change fast—cooler breezes at the peninsula and more stable conditions in town. If it’s raining, you may still enjoy the city landmarks and sheltered portions, but viewpoint visibility can drop.
For photos, work in small wins:
- Signal Hill: get one wide shot first, then try a second angle
- Sandfly Bay: give your eyes time before you snap—wildlife often shows up after a pause
- Royal Albatross Centre: take fewer photos, but shoot them intentionally from the best viewing points
The guide makes a difference here. A good guide helps you know where to look and when to shift your attention, which saves time and makes stops feel less rushed.
Should you book this Dunedin City and Peninsula day tour?
If you want a well-organized “greatest hits” day with city icons plus real coastal wildlife, this is a strong choice. The small group size helps, and the itinerary is built around stops that are worth quick visits, not just roadside passing.
Book it if:
- You’re tight on time but want both Dunedin and the Otago Peninsula
- You care about wildlife and want the Royal Albatross Centre as a planned stop
- You’d rather ride with a guide than figure out logistics yourself
Skip it (or consider something slower) if:
- You hate driving and prefer long stays in one area
- You want lots of walking time or deep museum exploration
- Weather is a major concern for your dates, since outdoor viewpoints matter
For most first-timers and cruise passengers, this strikes a smart balance between effort and payoff.
FAQ
What time does the tour start?
The tour starts at 9:00 am.
How long is the tour?
It runs for about 6 hours, including travel time.
Is pickup offered, and where do we get dropped off?
Pickup is offered. The tour includes drop-off at Port Chalmers and Dunedin city, with an optional city center drop-off for self-exploration.
How large is the group?
The maximum group size is 10 travelers.
What languages are available with the guide?
The guide provides English, Mandarin, and Cantonese.
Are tickets and entry fees included?
The itinerary shows admission tickets as free at the stops listed, and each stop is scheduled as part of the tour plan.
What’s included in the tour besides guiding?
Bottled water is included, and there’s a free high-speed internet hotspot connection.
Will the tour work if the weather is rainy?
This experience requires good weather. If it’s canceled due to poor weather, you’ll be offered a different date or a full refund.
Is the tour suitable for people with limited physical fitness?
It’s listed as suitable for travelers with moderate physical fitness. There are viewpoint stops and short movements around viewing areas, so comfortable walking ability helps.