REVIEW · DUNEDIN AND THE OTAGO PENINSULA
Private Dunedin & Otago Peninsula Day Tour Up to 4
Book on Viator →Operated by Skyline Dunedin Day Trips · Bookable on Viator
You’ll get the classic sights without the crowd crush. This private Dunedin and Otago Peninsula day tour is built for custom timing and close-up local stories, from sea views to steep-street swagger.
I especially like the mix of quick city landmarks with a real nature payoff—Larnach Castle gardens plus the peninsula’s wildlife-focused stops. I also like that you’re not stuck in a rigid group rhythm. The main drawback to think about is that some experiences are weather-dependent, and a couple of on-site add-ons (castle interior and breeding-colony viewing tours) are not included.
In This Review
- Key highlights to know before you go
- Why This Private Dunedin & Otago Peninsula Route Feels Easier
- The 6-Hour Plan: What You’ll Do and How Fast It Moves
- Signal Hill, Baldwin Street, and the University of Otago Quick Tour
- Larnach Castle Gardens: The Included “Spend Time” Moment
- Dunedin Railways and Sandfly Bay: Two Different Kinds of Stimulation
- Royal Albatross Centre and Taiaroa Head: The Peninsula’s Big Wildlife Payoff
- Your Guide, Languages, and the Real Meaning of “Private”
- Price and Value: When $608.16 Per Group Makes Sense
- Practical Tips: Weather, Timing, and What to Bring
- Should You Book This Private Dunedin Day Tour?
- FAQ
- What time does the tour start?
- Where do you get picked up and where do you end?
- How long is the day tour?
- What’s included in the price?
- What isn’t included?
- Do I need good weather?
Key highlights to know before you go
- Private up to 4 people means a dedicated guide and flexible pacing all day.
- Cruise-friendly pickup from Port Chalmers helps you start fast if you’re on a ship schedule.
- Signal Hill, Baldwin Street, and the University of Otago are stacked early for an easy first overview of Dunedin.
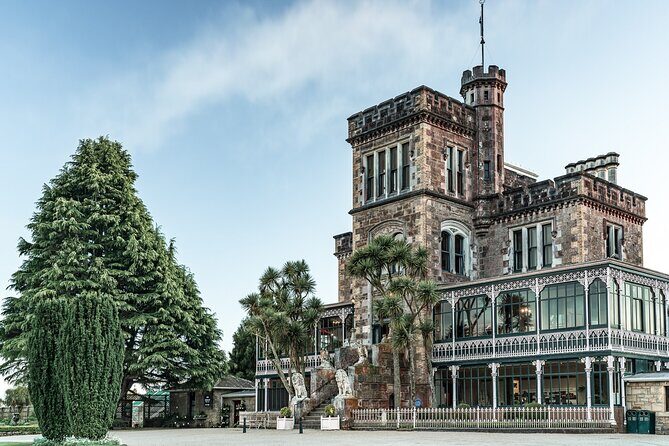
- Larnach Castle gardens are included, with time set aside for a snack or drink on-site.
- Sandfly Bay and the Royal Albatross Centre target the peninsula’s wildlife viewing opportunities.
- Hotspot Wi‑Fi included so you can share photos and map your way in real time.
Why This Private Dunedin & Otago Peninsula Route Feels Easier
Dunedin is one of those South Island towns that rewards you for moving efficiently. The highlights are spread out, so squeezing everything into a DIY day can turn into lots of driving and guessing. With this private format, you get an organized plan plus the freedom to slow down when something grabs your attention.
What makes it work best is the balance: you’ll hit the “I can’t believe that’s real” city moments early (views, the famous steep street, and historic architecture cues), then shift to coastal scenery and wildlife territory. Even better, you’re not stuck watching other people’s pace. If the weather turns, your guide can adjust the day so you still get value.
This is the kind of tour where the guide matters. The tour operator’s team includes locals who share how Dunedin actually feels day to day. In past trips, I’ve seen guides such as Cissy and Billy Bai called out for friendly, practical storytelling and a real sense of place.
You can also read our reviews of more private tours in Dunedin and The Otago Peninsula


The 6-Hour Plan: What You’ll Do and How Fast It Moves
This is about a 6-hour day including travel time, starting at 9:00 am. That time box is the trade-off: you’ll see a lot, but you won’t have hours and hours at any single stop. The itinerary is paced in short visits for city highlights, then longer blocks for the two main attractions that take the edge off the driving.
Here’s the rhythm you can expect:
- Short photo-and-stretch stops in the city (often around 10–15 minutes each).
- One longer “destination” block for Larnach Castle gardens (about 1 to 1.5 hours).
- A wildlife-focused sequence on the Otago Peninsula (including Sandfly Bay and the Royal Albatross Centre).
If you hate feeling rushed, plan your expectations: this is a “see the highlights and go” itinerary. If you want a slow day with extra stops, you can still sometimes linger, because it’s private. But the schedule is built to fit the peninsula daylight, not to max out lingering.
Signal Hill, Baldwin Street, and the University of Otago Quick Tour
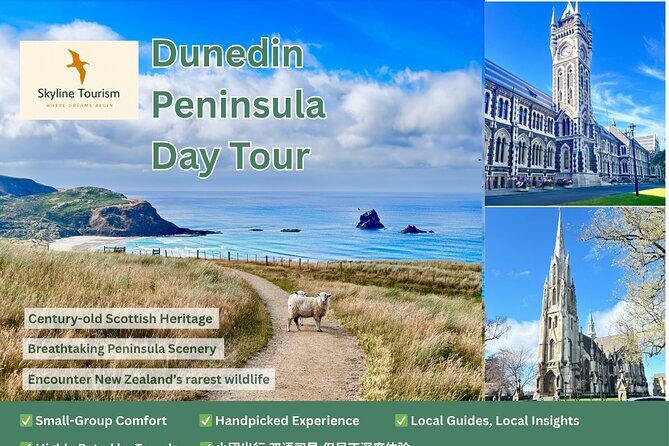
Your day starts with pickup at Port Chalmers (and you’ll finish with drop-off back in Dunedin and Port Chalmers). Getting picked up at the port is a big deal because you don’t waste time getting yourself across town before the fun begins.
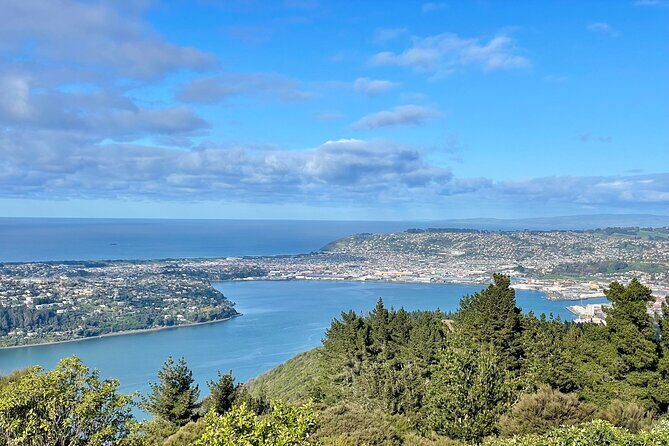
Stop 1: Signal Hill Lookout (about 15 minutes)
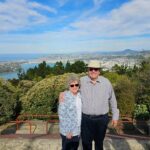
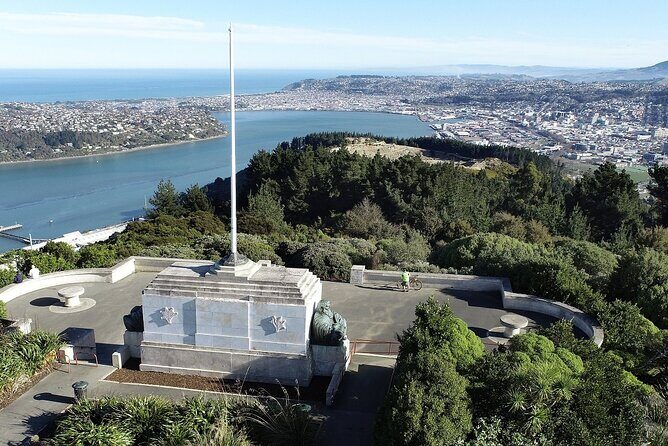
Signal Hill is a high vantage point over the Otago Harbour. It’s a fast way to get bearings fast—you can see how the harbour and the town fit together, and that makes the rest of the day click. On a clear day, it’s a knockout photo spot. Even in grey weather, it gives you a sense of geography.
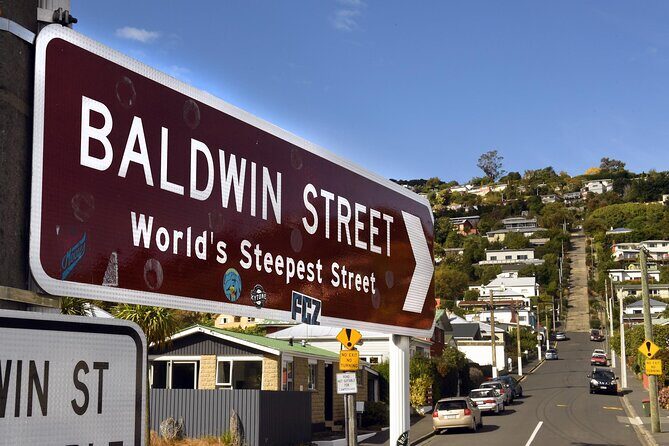
Stop 2: Baldwin Street (about 15 minutes)
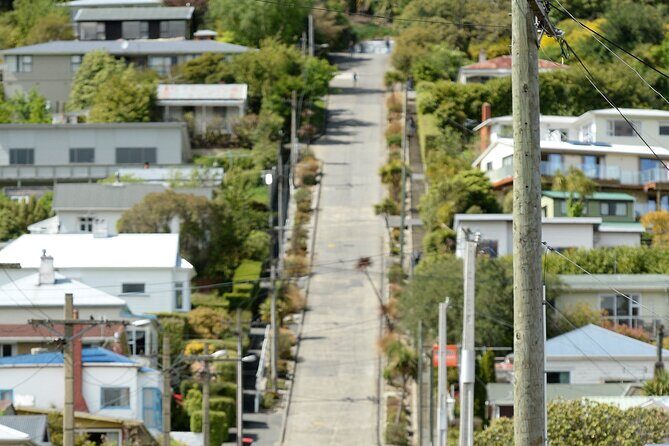
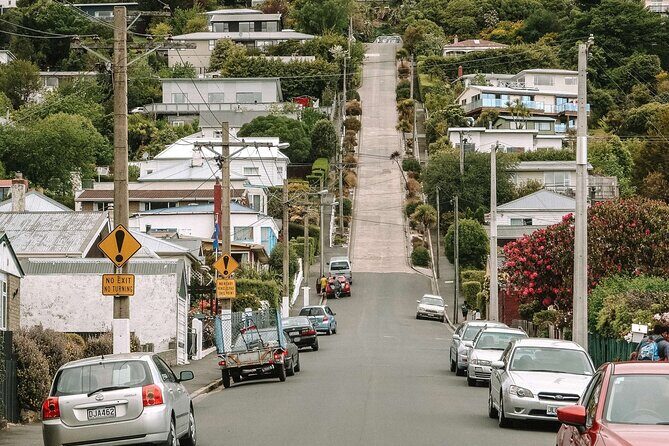
Baldwin Street gets everyone’s attention because it’s the world-famous steep one. This stop is short on purpose: you’ll get the wow factor, grab your photos, and keep moving.
Stop 3: University of Otago (about 10 minutes)
You’ll pause at the Clock Tower area and get a quick history and architecture rundown. This is the kind of stop that works even if you only have ten minutes, because the visuals do the heavy lifting.
Practical note: these early city stops are mostly outside. If you’re traveling in cold, wet weather, you’ll still enjoy the tour, but bring a layer you can pull on fast. Past riders praised how their guide kept the day fun even when conditions weren’t ideal.
Larnach Castle Gardens: The Included “Spend Time” Moment

This is the first stop that really stretches out. You’ll spend about 1 hour 30 minutes at Larnach Castle & Gardens.
The key value here is that you get Larnach Castle Garden entry included. That means you’re not arriving and suddenly realizing you need another ticket just to enjoy the grounds. From there, you’ll have time to walk through the gardens at your own speed and take in views.
Two helpful expectations to set:
- The castle interior ticket is not included, so if you want to go inside rooms, plan for that extra cost.
- The gardens plus viewpoints can still be a full payoff even without the indoor option.
This stop is also where you’ll feel the benefit of a private guide. If your group likes photography, your guide can help you time it. If you’d rather stretch your legs and skip the tight spots, you can.
Dunedin Railways and Sandfly Bay: Two Different Kinds of Stimulation
After Larnach Castle, the itinerary pivots back toward landmarks, then jumps into peninsula nature.
Dunedin Railways station (about 15 minutes)
This is a quick hit at one of Dunedin’s best-known station buildings. It’s a great “pause and look” stop—photo-friendly and easy to enjoy without needing a long visit.
Sandfly Bay Track (about 20 minutes)
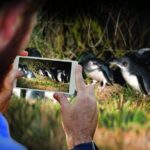
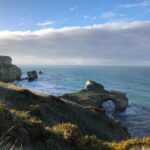
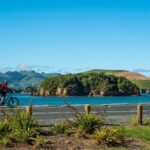
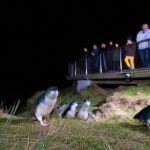
Sandfly Bay is part dunes, part beach, and part wildlife viewing setup. The bay area is known as a spot for Hooker’s Sea Lions and penguins, though sightings can’t be guaranteed the way a zoo schedule can. Still, even when you don’t catch the wildlife instantly, the setting gives you a genuine coastal break from the city.
If you’re the type who likes motion—wind in your face, quick walking trails, and the feeling of getting out of town—this is your tempo change.

Royal Albatross Centre and Taiaroa Head: The Peninsula’s Big Wildlife Payoff
This is the heart of the Otago Peninsula portion. You’ll spend about 45 minutes at the Royal Albatross Centre.
This stop is special because it’s tied to an important breeding colony on the mainland. In practical terms: you’re visiting a place built for watching and learning about these birds up close. If you care about wildlife or simply love seeing animals behave naturally, this is the moment you’ll probably remember.
One important limitation: guided tours at the centre to watch the albatross breeding colony are not included. That doesn’t mean you won’t have a great time. It just means you should know you may need an additional ticket or add-on if you specifically want that guided viewing experience.
Tip for photo lovers: keep your patience. Birds don’t read schedules. Sometimes you’ll get action quickly, and sometimes you’ll wait while the scene settles.
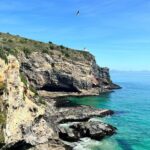
After the centre, you’ll drive back to Dunedin city and Port Chalmers, taking the coastal route back so you can spot seabirds along the way.
Your Guide, Languages, and the Real Meaning of “Private”
This is a private tour limited to your group, so you won’t be blended into another party. That matters because Dunedin is a town where a good guide can point out what to look at, not just where to stand.
One standout benefit: the guide is offered in English, Mandarin, and Cantonese, which is great for comfort and clarity. If you want to ask follow-up questions—like what you’re seeing at each point or why the city’s architecture is the way it is—this format makes it easier.
Also, the guide flexibility is real. In past experiences people have liked that they could stay a bit longer or shorter at stops based on what they cared about most. The private setup makes that happen without awkward group negotiations.
And yes, the guide can make bad weather feel like an adventure instead of a chore. If it’s cold and rainy, you’re still doing an outdoors-heavy route, but a guide who knows the flow can keep things moving and upbeat.
Price and Value: When $608.16 Per Group Makes Sense
The price is $608.16 per group (up to 4) for about 6 hours, including pickup and drop-off between Port Chalmers and Dunedin City, bottled water, a free high-speed internet hotspot connection, and Larnach Castle gardens entry.
Here’s the value angle that matters:
- If you fill all four spots, that’s about $152 per person. That can be a very fair rate for a private guide plus a full-day peninsula drive.
- If you only have two people, you’re paying more per person (roughly $304 each). Still not outrageous for a private day, but it’s less of a bargain.
What’s included that you’d otherwise pay for or scramble for:
- Larnach Castle gardens entry removes one “surprise ticket.”
- Bottled water and Wi‑Fi hotspot help with comfort and staying oriented.
- Guide attention is the real differentiator. This isn’t just transportation; it’s interpretation and timing.
In short: if you have a small group (especially 3–4 people), the price can feel like you’re buying back time and stress.
Practical Tips: Weather, Timing, and What to Bring
The tour description calls out weather as a factor. That means you should dress like you’re going to be outside part of the day, even if it looks fine at 9:00 am.
I’d pack:
- A warm layer and a rain shell (the peninsula can feel colder and windier).
- Comfortable shoes for the Sandfly Bay track portion.
- Sunglasses or a hat for glare if skies open up.
- A camera that can handle quick stops and moving light.
Also, build a “flex attitude.” The itinerary is designed for good pacing, but private tours work best when you accept that your guide might shift priorities slightly based on conditions and what you respond to in the moment.
Should You Book This Private Dunedin Day Tour?
Book it if:
- You want a private day with a local guide and the freedom to adjust stop times.
- You’re visiting Dunedin from a cruise or you hate wasting time figuring out transport.
- You care about the big hitters: views from Signal Hill, the Baldwin Street steepness moment, Larnach Castle gardens, and the Royal Albatross Centre.
Skip or reconsider if:
- You want lots of time at one place and a slow pace.
- You specifically want castle interior and guided breeding-colony watching included in the base price. Those add-ons aren’t part of what’s listed as included, so you’d need to plan for extra spending.
If you’re traveling with up to four people and you want a day that feels organized but still personal, this is one of the better ways to see Dunedin and the Otago Peninsula without turning your trip into a logistics puzzle.
FAQ
What time does the tour start?
The tour start time is 9:00 am.
Where do you get picked up and where do you end?
Pickup is at Port Chalmers, and the tour ends with drop-off back at Port Chalmers and Dunedin City after visiting the Albatross Centre.
How long is the day tour?
It runs for about 6 hours (approx.), and that includes travel time.
What’s included in the price?
Included items are a guide (English, Mandarin, Cantonese), drop-off at Port Chalmers and Dunedin City, bottled water, a free high-speed internet hotspot connection, and Larnach Castle garden entry.
What isn’t included?
Not included are the Larnach Castle inside visit ticket and the guided tours at the Royal Albatross Centre to watch the albatross breeding colony.
Do I need good weather?
Yes. The experience requires good weather, and if it’s canceled due to poor conditions, you’ll be offered a different date or a full refund.