REVIEW · DUNEDIN AND THE OTAGO PENINSULA
Half-Day Private City, Sights & Wildlife Tours
Book on Viator →Operated by All In Dunedin - Nature and City Tours · Bookable on Viator
Dunedin looks small, then surprises you fast. This half-day private tour strings together classic city landmarks and big-life wildlife scenery on the Otago Peninsula, guided by Chris and planned for a smooth 4 hours 30 minutes. You’ll cover the sights without the usual hassle of figuring out what order to do them in.
I especially like the story-led stops in central Dunedin. Places like the Baldwin Street crawl into your head in the best way, and the stop-by-stop pacing keeps it fun instead of checklist-y. I also like that you get real flexibility on the day—Chris tailors the route, and even on a rainy day he keeps momentum going.
One thing to keep in mind: weather matters. The tour requires good conditions, and at least two of the wildlife-focused parts can turn less pleasant if it’s wet and windy. Also, the castle and the Albatross Center have extra entry costs on the options that include them.
In This Review
- Key highlights you’ll feel the moment you start
- How This 4.5-Hour Private Tour Fits Your Dunedin Days
- Baldwin Street to The Octagon: City Stories You Can Actually Walk Through
- Dunedin Railways and the Quick Win of a Photogenic Icon
- Otago Peninsula: Where the Wildlife and Views Take Over
- Larnach Castle and Gardens: The Option for Scenic Views and a Full-On Castle Moment
- Smaill’s Beach: Rugged Coastline, Sheep, and Sea Life Potential
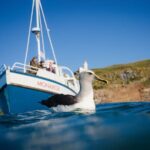
- Taiaroa Head and the Albatross Center Area
- Weather, Timing, and What to Bring for the Best Experience
- Pickup, Mobile Tickets, and Group-Friendly Simplicity
- Price and Value: Why $493.36 Per Group Can Make Sense
- Should You Book This Dunedin City & Wildlife Half Day?
- FAQ
- What is the duration of the Half-Day Private City, Sights & Wildlife Tour?
- Where does the tour start and when?
- Is this a private tour?
- Does the tour include pickup?
- Are admissions included?
- What happens if the weather is bad?
Key highlights you’ll feel the moment you start
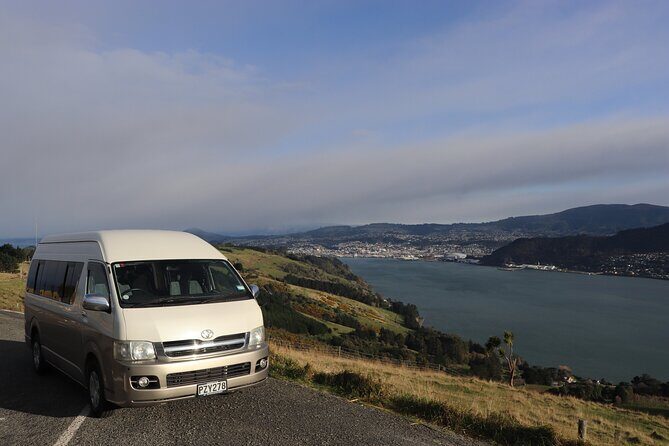
- Baldwin Street on Daylight-Perfect terms: you’ll conquer the world’s steepest street with the quirky backstory
- The Octagon historic core: a compact, walkable look at Otepoti Dunedin’s preserved centre
- A peninsula plan built for wildlife: you’ll swap town views for open coastline fast
- Option-based flexibility: choose the castle route or the heritage & wildlife route depending on your interests
- A guide who answers everything: Chris is big on local architecture, lore, and practical tips
- Real wildlife sightings possible: the route includes places where sea life and seabirds are part of the deal
How This 4.5-Hour Private Tour Fits Your Dunedin Days
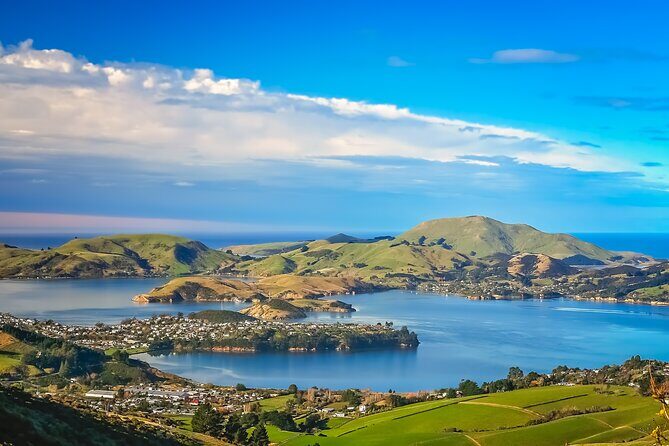
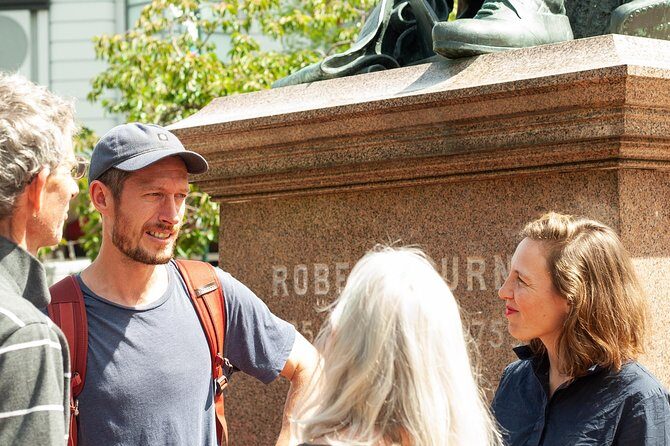
This is a half-day private tour, designed to be a smart use of time whether you’re starting your trip in Dunedin or you’re trying to squeeze in one “must-do” before moving on. The tour runs about 4 hours 30 minutes, starting at 10:00 am at the Robert Burns Statue in central Dunedin, and it returns you to that same meeting point.
The group size is capped at up to 8 for your private party. That matters because you’re not stuck waiting on strangers, and your guide can adjust pacing based on your energy. Pickup is offered from your desired location, which is a genuine quality-of-life upgrade if you don’t want to time bus routes or hunt for parking.
The other practical detail: most stops have free admission, which helps keep the experience feeling like a “tour” rather than a chain of paid attractions. Two big exceptions are option-dependent—Larnach Castle and the Albatross Center entry—so plan on those as add-ons if you pick those routes.
You can also read our reviews of more city tours in Dunedin and The Otago Peninsula

Baldwin Street to The Octagon: City Stories You Can Actually Walk Through
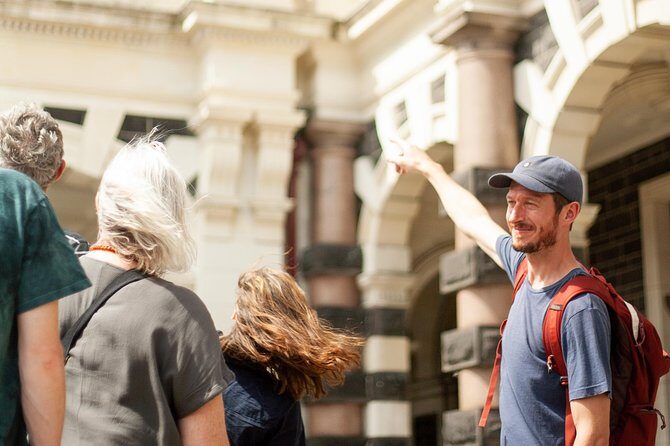
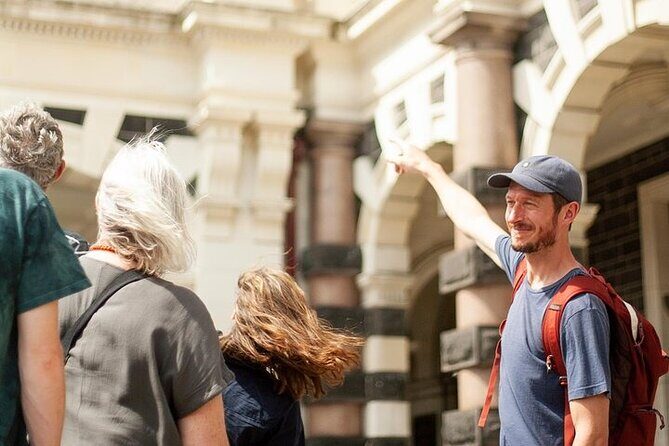
Central Dunedin is compact enough that you can do plenty on foot, but it’s the guide’s job to point you toward the moments that feel like the city’s personality. You’ll start with Baldwin Street, billed as the world’s steepest street. The fun part here isn’t just the slope—it’s the quirky origin story and how the place fits into Dunedin’s identity.
Then you move into The Octagon, the preserved historic heart of Otepoti Dunedin. This isn’t about rushing photos. The value is that you’re hearing the “why this looks the way it does” explanation while you’re standing in the actual streetscape. It helps you get your bearings fast and makes the centre feel lived-in rather than staged.
A small but important benefit: time inside the city is short on purpose. With only about 20 minutes at each central stop, you’re not stuck circling blocks while the clock eats your peninsula time. You’ll still get memorable sights, but the tour keeps the momentum moving outward.
Dunedin Railways and the Quick Win of a Photogenic Icon
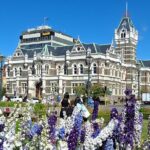
One of the stops is Dunedin Railways, where you’ll spend about 10 minutes. It’s described as New Zealand’s most photographed building, and even with a short stop, that reputation makes sense. This is one of those places where the architecture does the talking—your guide’s job is to give you context so it doesn’t feel like just another pretty facade.
If you’re the type who likes snapping a few photos and moving on, this works well. If you’re a slower photographer, you might want a quick moment to ask Chris for the best angle before you roll on. The short time here keeps the rest of the tour on track, especially the transition to the coast.
Otago Peninsula: Where the Wildlife and Views Take Over
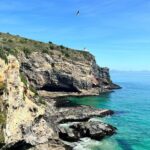
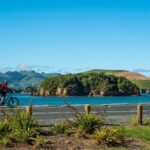
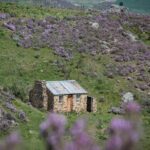
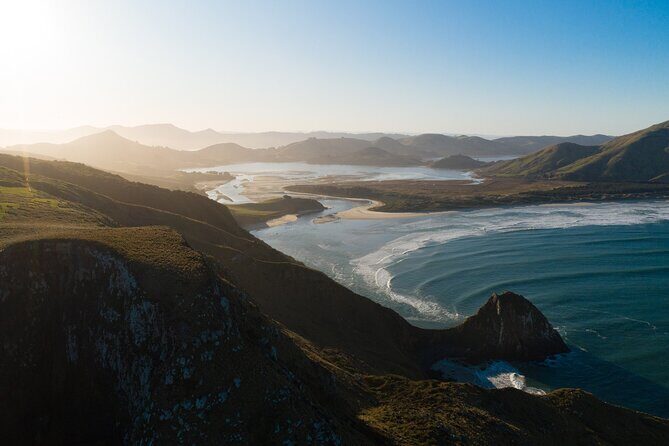
The centerpiece shift happens when you head to the Otago Peninsula, about an hour on the itinerary. This is where the tour becomes more than a city day trip. The peninsula is known for biodiversity, and the whole area is set up for big scenery: coastline edges, dramatic outlooks, and wildlife opportunities that feel connected to the landscape rather than pasted on as an attraction.
What I like about this design: you don’t have to decide in advance between “city” and “wildlife.” The tour gives you both in a single half-day arc. That’s ideal if your schedule is tight or if you’re traveling with someone whose priorities change depending on the weather.
The peninsula part also benefits from private guiding. It’s easier to time stops for visibility and conditions when you’re not coordinating a larger group. You’ll get guidance on where to look and what to notice—especially around wildlife zones later on the route.
Larnach Castle and Gardens: The Option for Scenic Views and a Full-On Castle Moment
If you choose the City, Castle & Peninsula option, you’ll add Larnach Castle & Gardens for about an hour. This is New Zealand’s only castle, and it’s paired with award-winning gardens. Admission isn’t included, so treat the castle as the paid highlight of the day and the rest as extra value.
Why this stop works in a half-day itinerary: it’s a built-in viewpoint. Even if you’re not the biggest castle person, you’re paying for the combination of history, architecture, and the way the setting frames the coast. And because you’re there with a guide, you’re not left to guess which rooms or viewpoints matter most.
A practical consideration: castle time can feel slightly rigid compared with the outdoor stops. The hour is enough for a solid visit, but it won’t let you wander slowly at your own pace for long. If you know you want to linger, it helps to set expectations early in the day so you don’t feel rushed at the end.
You can also read our reviews of more private tours in Dunedin and The Otago Peninsula


Smaill’s Beach: Rugged Coastline, Sheep, and Sea Life Potential
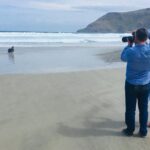
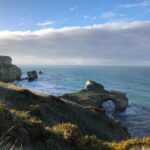
If you choose the City, Heritage & Wildlife option, you’ll stop at Smaill’s Beach for about 30 minutes. This is where the tour leans into the Pacific coastline feel: rugged, open, and wonderfully “outside.” Admission is free here, which is nice because it keeps your paid spend focused on the bigger-ticket stops.
One of the strongest “real day” positives from people who’ve done this route is the chance to see wildlife. Smaill’s Beach is specifically associated with sea lions on this itinerary, and you may also spot sheep along the coastal areas. That mix is very Otago: animal life isn’t hidden behind gates—it’s part of the visual rhythm.
The tradeoff is simple: 30 minutes is short. You’ll want to use it efficiently. If the conditions are calm enough to linger, take the time. If it’s windy or damp, you’ll still get the key views without losing too much of the day.
Taiaroa Head and the Albatross Center Area
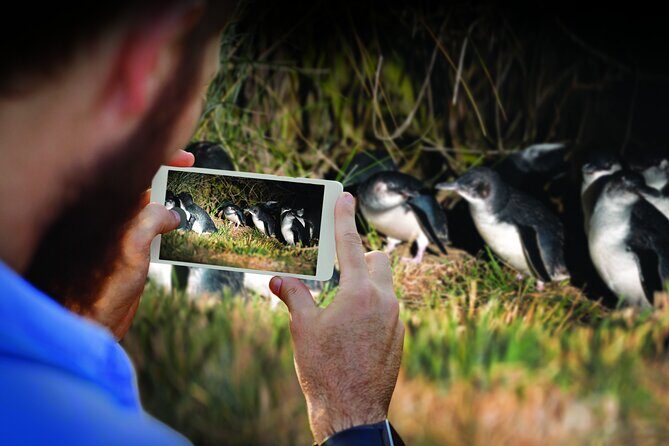
Still on the Heritage & Wildlife route, you’ll reach Taiaroa Head for about an hour. This is a strong choice if you want a wildlife-focused finale that feels bigger than the city streets behind you.
You have a specific option here: you can visit the Albatross Center. Entry price isn’t included, so it’s another add-on cost. If you don’t want the visitor center, the itinerary still gives you time to relax and admire the rugged scenery and wildlife around the area.
This stop is also where private guiding helps with “where do I stand” decisions. When wildlife is present, even small positioning choices can change what you see. Your guide can help you plan your viewing time so you aren’t just wandering around trying to guess.
Weather, Timing, and What to Bring for the Best Experience

This tour requires good weather. That’s not them being picky—it’s because coastline stops and wildlife viewing don’t work the same in heavy rain or rough wind. If it’s a miserable day, the tour may be canceled and you’ll be offered another date or a full refund.
Pack like it’s changing fast. You’re moving between city streets and coastal areas, and coastal weather can flip. A light rain layer, comfortable shoes, and a warm layer for the peninsula portion are the best bets. If you’re planning on using phones for photos, bring a way to keep them protected from mist.
Timing-wise, you start at 10:00 am and end back at the meeting point. That’s helpful if you want lunch plans afterward without your day melting into travel stress. It also means you’ll be outdoors earlier when light is usually better for photos, especially around viewpoints and coastline areas.
Pickup, Mobile Tickets, and Group-Friendly Simplicity
The tour is private, so your schedule doesn’t get swallowed by other groups. Pickup is offered from your preferred location, which makes a big difference in a place where public transport can work but still takes thinking.
You’ll have a mobile ticket, which keeps the day smooth. No paper scavenger hunt before the drive. Service animals are allowed, and the area is near public transportation, so the start point isn’t awkward even if you’re arriving on your own schedule.
Also, the group format (up to 8) is right for families and friend groups that want the benefits of a local guide without turning it into a big bus day.
Price and Value: Why $493.36 Per Group Can Make Sense
At $493.36 per group (up to 8), you’re paying for a private guide, a focused half-day route, and a peninsula drive that’s hard to replicate comfortably on your own in limited time. If you’re traveling solo or as a couple, it may feel expensive at first glance. But if you split it across a small group, the price starts to behave like a practical local-transport + guiding package.
Here’s the value math that matters:
- Many stops have free admission, which reduces surprise costs.
- You’re paying for interpretation: stories at Baldwin Street and The Octagon, architecture context at Dunedin Railways, and wildlife viewing guidance on the peninsula.
- The guide can also help you choose what matters most on the day, which is where private tours earn their keep.
The only costs to plan for are the option-based admissions:
- Larnach Castle admission isn’t included.
- Albatross Center entry isn’t included.
So you’re not just buying “sightseeing.” You’re buying time saved, direction provided, and a route that mixes city and wildlife without dragging out your schedule.
Should You Book This Dunedin City & Wildlife Half Day?
Book it if you want a guided day that covers the key Dunedin landmarks and still gets you out to the peninsula for wildlife scenery. It’s especially worth it if:
- you don’t want to plan logistics across multiple locations,
- you like architecture and local stories as much as the photos,
- you’re traveling with 2–8 people and can share the group cost,
- you want either the castle add-on or a wildlife-leaning route.
Skip or consider something else if you’re traveling on a day when weather looks rough. This tour needs good conditions, and coastline stops lose a lot of their charm when the wind won’t quit.
If you’re unsure which option to pick, let your interests decide: the castle option is for viewpoint + gardens + a “only in NZ” structure, while the heritage & wildlife option is for coastline drama and animal-focused viewing.
FAQ
What is the duration of the Half-Day Private City, Sights & Wildlife Tour?
It runs for about 4 hours 30 minutes.
Where does the tour start and when?
The tour starts at the Robert Burns Statue, Central Dunedin, Dunedin 9016 at 10:00 am.
Is this a private tour?
Yes. It’s private, so only your group participates.
Does the tour include pickup?
Yes, pickup is offered from your desired location.
Are admissions included?
Most stops list free admission. Larnach Castle & Gardens admission isn’t included (when that option is chosen), and Albatross Center entry isn’t included (when that option is chosen).
What happens if the weather is bad?
The tour requires good weather. If it’s canceled due to poor weather, you’ll be offered a different date or a full refund.