REVIEW · WELLINGTON
From Wellington: Remutaka Rail Trail eBike Tour
Book on GetYourGuide →Operated by Wildfinder · Bookable on GetYourGuide
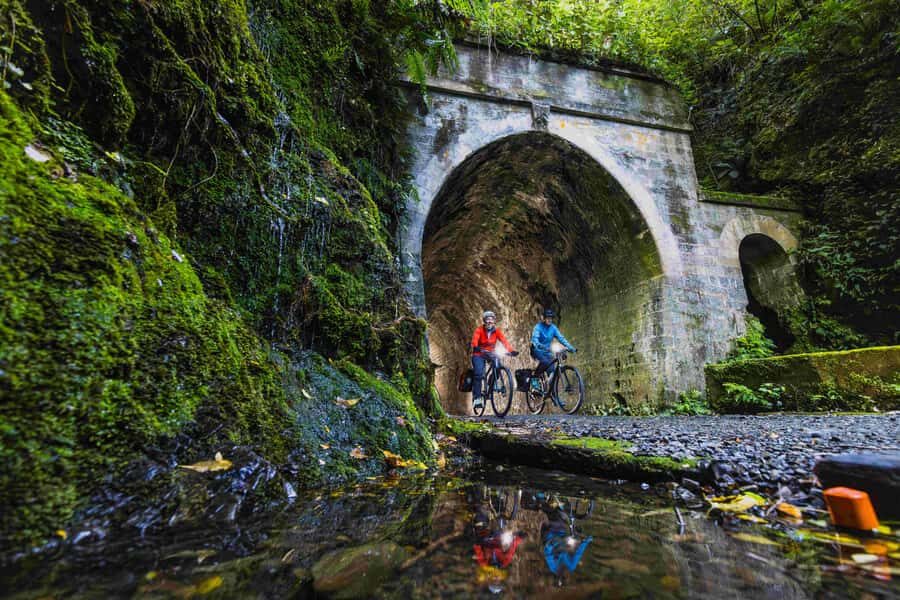
Rail-tunnel riding in daylight feels unreal. This eBike tour through the Remutaka Ranges is one part scenic ride, one part railway history lesson, and it turns the hard bits into something you can actually enjoy. I love the mix of rail history signs along the way and the thrill of riding through dark tunnels with provided headlights, and I love the payoff views when the trail lifts toward the summit and down into the Wairarapa. The main consideration: the trail includes a narrower 2km single-track section later on, so if you’re not comfortable riding in tight space, go slow.
What makes this day click is how it’s paced. You start with a gradual climb through native bush from Kaitoke, then you get a rewarding descent and farmland riding before finishing at Featherston for a late-afternoon pickup. Plus, you get an eBike set up for your height, helmet and a repair kit in case anything goes wrong, and a packed lunch that’s ready when you hit the summit plateau.
In This Review
- Key highlights people rave about
- Remutaka Rail Trail by eBike: the vibe of this ride
- Getting to Kaitoke: transport + bike setup that reduces stress
- Into the native bush and those railway tunnels (headlights on)
- The history boards: where the rail story actually lands
- Swing bridge thrills and the summit plateau picnic break
- The descent to Cross Creek: scenic farmland riding with energy saved
- The narrow 2km single-track section: the one part to plan for
- Featherston finish: quiet cycling, cafes and pubs, and the pickup window
- How hard is it really? eBike help + what fitness means here
- Price and value: why $131 often feels fair here
- What to bring and watch for (so the day stays fun)
- Should you book the Remutaka Rail Trail eBike tour?
- FAQ
- How many hours do I spend riding the eBike?
- How far is the Remutaka Rail Trail section?
- Where do you pick me up in Wellington?
- Is this ride guided the whole time?
- What’s included with the eBike?
- Is lunch included?
- Who isn’t this tour suitable for?
Key highlights people rave about
- Headlights for railway tunnels so you can safely enjoy that dark, cinematic feel
- A swing bridge with serious mountain-and-valley views
- Information boards that explain the old fell railway engineering as you ride
- Summit grassy plateau picnic with a built-in break from pedaling
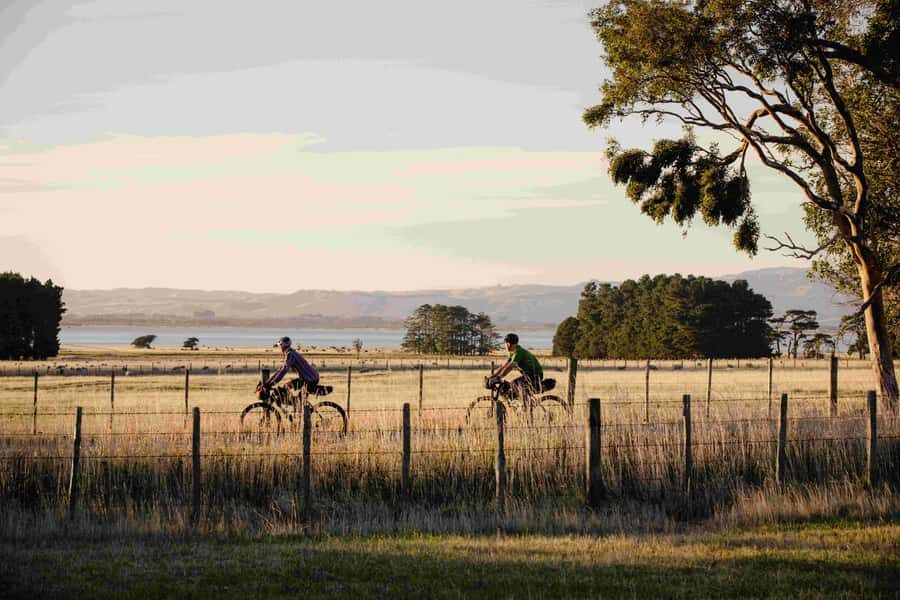
- Scenic Wairarapa farmland finish toward Featherston, with easy cycling on quieter roads
Remutaka Rail Trail by eBike: the vibe of this ride
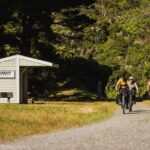
Think of this as a rail trail that still remembers it was built for trains. The route follows the old fell railway corridor, and you feel that history in the tunnels, cuttings, and bridges. It’s also very much a ride you can tune to your comfort level, because your eBike does the heavy work and you control the speed.
My favorite part is how quickly the day changes scenes. You start in native bush and tunnel darkness, then you’re outdoors again with open mountain views, and later you’re floating through farmland country toward Featherston. It never feels like one long grind.
If you’re coming from Wellington looking for an active half-day with real payoff, this is a strong match. It’s not a casual stroll, but it’s also designed for riders of all levels with reasonable fitness.
You can also read our reviews of more cycling tours in Wellington

Getting to Kaitoke: transport + bike setup that reduces stress
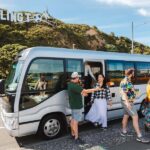
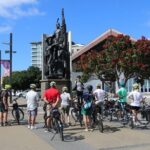
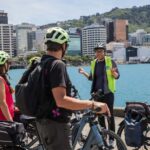
You’re picked up in central Wellington—either Wellington Station (main entrance) or Wellington Port for cruise ship guests. From there, you drive to Kaitoke in Upper Hutt, and you typically arrive around 10:15am.
Once you start, you’re not left scrambling for gear or guessing how the eBike works. You’ll be given a capable and comfortable eBike, a helmet, and a repair kit, and the bike is customized to your height and riding preferences. That matters because the easier your bike fit feels, the easier the whole day becomes—especially on a route with uphill and downhill sections.
You also get maps and information, plus a first aid kit and a GPS tracker for emergencies. One practical bonus I like here is that the setup includes what you need to ride on your own after the handoff, instead of turning the day into a scavenger hunt.
Into the native bush and those railway tunnels (headlights on)
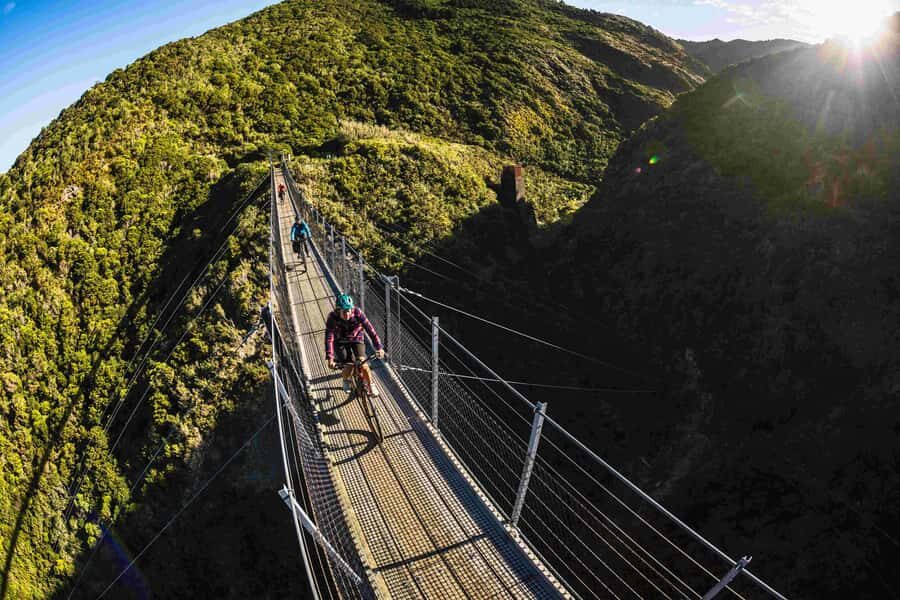
The ride begins with a very gradual incline through native bush, which is exactly what you want on Day One of your eBike confidence. The goal is to let your legs warm up and your brain adjust to riding on this specific trail surface.
Then comes the tunnel moment. You’ll pass through railway tunnels, and you’re provided with headlights for the ride. It’s one of those experiences that turns a normal bike ride into something memorable, because suddenly you’re moving from soft daylight into darkness and back out again.
These tunnels also make good sense for the tour’s pacing. You’re not thrown into something extreme right away. You learn the rhythm—pedal, balance, steady speed—then the history elements kick in as you go.
The history boards: where the rail story actually lands
This tour keeps the history grounded in what you can see with your own eyes. Along the trail there are information boards that explain the enormous task of constructing the old fell railway system.
That’s more than trivia. It gives you context for why the route twists and why you’re seeing the specific engineering features you do—bridges, tunnels, and the way the corridor connects the ranges. When you understand the why, the ride feels more meaningful.
If you’re the type who likes to stop and read (even a little), you’ll probably appreciate the built-in pauses. The signs are spaced so you can take them in without turning the day into a slow-motion museum visit.
Swing bridge thrills and the summit plateau picnic break
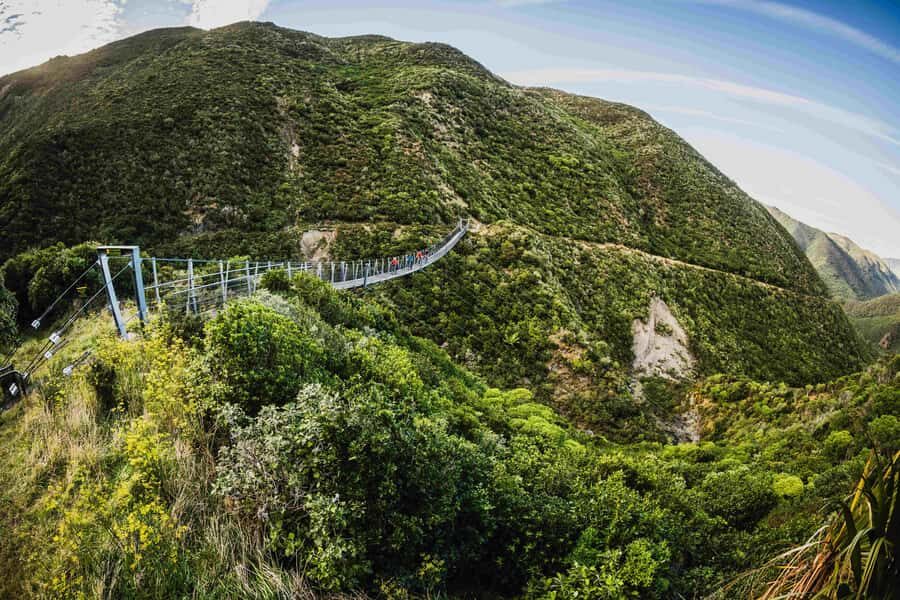
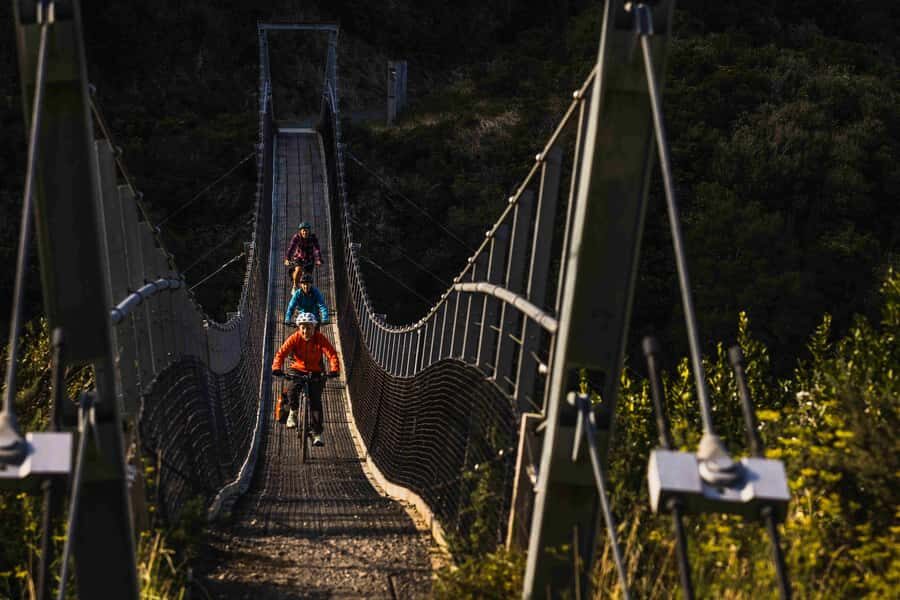
At some point you’ll cycle across a swing bridge, and it’s the kind of moment that makes you automatically slow down for photos. The views here are the payoff for all that earlier climbing—mountains in front, farmland stretching below, and that feeling of being elevated above the noise.
Then you reach the summit, where there’s a large grassy plateau. This is your built-in break: you can picnic, have a cold drink, and recharge before the next stage of the ride.
I like that the lunch isn’t treated like an afterthought. You’re carrying a packed lunch and water, and having that summit moment gives you a clear reason to stop—rather than guessing when you should eat. The lunch has also been described as generous, with dietary requirements handled (including vegan and dairy-free in at least one case).
A few more Wellington tours and experiences worth a look
The descent to Cross Creek: scenic farmland riding with energy saved
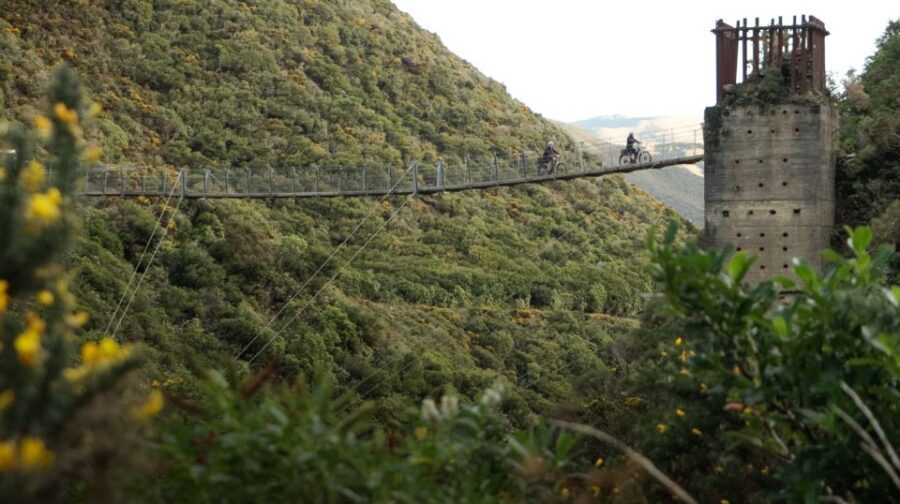
After the summit, you get a fun descent to Cross Creek in the Wairarapa. This is where the eBike really earns its keep. You get the joy of going downhill and letting gravity do the work, without needing advanced cycling strength.
Cross Creek is surrounded by scenic farmland, and that shift—from rugged rail corridor toward open pastoral country—changes the day’s feel fast. If you’ve been focused on tunnels and technical segments, this section lets you relax your grip and enjoy the horizon.
Still, don’t treat it as a casual cruise. The trail includes both smooth and more challenging sections, and your speed should match your comfort, especially as you move toward the later, narrower stretch.
The narrow 2km single-track section: the one part to plan for
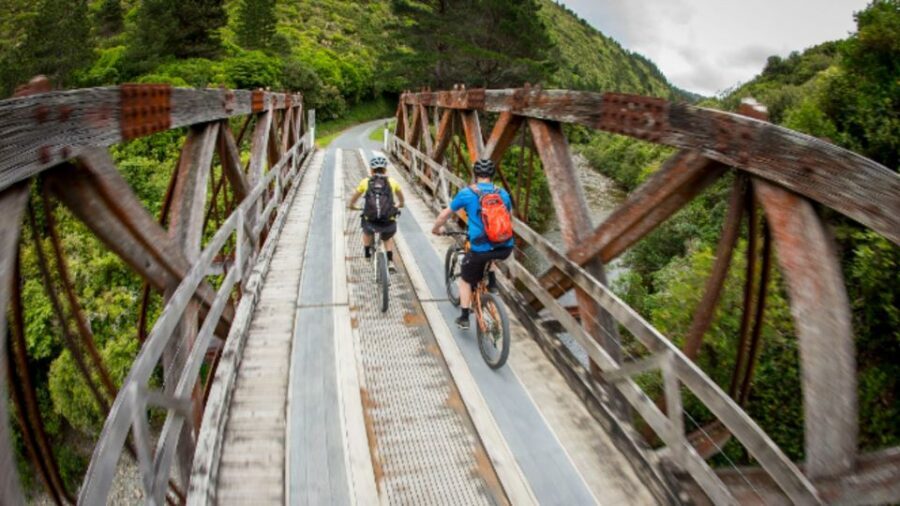
Later in the ride, there’s a 2km single-lane track section that can feel challenging for riders who don’t often ride bikes off-road or on tighter alignments. This is also where you’ll want to stay extra aware of spacing and balance.
The good news: it’s controllable with eBike assist, and the tour does provide warnings and context before you reach it. A couple of people even managed it without walking the bikes, but the key is to ride at your pace and not let confidence outrun comfort.
If you want a simple strategy, I’d treat this part like a skills check. Slow down early, keep a steady line, and use the eBike assist to prevent overexertion that can make balance sloppy.
Featherston finish: quiet cycling, cafes and pubs, and the pickup window
Once you get to the car park area, you follow a 2km connection section and then head north 10km through Wairarapa farmland toward Featherston. The ride includes a quiet road with a separate cycle path where possible, so you’re not spending the final stretch fighting heavy traffic.
At Featherston, you’ve got time to find the cafes and pubs in town before the scheduled pickup. The tour pickup is at 2:15pm from Featherston, and then you return to Wellington in a van.
For cruise ship guests, timing matters. Your return to the Port is typically between 3:45pm and 4:00pm, and you need to be on time earlier in the day as well. If you’re on a ship, build in a real buffer so you don’t risk missing your sailing.
How hard is it really? eBike help + what fitness means here
The ride covers 28km, with about 3 to 4 hours of eBike riding time. It’s described as easy to moderate overall, but the word moderate is important: there’s still climbing, and there’s still real cycling time.
What makes the tour feel accessible is that the incline starts gradually and the bike is customized to you. People who haven’t ridden in years have still been able to enjoy it thanks to the eBike assist, and even non-cyclists found the support meaningful.
That said, this is not a good fit for anyone who can’t ride a bike at all, and it’s not designed for mobility impairments or visually impaired riders. Also, children under 10 aren’t included.
If you’re generally active and comfortable balancing on a bike, you’ll likely enjoy this day. If you’re unsure, it still may work, but you should choose the hardest parts of the ride as your pacing homework—slow down before the tunnels and narrow sections so you can enjoy them.
Price and value: why $131 often feels fair here
At $131 per person for about 6 hours total, the value comes from bundling several things that add up fast on your own.
You’re paying for:
- Transport from Wellington to Kaitoke and back from Featherston
- A fitted eBike with helmet and a repair kit
- Headlights for tunnel riding
- Packed lunch and water
- Maps, information, and on-the-ground safety support like first aid plus a GPS tracker
In other words, it’s not just bike rental. It’s bike + route support + food + transportation, all timed for a half-day outing. That’s why it can feel like good value even if you’re only spending a few hours in the saddle: the rest of the service is what lets you focus on the ride.
If you love scenic rides but don’t want to deal with logistics, this is a straightforward way to get the whole experience.
What to bring and watch for (so the day stays fun)
Keep it simple. Bring closed-toe shoes only—sandals and flip-flops aren’t allowed. That’s not a small detail; you’ll be riding for hours and you want stable footing on the bike.
Also, be ready for weather. If conditions look unsafe or miserable, the booking may be called off. That’s a reminder to pack layers, because the Remutaka area can feel different as you move from tunnels and bush to open summit and farmland.
Finally, remember this is self-guided once you start. That’s a plus for independence, but it also means you should pay attention during the initial orientation, especially around tunnel sections, bridges, and the narrow track segment.
Should you book the Remutaka Rail Trail eBike tour?
If you want a Wellington day that feels like an adventure but doesn’t require serious cycling stamina, I’d book this. The combination of tunnel riding with headlights, a swing bridge view, and a summit picnic is a rare trio in one half-day.
Book it especially if:
- You like scenic rail history and want it explained in a way you can see
- You’re okay riding at your own pace and don’t need constant group control
- You want an eBike day that works for mixed experience levels
Skip it if:
- You can’t ride a bike confidently
- You need accessibility support this route doesn’t offer
- You’re nervous about narrow single-track sections and tight riding spaces
FAQ
How many hours do I spend riding the eBike?
You’ll ride for about 3 to 4 hours on an electric bike during the 6-hour overall tour.
How far is the Remutaka Rail Trail section?
The tour covers 28km in total.
Where do you pick me up in Wellington?
You can be picked up at 9:30am from Wellington Station (main entrance, 151 Aotea Quay). Cruise ship guests are picked up at 9:15am from Wellington Port.
Is this ride guided the whole time?
It’s self-guided once you start at Kaitoke. You’ll get maps and information, and the shuttle handles transport to and from the trail.
What’s included with the eBike?
You get an eBike that’s customized to your height and riding preferences, plus a helmet and a repair kit.
Is lunch included?
Yes. The tour includes a packed lunch and water.
Who isn’t this tour suitable for?
It isn’t suitable for people with mobility impairments, people who can’t ride a bike, children under 10, visually impaired people, or pregnant women.